Kaidi KDH080B-305 Touch Sensor Kit
$89.95
In stock
Genuine Kaidi KDH080B-305 touch sensor kit designed for single-motor electric recliners and lounges. This 31100587(Y) model is a universal replacement kit includes a compact control box and two silver metal touch sensors for smooth open & close operation. DIY-friendly and easy to install. Kaidi KDH080B-305 Recliner Touch Sensor Set. 31100587(Y) set sensors connects to the labelled control box ports “1” and “2” for correct direction control. The generous cable lengths allow flexible installation through arm panels, console sections or seat sides, with no special tools required. Need Another Type of Switch? See our wide range of replacement recliner seat mounted switches (click here) or contact us if you need help choosing the right match for your recliner. read more
In stock
- Description
- Technical Specifications
- How To Tutorial
- Reviews (0)
- FAQs
- Add a review
Description
Kaidi KDH080B-305 Touch Sensor Kit for Electric Recliners
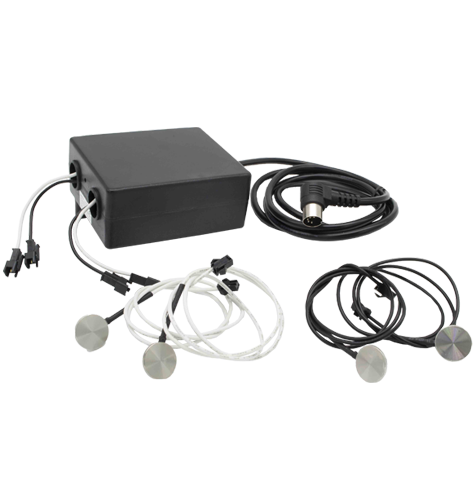
The genuine Kaidi KDH080B-305 touch sensor kit is designed for single-motor electric recliners and lounges. It replaces worn or faulty touch control units and enables smooth operation of one actuator motor. Supplied as a complete kit, it includes a control box, two metal touch sensors (silver), and all interconnecting cables.
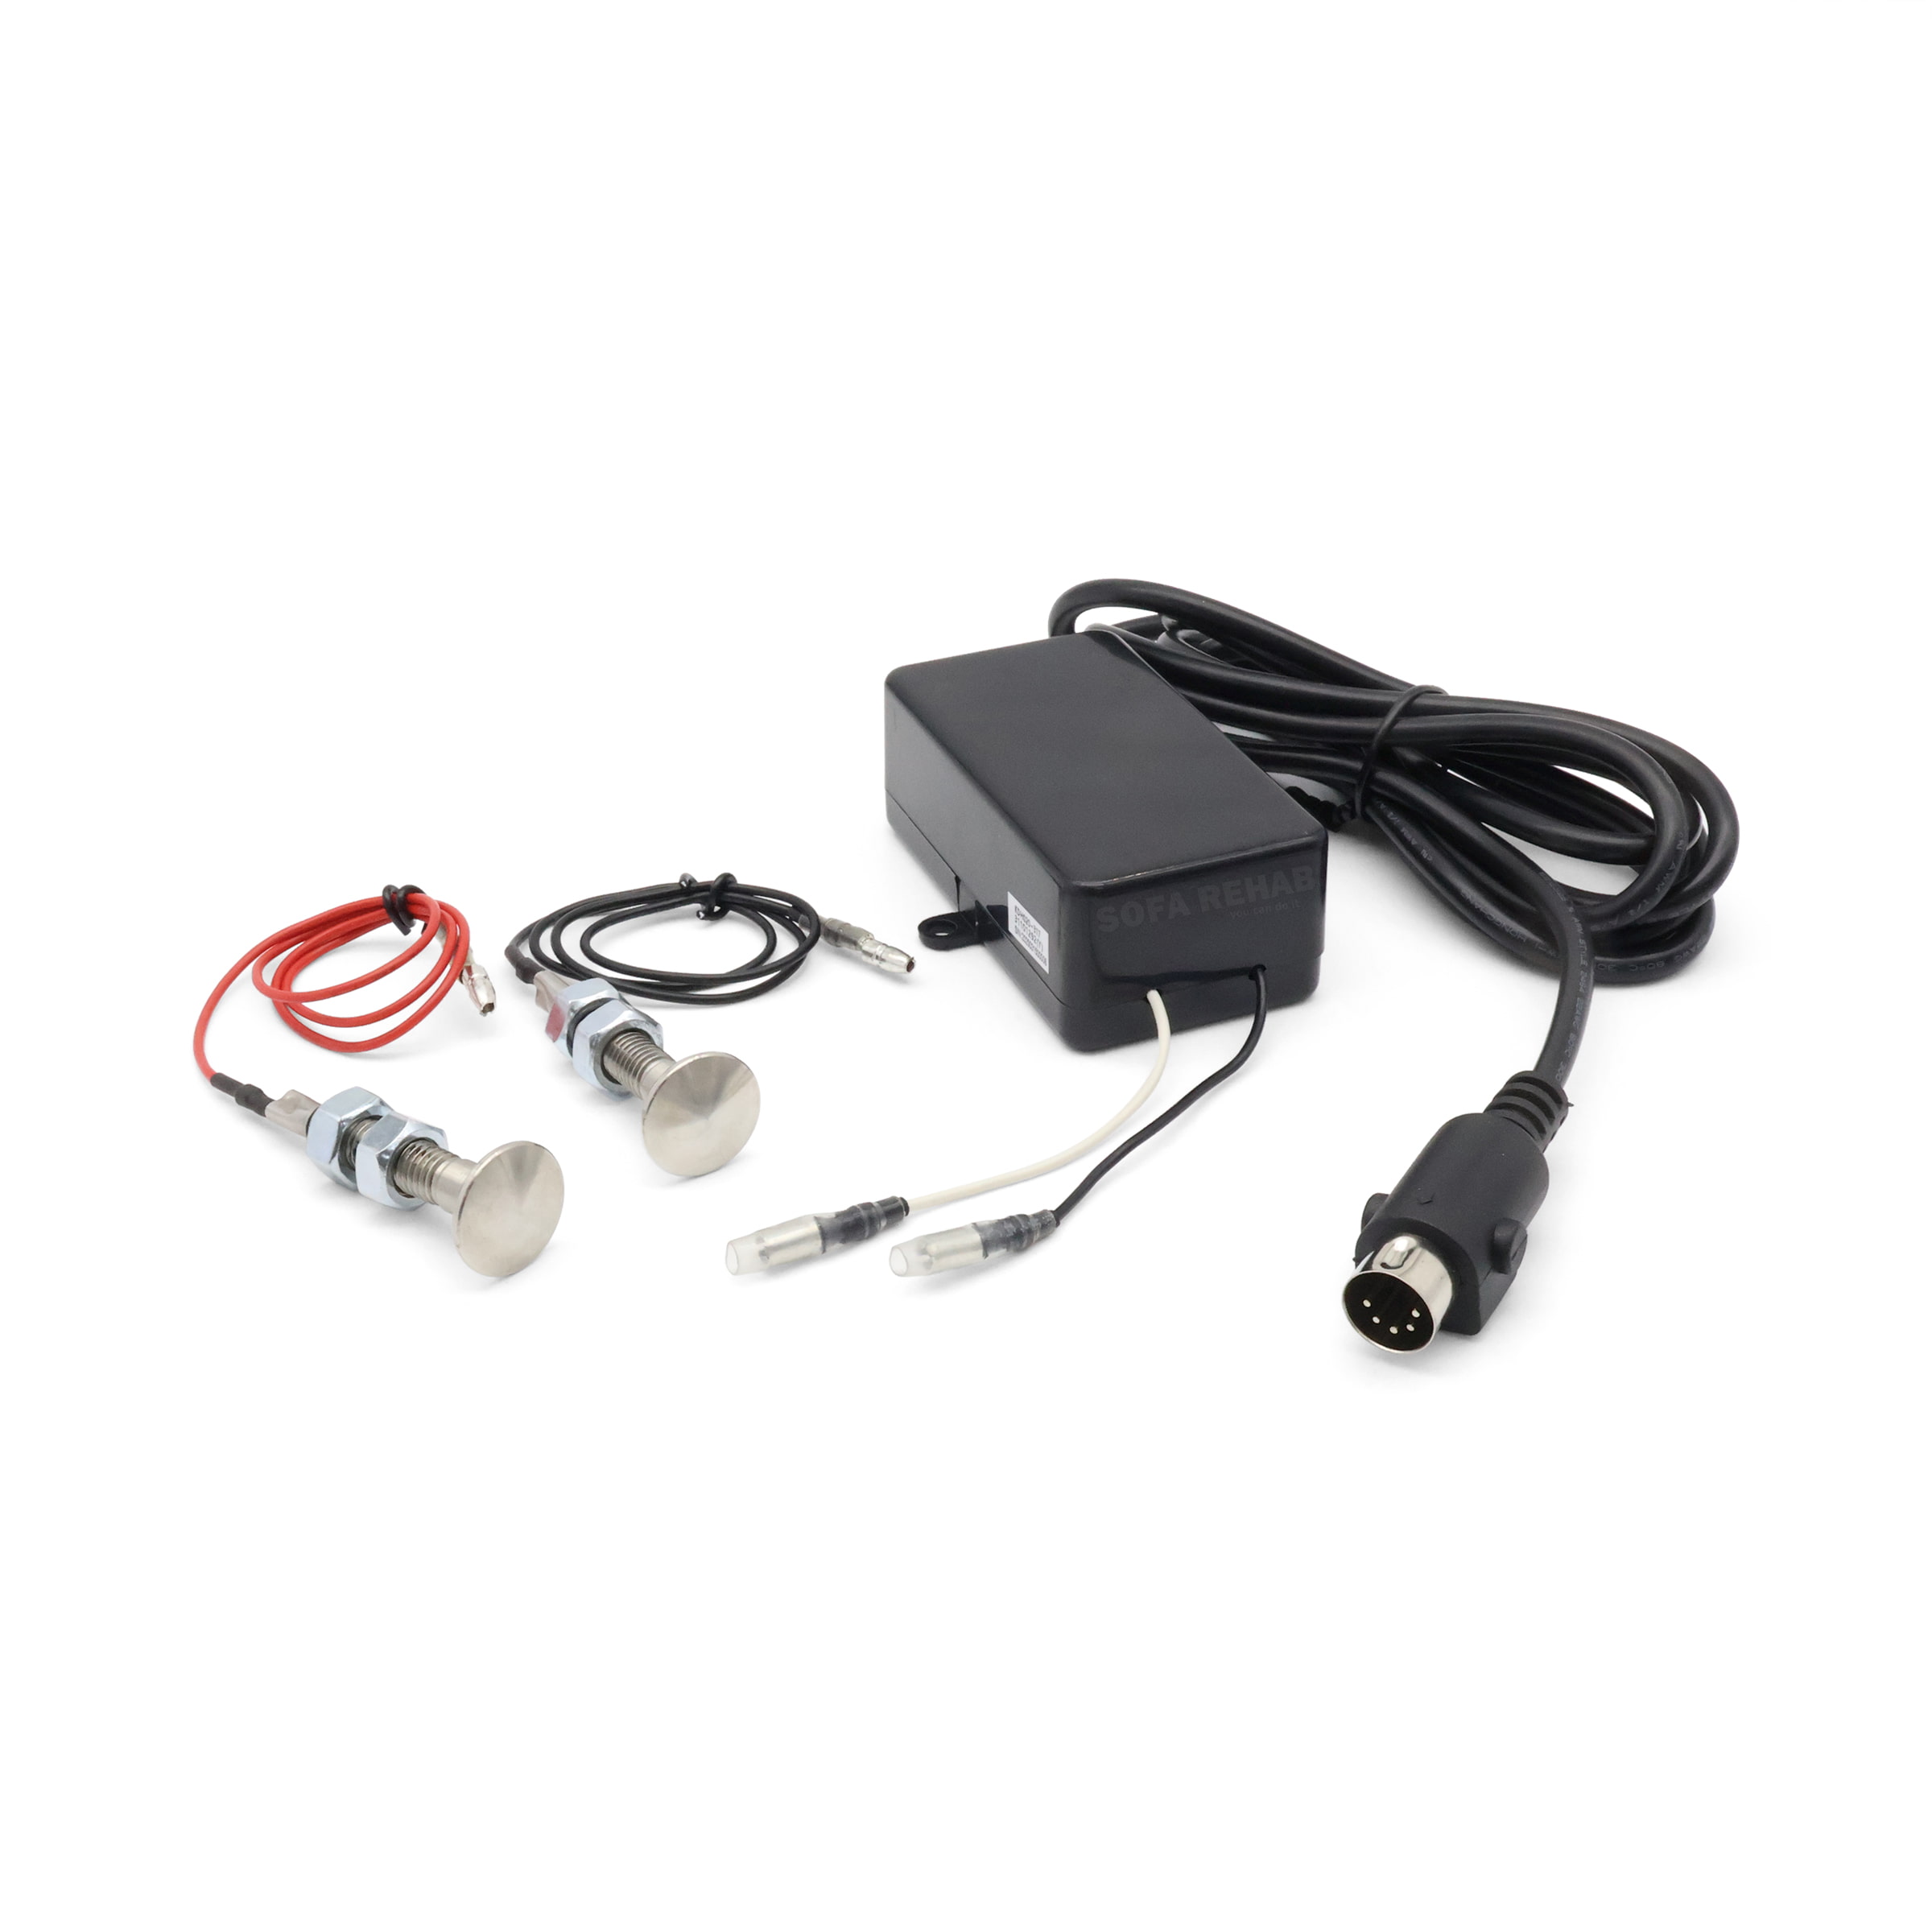
The compact control box measures 86 × 46 × 32 mm and can be secured using screws or cable ties through the two mounting holes on either end. The integrated 5-pin DIN plug with a 2000mm lead connects to your recliner’s harness, while two labelled (1 and 2) sensor leads (300mm each) extend from the opposite end. Simply plug the matching sensors into their numbered ports and the system is ready to use.
Universal Single-Motor Configuration
Each sensor cable and plug is clearly labelled “1” and “2” to correspond with the control-box sockets. Ensure you connect each numbered pair correctly: sensor 1 to port 1, and sensor 2 to port 2. Verify which direction operates the open or close function before final installation. This ensures proper orientation regardless of the recliner’s wiring layout.
Flexible Mounting Options and Ideal Cable Lengths
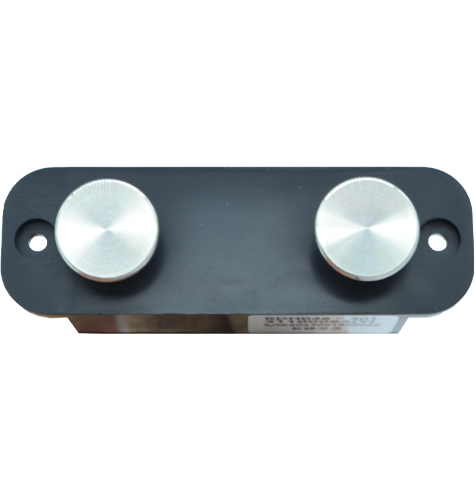
Each metal touch sensor features a 19.5mm diameter round face, 30mm threaded shaft with securing nut, and total length of 53mm from face to crimp. Cable length per sensor is approximately 490mm (including plug and sensor), making this kit suitable for thick upholstery and varied mounting locations: arm panels, console panels, seat sides, or cushion walls.
Quality Spare Parts from Sofa Rehab
Manufactured by Kaidi Electrical, this kit meets the same quality standards as those supplied to major furniture manufacturers worldwide. The 29v DC low-voltage design ensures safe operation, and the plug-and-play connection means no soldering or electrical modifications are required. Perfect for restoring functionality to your recliner without replacing the entire mechanism.
How It Fits and Works
The chrome sensors mount through the upholstery. Feed the sensor cables through to the underside of the upholstery or frame and plug them into the control box (one to one two to two). Mount or tie the control box securely, then connect the 5-pin DIN plug directly to the actuator. Press the chrome pads to drive the actuator up or down.
Technical Specifications
Technical Specifications
Technical Specifications
| Brand / Model | Kaidi KDH080B-305 or 31100587(Y) |
| Application | Single-actuator electric recliners and lounges (two-button open/close control) |
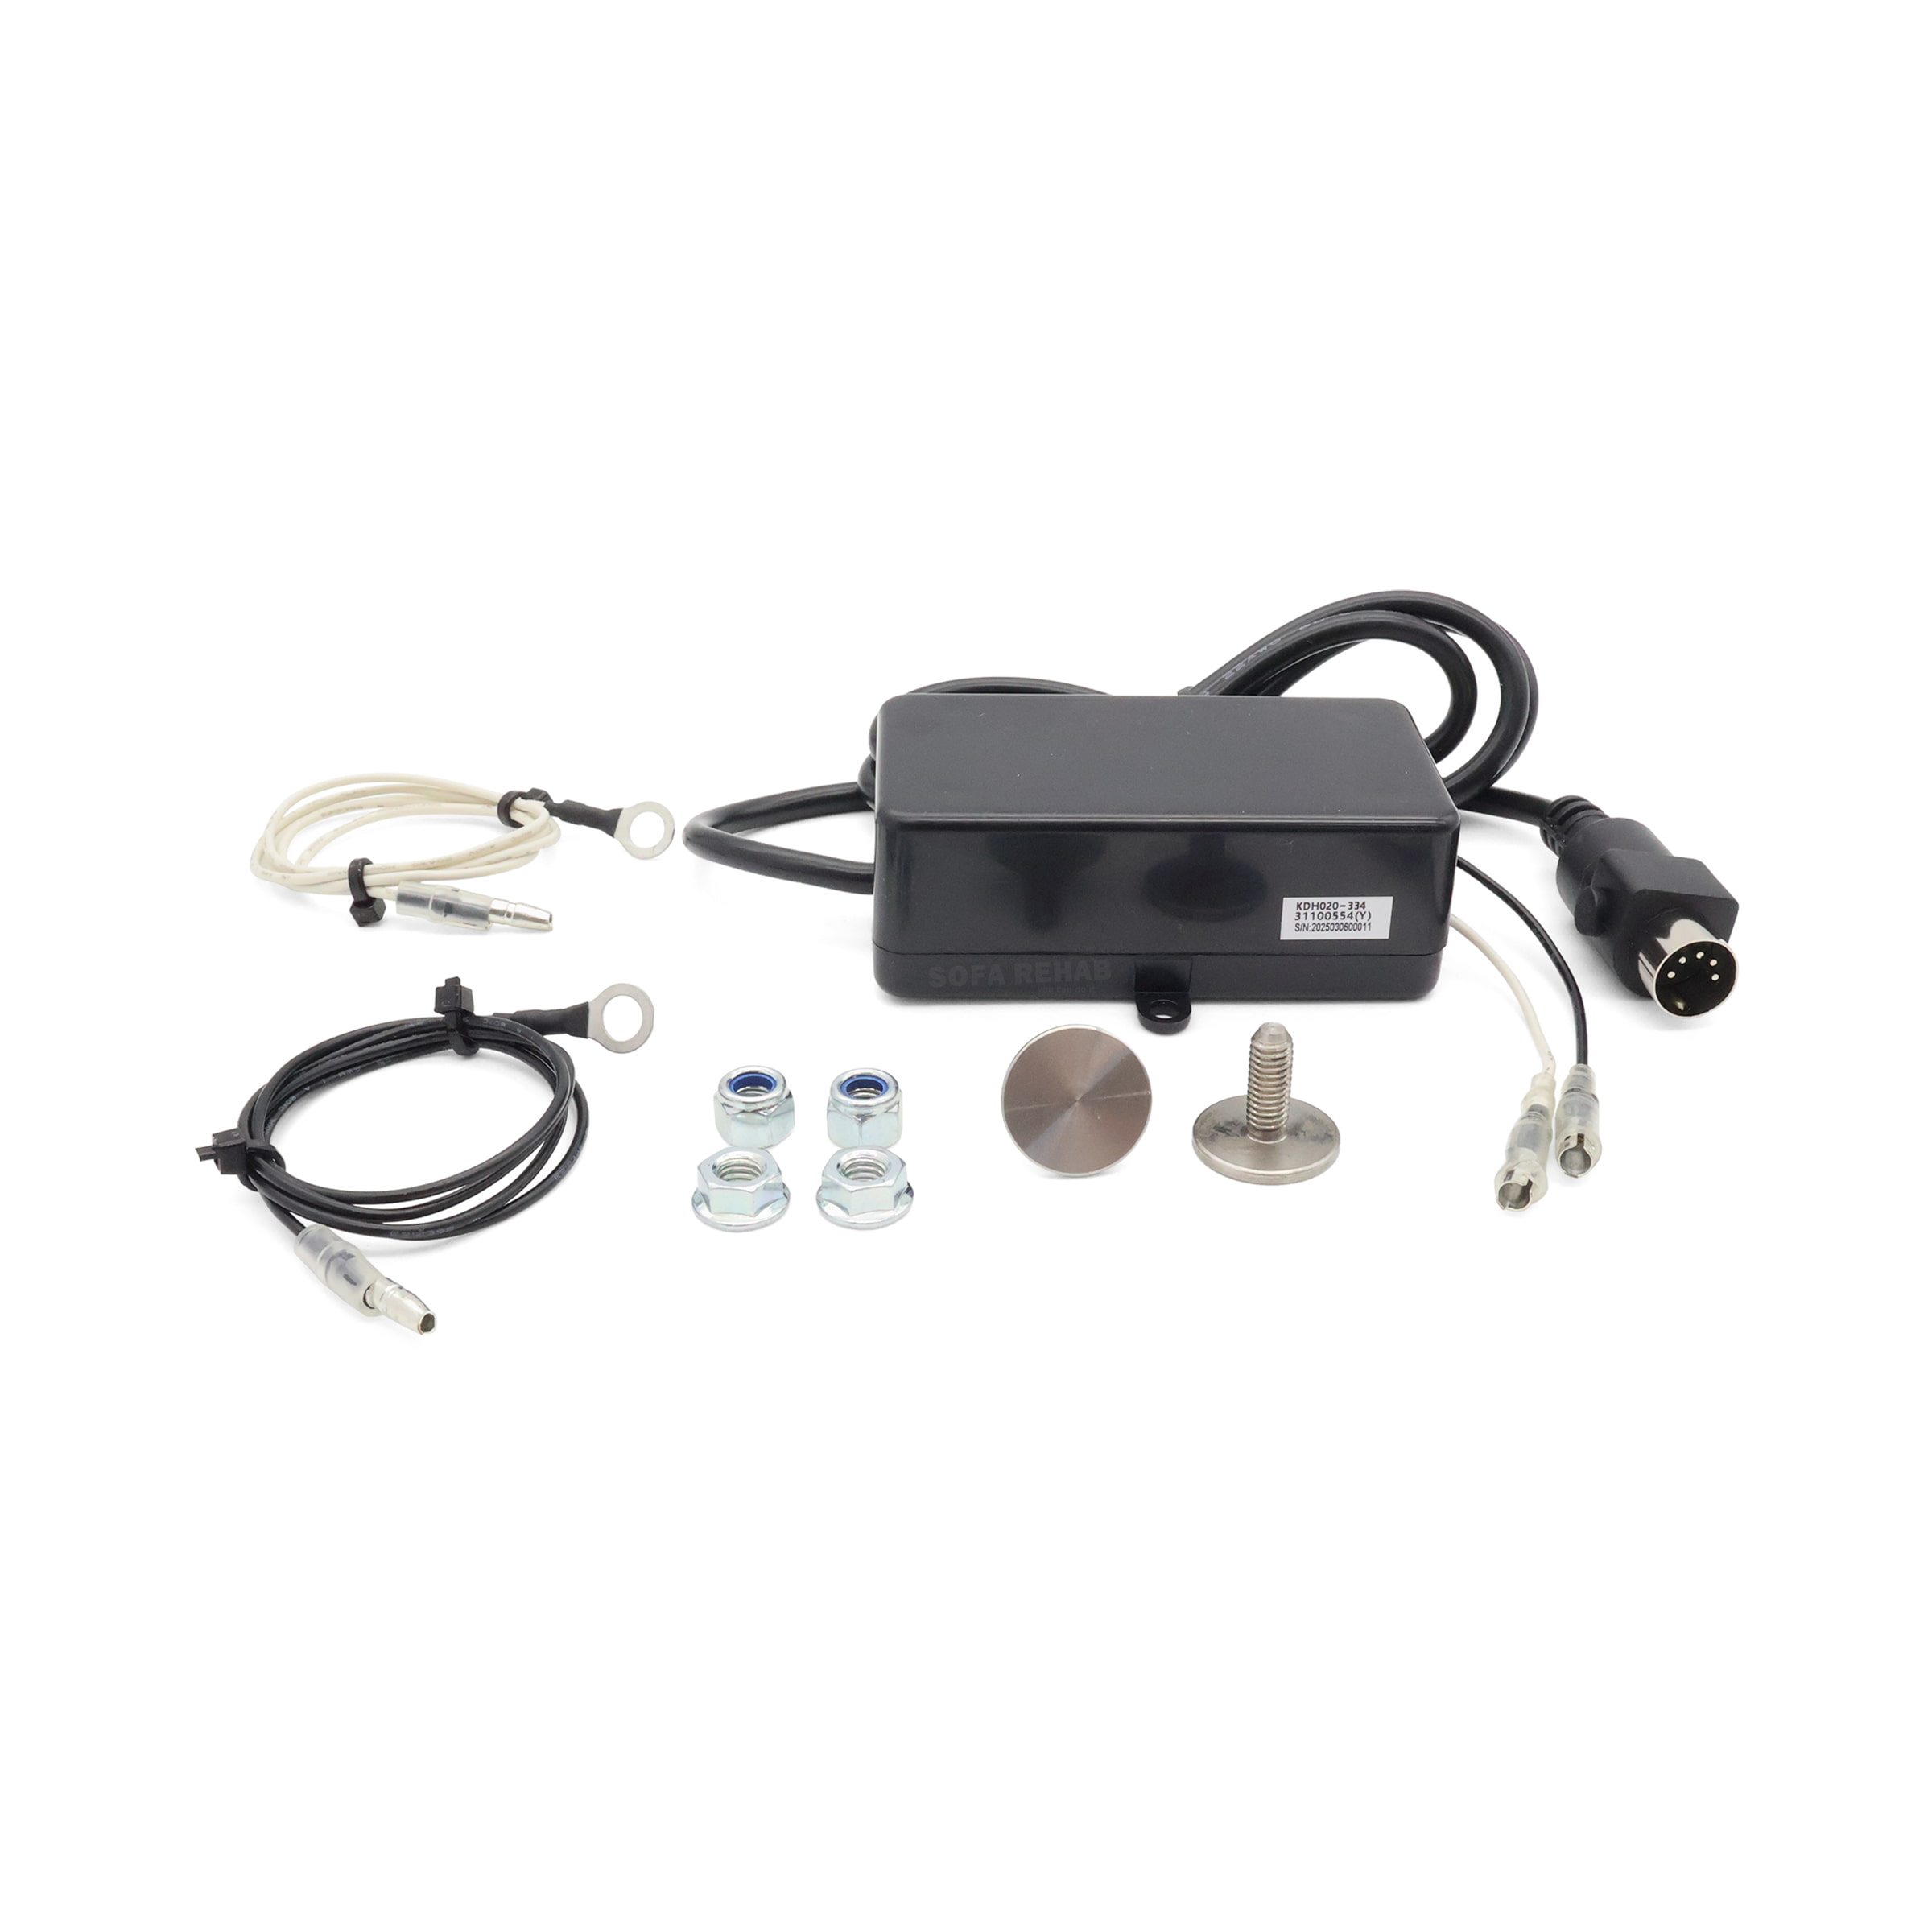
| Kit Contents | 1 x control box, 2 x metal touch sensors, pre-terminated cables |
| Control Box Dimensions | 86 mm (L) × 46 mm (W) × 32 mm (H) |
| Control Box Mounting | Two screw holes at each end for screws or zip ties (fixings not supplied) |
| Chair Connector | Male 5-pin DIN |
| Lead to 5-pin Plug | 2000 mm cable attached to control box |
| Sensor Leads from Control Box | Two leads labelled “1” and “2”, each 300 mm, terminating in female 3 mm DC sockets |
| Touch Sensors | Silver metal round pads, supplied with securing nut; male 3 mm DC plugs labelled “1” and “2” |
| Sensor Pad Diameter | 19.5 mm |
| Sensor Thread Length | 30 mm |
| Sensor Overall Length | 53 mm (from touch face to crimp) |
| Sensor Cable Length | Approx. 490 mm (including plug and sensor) |
| Electrical | Low-voltage control, 29 V DC system compatibility |
| Mounting Locations | Suitable for arm panels, console panels, seat-side walls, or cushion sides, including thicker upholstery |
| Compatibility Notes | Connect sensor “1” to port “1” and sensor “2” to port “2”. Confirm which input operates open versus close on your chair before final fitment, as direction can vary by wiring configuration. |
How To Tutorial
How To Tutorial
How to Install the Kaidi KDH080B-305 Touch Sensor Kit
Before You Start
- Safety first: Unplug the recliner’s transformer from the wall and remove any battery backup before working on the chair.
- Practise safe lifting: Recliners are heavy and awkward. Ask for assistance, lift with your legs, and avoid twisting while carrying.
- Take a “before” picture: Photograph the existing wiring, connectors, and sensor locations. This makes reassembly simple.
- Tools: Phillips screwdriver, zip ties, step drill or suitable drill bits, deburring tool, and a small spanner for the sensor nut.
Component Identification
- Control box: Labelled KDH080B-305. One end has a 2000 mm lead with a male 5-pin DIN plug. The other end has two leads labelled 1 and 2 with female 3 mm DC sockets.
- Sensors (x2): Silver metal touch pads with a male 3 mm DC plug and locking nut. Each sensor lead is labelled 1 or 2.
Step-by-Step Installation
- Isolate power. Disconnect the recliner from mains and remove any battery backup.
- Access the arm or panel. Gently tip the chair if required. Practise safe lifting. Remove any staples or clips needed to reach the mounting area.
- Position the control box. Choose a secure, dry location inside the arm cavity or base where cables will not be pinched by moving parts. Use the two mounting holes to fasten with screws or zip ties (fixings not supplied).
- Route the 5-pin lead. Run the control box’s 5-pin DIN lead clear of hinges and scissor arms. Keep cables slack through moving areas and secure with zip ties.
- Plan sensor locations. Decide where the two touch pads will be used (for example, upper for “open” and lower for “close”). Ensure the cable reach is sufficient and the rear of the panel has clearance for the threaded shaft and nut.
- Drill the holes. Mark centres and drill a pilot hole. Enlarge gradually with a step drill until the sensor shaft passes through snugly. Tip: Measure the sensor’s shaft just behind the pad and size the hole to suit. Deburr gently.
- Fit the sensors. Insert each sensor from the outside, seat the round face flush, and fasten with the nut from the inside. Do not over-tighten.
- Make the labelled connections. Plug sensor 1 → socket 1 and sensor 2 → socket 2 on the control box. Push connectors fully home.
- Connect to the chair harness. Plug the 5-pin DIN into the matching socket on the chair’s wiring loom or actuator junction.
- Initial test. Reconnect power. Lightly touch sensor 1, then sensor 2, and observe actuator direction. Important: The assignment of “open” and “close” can vary by chair wiring. Keep 1→1 and 2→2, and simply mount the sensor you want as “open” in the position you prefer (for example, top) and the other as “close”.
- Finalise cable management. Unplug power again. Secure all leads with zip ties, keeping them clear of moving parts and sharp edges. Restore panels and upholstery neatly.
- Final test and tidy up. Reconnect power and test both directions several times. Confirm smooth travel, no cable stretch, and that the sensors are firmly seated.
Troubleshooting Tips
- No movement: Confirm the transformer is plugged in, the 5-pin DIN is fully seated, and both sensor plugs are firmly connected to sockets 1 and 2.
- Reversed directions: Keep sensor 1 in socket 1 and sensor 2 in socket 2. Swap their physical mounting positions so the preferred pad becomes “open”.
- Intermittent operation: Check for pinched cables, loose zip ties, and ensure the sensor nuts are snug without over-tightening.
Reminder: Always work with power disconnected, practise safe lifting, and take clear before-and-after photos to document wiring and sensor placement.
Reviews (0)
Thank you for making an effort to leave a reivew but to protect against spam we only accept reviews from verified owners. Please proceed to login using the same email address you used when ordering the product.
Customer Login
- There are no reviews yet.
FAQs
FAQs
Is the Kaidi KDH080B-305 compatible with my recliner?
Yes, this is a universal single-motor touch-sensor kit using the industry-standard Kaidi 5-pin DIN plug. If your recliner uses a single actuator with this plug type, it will be compatible. Please confirm your existing part number or contact us if unsure.
What is included in the kit?
The kit includes one Kaidi KDH080B-305 control box with a 2000 mm 5-pin lead and two silver-metal touch sensors (labelled 1 and 2) with pre-terminated plugs and securing nuts.
How do I know which sensor opens and which closes the footrest?
Connect sensor 1 to port 1 and sensor 2 to port 2 on the control box, then briefly test before mounting. Depending on your recliner’s wiring, either sensor may operate the “open” or “close” function—mount them accordingly.
Can the touch sensors be installed in thick upholstery or console panels?
Yes. Each sensor has a 30 mm threaded shaft and 490 mm cable length, making it suitable for seat-side panels, armrests, or consoles with thick padding or fabric.
Do I need a professional to install it?
No. This Kaidi kit is designed for easy DIY replacement. Only basic hand tools are required, and you can follow our step-by-step written and video tutorials to complete the repair safely.