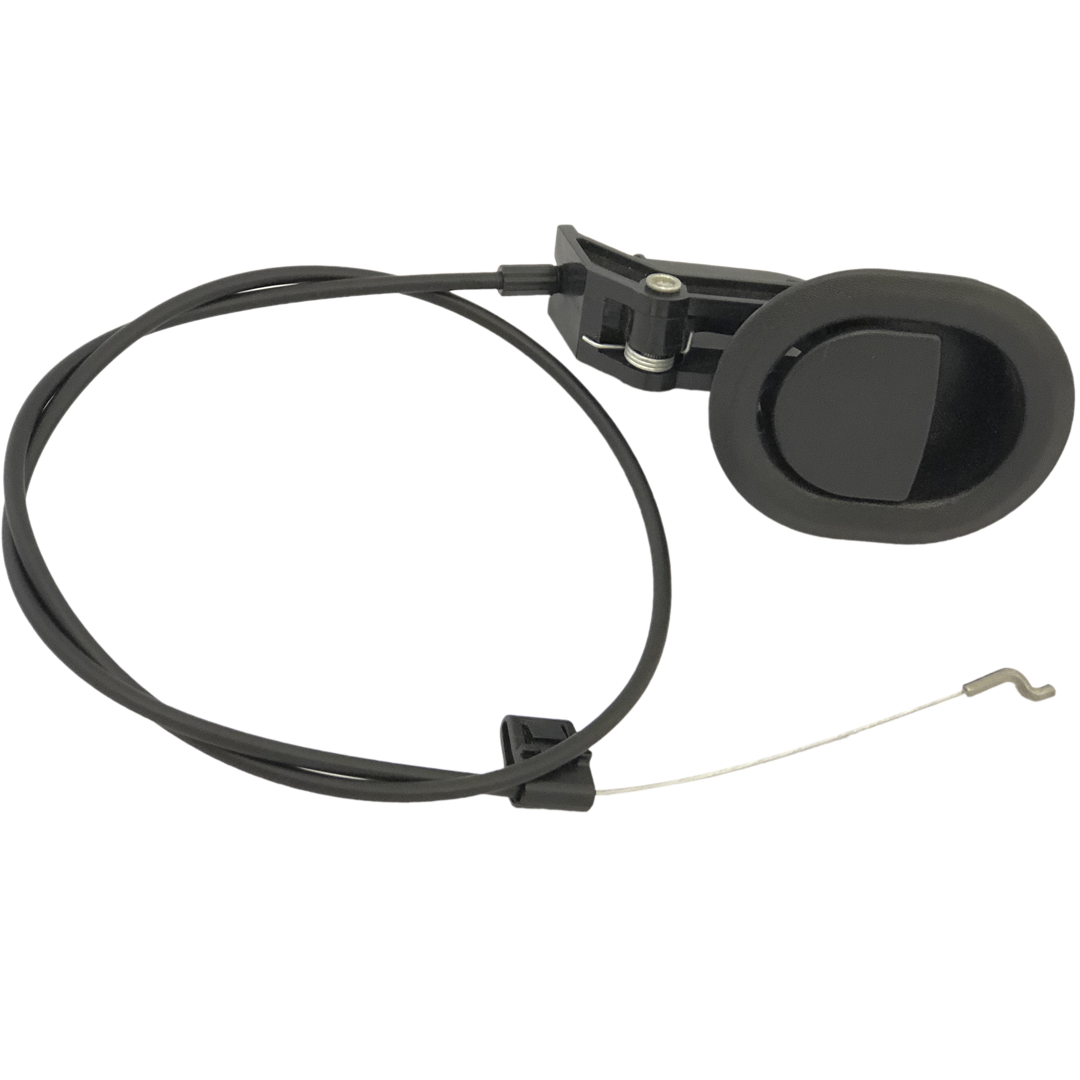
Electric Recliner Spare Parts, Seat Mounted Buttons
eMoMo E302DB Touch Sensor Kit
$79.99
In stock
Dual chrome touch sensor recliner switch kit eMoMo E302DB, designed as a complete replacement control system for electric recliner chairs and lounges. This kit includes two 20mm round metal touch sensors with threaded mounting, wiring leads, and a ZE302DB control box with standard 2 pin OI connections for power and actuator. eMoMo E302DB Touch Sensor Recliner Control Kit. Complete kit with 2x chrome touch sensors for up and down operation, connecting into the ZE302DB control box. Designed for single actuator recliners using the industry standard 2 pin OI plug system for simple plug-and-play installation. Need a Different Recliner Switch or Control System? See our wide range of replacement recliner seat mounted switches (click here) or contact us if you need help choosing the right match for your recliner. read more
In stock
- Description
- Technical Specifications
- How To Tutorial
- Reviews (0)
- FAQs
- Add a review
Description
Sleek Chrome Touch Sensor Recliner Switch Kit – eMoMo E302DB
Upgrade or replace your recliner’s control system with this eMoMo E302DB touch sensor kit, designed for electric recliner chairs, sofas and theatre lounges. Unlike traditional bulky switch panels, this system uses two discreet chrome touch sensors that mount directly through the upholstery, leaving only a clean, modern finish visible on the armrest.
This complete kit includes 2x 20mm round metal touch sensors (with threaded shafts), wiring leads, and the ZE302DB control box. It is designed to operate a single actuator recliner with simple up and down functionality. The system connects via standard 2 pin OI plugs, making it compatible with many common recliner power setups.
This system offers smooth, reliable operation with a sleek appearance. The two touch sensors can be mounted into the armrest, seat wall, or console panel, making it ideal for both fabric and leather recliners.
Minimalist Design with Concealed Mounting
The standout feature of this kit is its low-profile design. Each touch sensor is mounted through the furniture upholstery using a threaded shaft and rear connector, securely holding the material in place while keeping the visible surface clean and uncluttered.
Only the two chrome sensor buttons are visible once installed, making this an excellent choice for modern lounges or theatre seating where aesthetics matter. It’s also a great solution for replacing worn or damaged switch panels with something more subtle and streamlined.
The threaded 31mm sensor shafts and double-nut fittings ensure a secure hold, even in thicker upholstered panels, while the compact control box (86mm × 45mm × 33mm) allows flexible installation options using screws or cable ties.
Complete Kit with Control Box and Standard Connections
This is a full replacement system, not just a switch. The included ZE302DB control box acts as the central hub, connecting the touch sensors to both the actuator and the power supply.
The control box features:
- 2x input leads for the touch sensors (up and down)
- 1x female 2 pin OI plug with retaining clip for actuator connection
- 1x male 2 pin OI plug for connection to the power transformer
This standard configuration is commonly used across many electric recliner brands and models, making it a versatile replacement option when the model number and plug types match.
Quality Spare Parts from Sofa Rehab
Sofa Rehab are Australia’s leading supplier of recliner spare parts and leather repair kits. We only stock quality genuine and compatible replacement parts to help you keep your furniture working for years to come. Contact our team if you need help identifying the right replacement switch for your recliner.
Simple, DIY-Friendly Installation
You don’t need to be an electrician to replace this part. With only a screwdriver or pliers, the installation can be completed in just a few minutes. The kit’s plug-and-play connectors and threaded sensor shafts make it easy for anyone to fit.
We provide detailed step-by-step guides and video tutorials to help you through the process — you can do it yourself and save on costly professional repair services.
Technical Specifications
Technical Specifications
| Product Type | Touch sensor control kit for electric recliners |
|---|---|
| Brand | eMoMo Tech |
| Model Number | E302DB |
| Control Box Label | SN: ZE302DB |
| Recliner Type | Electric recliner with single actuator |
| Functions | 2 button operation (up and down) |
| Visible External Components | 2 x chrome round touch sensors |
| Sensor Diameter | 20mm |
| Sensor Thread Length | 10mm |
| Sensor Mounting Style | Threaded rear mount through upholstery |
| Sensor Quantity | 2 |
| Sensor Positions | Up sensor and down sensor |
| Sensor Connection | Each sensor screws into its rear sensor electronics plug |
| Control Box Inputs | 2 x sensor input leads |
| Actuator Connection | 1 x female 2 pin OI plug with retaining clip |
| Power Connection | 1 x male 2 pin OI plug |
| Plug Type | 2 pin OI |
| Installation Type | Plug and play wiring with sensor mounting through upholstery |
| Kit Contents | 2 x chrome touch sensors, 2 x sensor plugs, 1 x ZE302DB control box with attached leads |
| Application | Electric recliner chairs, sofas and lounges |
How To Tutorial
How To Tutorial
How to Install the eMoMo E302DB Touch Sensor Kit
Before starting, disconnect the recliner from the power supply and make sure the furniture is in a stable position with enough room to work safely. If the recliner is heavy, ask another person to help move or tilt it. Always use safe lifting techniques by bending your knees, keeping your back straight, and avoiding twisting while carrying or repositioning the furniture.
It is also a smart idea to take a few clear photos of your existing switch, cabling and plug layout before removal. These reference photos can make installation much easier if you need to check where each lead was originally connected.
Step 1: Disconnect the Power
Unplug the recliner from the wall power outlet and disconnect the transformer from the chair if needed. Never work on the electrical components while the recliner is connected to power.
Step 2: Gain Access to the Existing Switch and Wiring
Carefully move the recliner forward so you can access the underside or rear of the armrest where the switch wiring is located. If you need to lay the recliner on its side, do so carefully and only with assistance if the furniture is bulky or heavy. Remove any dust cover or upholstery staples only as much as needed to reach the existing switch and control box area.
Step 3: Take Reference Photos
Before disconnecting anything, take a clear photo of the existing wiring, plug positions and mounting layout. This is especially helpful if your recliner has multiple cables routed close together.
Step 4: Remove the Old Switch System
Disconnect the old switch and control box from the actuator and power leads. If your recliner already uses a similar touch sensor system, remove the old sensors from the upholstery. If you are replacing a different type of switch, remove it carefully and check whether the existing mounting holes are suitable for the new 20mm touch sensors.
Step 5: Fit the New Touch Sensors
Insert each chrome touch sensor through the upholstery from the outer side of the armrest so that only the metal sensor face remains visible. From the rear, screw each sensor into its matching sensor electronics plug so that the upholstery is clamped securely between the front sensor head and the rear fitting. Do not overtighten. Tighten only enough to hold the sensor firmly in place without damaging the upholstery.
Step 6: Connect the Sensor Leads to the Control Box
Plug the two touch sensor leads into the matching inputs on the ZE302DB control box. Make sure the up and down sensors are connected in the intended positions so the recliner operates correctly.
Step 7: Connect the Actuator and Power Leads
Connect the female 2 pin OI plug with retaining clip from the control box to the recliner actuator lead. Then connect the male 2 pin OI plug from the control box to your recliner’s power supply lead. Check that all plugs are fully pushed together and the retaining clip is secure where applicable.
Step 8: Test Before Reassembly
Reconnect the power and carefully test both touch sensors before closing up the upholstery or refitting any dust cover. Confirm that one sensor operates the recliner in the up direction and the other in the down direction. If the functions are reversed, switch the sensor lead positions if applicable.
Step 9: Refit Upholstery or Dust Cover
Once testing is complete, tuck the wiring neatly away from any moving parts of the mechanism. Refit any dust cover, staples or upholstery sections that were removed for access. Make sure no cables can be pinched, stretched or rubbed during normal recliner operation.
Step 10: Final Check
Return the recliner to its normal position using safe lifting techniques and with help if needed. Test the recliner once more in its normal upright position to confirm smooth operation and correct cable routing.
If you are unsure about compatibility or installation, please contact us before ordering or fitting the part and we will be happy to help.
Reviews (0)
Thank you for making an effort to leave a reivew but to protect against spam we only accept reviews from verified owners. Please proceed to login using the same email address you used when ordering the product.
Customer Login
- There are no reviews yet.
FAQs
FAQs
How do I know if this E302DB kit is the right replacement for my recliner?
The easiest way to confirm compatibility is by checking your existing control box. This kit is designed to replace systems labelled E302DB or ZE302DB. You should also confirm that your recliner uses a 2 button (up/down) system and has 2 pin OI plugs. If you're unsure, feel free to contact us and we’ll help you identify the correct part.
What type of recliners is this touch sensor kit suitable for?
This kit is designed for electric recliners with a single actuator, meaning it controls basic functions like footrest open and close. It is not suitable for recliners with additional features such as headrest or lumbar controls that require multi-button switches.
Is this difficult to install myself?
Not at all. This is a DIY-friendly replacement with plug-and-play connections. The wiring simply connects to your actuator and power supply. The touch sensors mount through the upholstery using the threaded shaft and rear connector. Basic tools and a little care are all that’s required.
Do I need to cut or modify my recliner to install the sensors?
In most cases, yes. The sensors are designed to be mounted through the upholstery, so you may need to create 20mm holes if your chair doesn’t already have suitable openings. If you're replacing an existing touch sensor system, the holes may already be there.
What’s included in this kit?
This is a complete control system, including 2x chrome touch sensors (up & down), sensor wiring leads, and the ZE302DB control box. The control box includes both the actuator connection (female OI plug) and power input (male 2 pin OI plug), so you have everything needed for installation.