Kaidi 4 Button Switch KDH049-302(L)
$79.00
In stock
Genuine Kaidi KDH049-302(L) four-button side-arm switch for dual-motor recliner chairs, lounges and theatre settings. Chrome screw in and adjustable 15mm buttons control foot- and head-rest motors, housing slots into a 54mm round cut-out and secures with four screws. Pre-wired with twin 1.92m 5-pin DIN leads—red-ring plug goes to the head-rest actuator, plain plug to the foot-rest. This is the left hand operated switch when seated. 4-Button Left-Hand Dual-Motor Recliner Arm Switch. Plug-and-play with Kaidi motion systems used by Nick Scali and many other brands. Match the red-band lead to the head-rest port, tighten four screws, and you’re relaxing again in under 1 hour. Need the right-hand version or another model? Browse our recliner arm switches (click here) or contact us for help finding the exact replacement. read more
In stock
- Description
- Technical Specifications
- How To Tutorial
- Reviews (0)
- FAQs
- Add a review
Description
Left-Hand 4 Button Dual-Motor Arm Switch – Kaidi KDH049-302(L)
Restore full motion control to your dual-motor recliner with this genuine Kaidi KDH049-302(L) spare part. The compact 62mm square housing slips into a 54mm round cut-out inside the arm, leaving only four chrome 15mm buttons visible for a clean finish. Each pair of buttons operates one actuator: front/rear for the foot-rest, top/bottom for the head-rest.
Need the Right-Hand Version?
You’re viewing the KDH049-302(L) switch, designed for the left-hand arm (inside face closest to the seat).
If your recliner’s control panel is on the right arm, choose the mirror-image KDH048-301(R) version (click here) instead.
We're Australia's Leading Supplier of Recliner Chair Spare Parts
As an original Kaidi component, this switch matches the factory wiring and button feel of Nick Scali lounges sold across Australia and NZ, plus many international brands that source motion furniture from Kaidi. Using OEM parts ensures correct debounce timing and protects your motors from jerky starts.
Save Time & Money and Do It Yourself
Why pay for an in-home technician? With clear instructions, no prior experience and only a screwdriver, you can finish the job in under 1 hour, feel the satisfaction of a job well done and keep more dollars in your pocket. Remember, You Can Do It!
Technical Specifications
Technical Specifications
Technical Specifications
| Part Number | Kaidi KDH049-302(L) – left-hand orientation (mirror version: KDH049-301(R)) |
|---|---|
| Control Functions | 4 tactile buttons – Foot-rest ▲ / ▼ | Head-rest ▲ / ▼ |
| Button Size / Finish | Ø 15 mm screw-on chrome-plated metal caps, 10 mm spacing |
| Switch Housing | 62 mm × 62 mm bezel, black plastic |
| Panel Cut-Out | 54 mm round aperture Minimum cavity depth ≥ 26 mm |
| Mounting Method | 4 × self-tapping screws (not supplied) |
| Harness Length | 1,920 mm (rear of switch shell to start of each DIN shell) |
| Connectors |
|
| Voltage / Signal | Low-voltage DC logic (24 – 29 V) carried through 5-pin loom |
| Typical Fitment | Nick Scali dual-motor recliners (AU / NZ) and other Kaidi-powered chairs worldwide |
| Installation Position | Inside face of the left arm, hidden under upholstery – only the four chrome buttons exposed |
How To Tutorial
How To Tutorial
Step-by-Step Installation – Kaidi KDH049-302(L) (DIY Time ≈ 1 hour)
- Disconnect & De-energise
Unplug the recliner from the wall and wait 2 minutes for the transformer to discharge. - Create a Safe Work Area
Clear a space and lay down a blanket to protect upholstery.
Team-lift the chair (weights can exceed 40 kg); lift only by the frame. - Take a Reference Photo
Snap a quick picture of the wiring and plug routing before touching anything. - Disconnect the Wiring
• Plain 5-pin DIN → foot-rest actuator.
• Red-band 5-pin DIN → head-rest actuator.
Release any cable ties. - Remove the Arm Carcass
Tip the chair so the left arm faces upward.
Undo the frame screws/bolts and lift the arm away. - Expose the Switch Housing
Peel back upholstery and foam until the black 62 mm housing and its four screws are visible. - Remove the Old Switch
Unscrew the four chrome metal caps (counter-clockwise).
Remove the four mounting screws (keep for size reference).
Withdraw the switch through the 54 mm cut-out. - Install the New Switch
Feed the new harness through the cut-out first.
Orient the buttons correctly (front = foot-rest ▲, rear = foot-rest ▼, top = head-rest ▲, bottom = head-rest ▼).
Secure with four self-tapping screws (3.5 mm × 16 mm, not supplied).
Re-fit the chrome caps finger-tight. - Reconnect the Plugs
Route the harness as per your photo.
Plug the red-band DIN into the head-rest motor and the plain DIN into the foot-rest motor until they click. - Re-dress Upholstery
Press foam back, clear fibres from button wells, and ease fabric/leather over the four caps without tearing. - Re-assemble & Test
Bolt the arm back onto the frame, return the chair upright with help, and reconnect power.
Test every direction on both motors – smooth motion confirms success.
Reviews (0)
Thank you for making an effort to leave a reivew but to protect against spam we only accept reviews from verified owners. Please proceed to login using the same email address you used when ordering the product.
Customer Login
- There are no reviews yet.
FAQs
FAQs
How can I tell if I need the left-hand (KDH049-302 L) or right-hand (KDH049-301 R) switch?
Look at the arm where the buttons sit. If the control panel is on the inside face of the left arm (nearest the seat cushion when you’re sitting down), you need the KDH049-302 (L). If it’s on the inside face of the right arm, choose the KDH049-301 (R) instead.
Will this switch work in my recliner if it isn’t a Nick Scali model?
Yes—so long as your chair uses Kaidi’s 5-pin DIN signal system for a dual-motor set-up. Many Australian and NZ brands (and plenty overseas) source their motion furniture from the same Kaidi factories. Match the two 5-pin plugs and you’re good to go.
Are the mounting screws supplied?
No. The switch ships exactly as pictured; you’ll re-use your original four screws or supply new #6 (3.5 mm) self-tappers about 16 mm long. The bezel and fixing holes line up with the standard Kaidi template.
Do I really have to strip the arm upholstery to change the switch?
In most cases, yes. The housing is buried under foam and fabric, so you’ll need to peel back the padding far enough to reach the four screws. Allow about an hour and follow our step-by-step guide—no specialist tools beyond a basic upholstery tools, screwdriver and pliers.
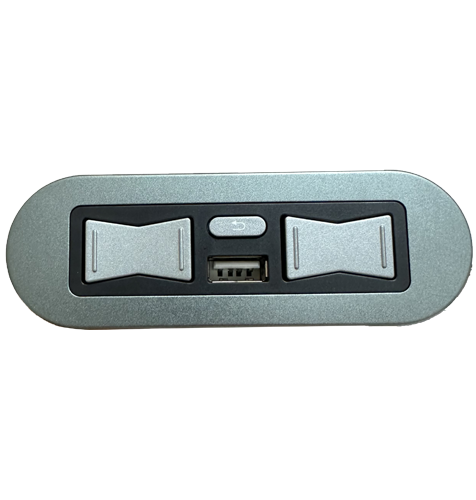
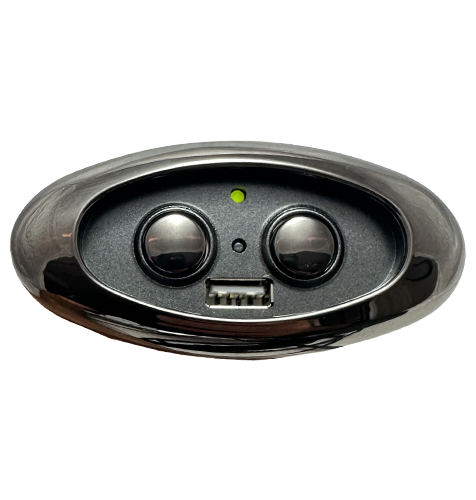
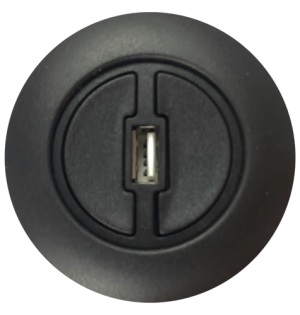
My old switch has only two buttons (or a USB port); can I swap in this four-button model?
Only if your chair already has two separate motors waiting to be controlled. A single-motor chair won’t accept a 4-button panel. If you need a 2-button Kaidi unit or a version with USB charging, check our full range of arm switches or ask us for help finding the exact replacement.