Okin JLDP.05.068.005 Control Box
$150.00
In stock
Replacement control box for single-motor electric recliners and lift chairs using the Okin JLDP.05.068.005. This inline unit arrives with a captive 5-pin male DIN plug for your 29 V transformer and a 5-pin female DIN socket sporting a retaining clip for the handset/motor. One-touch logic runs the actuator fully open or closed at a tap, while overload protection guards the mechanism. Single-Motor 5-Pin Recliner Control Box. Fully plug-and-play with any JLDP.05 single-motor setup—just match the model code and enjoy smooth, reliable motion again. Ideal replacement for Smart Comfort, Harvey Norman, Amart and other popular lounges. Looking for a Dual-Motor or Other JLDP Model? Browse our complete range of recliner control boxes (click here) or chat with our repair team for free guidance. read more
In stock
- Description
- Technical Specifications
- How To
- Reviews (0)
- FAQs
- Add a review
Description
Single-Motor 5-Pin Recliner Control Box – JLDP .05 Replacement
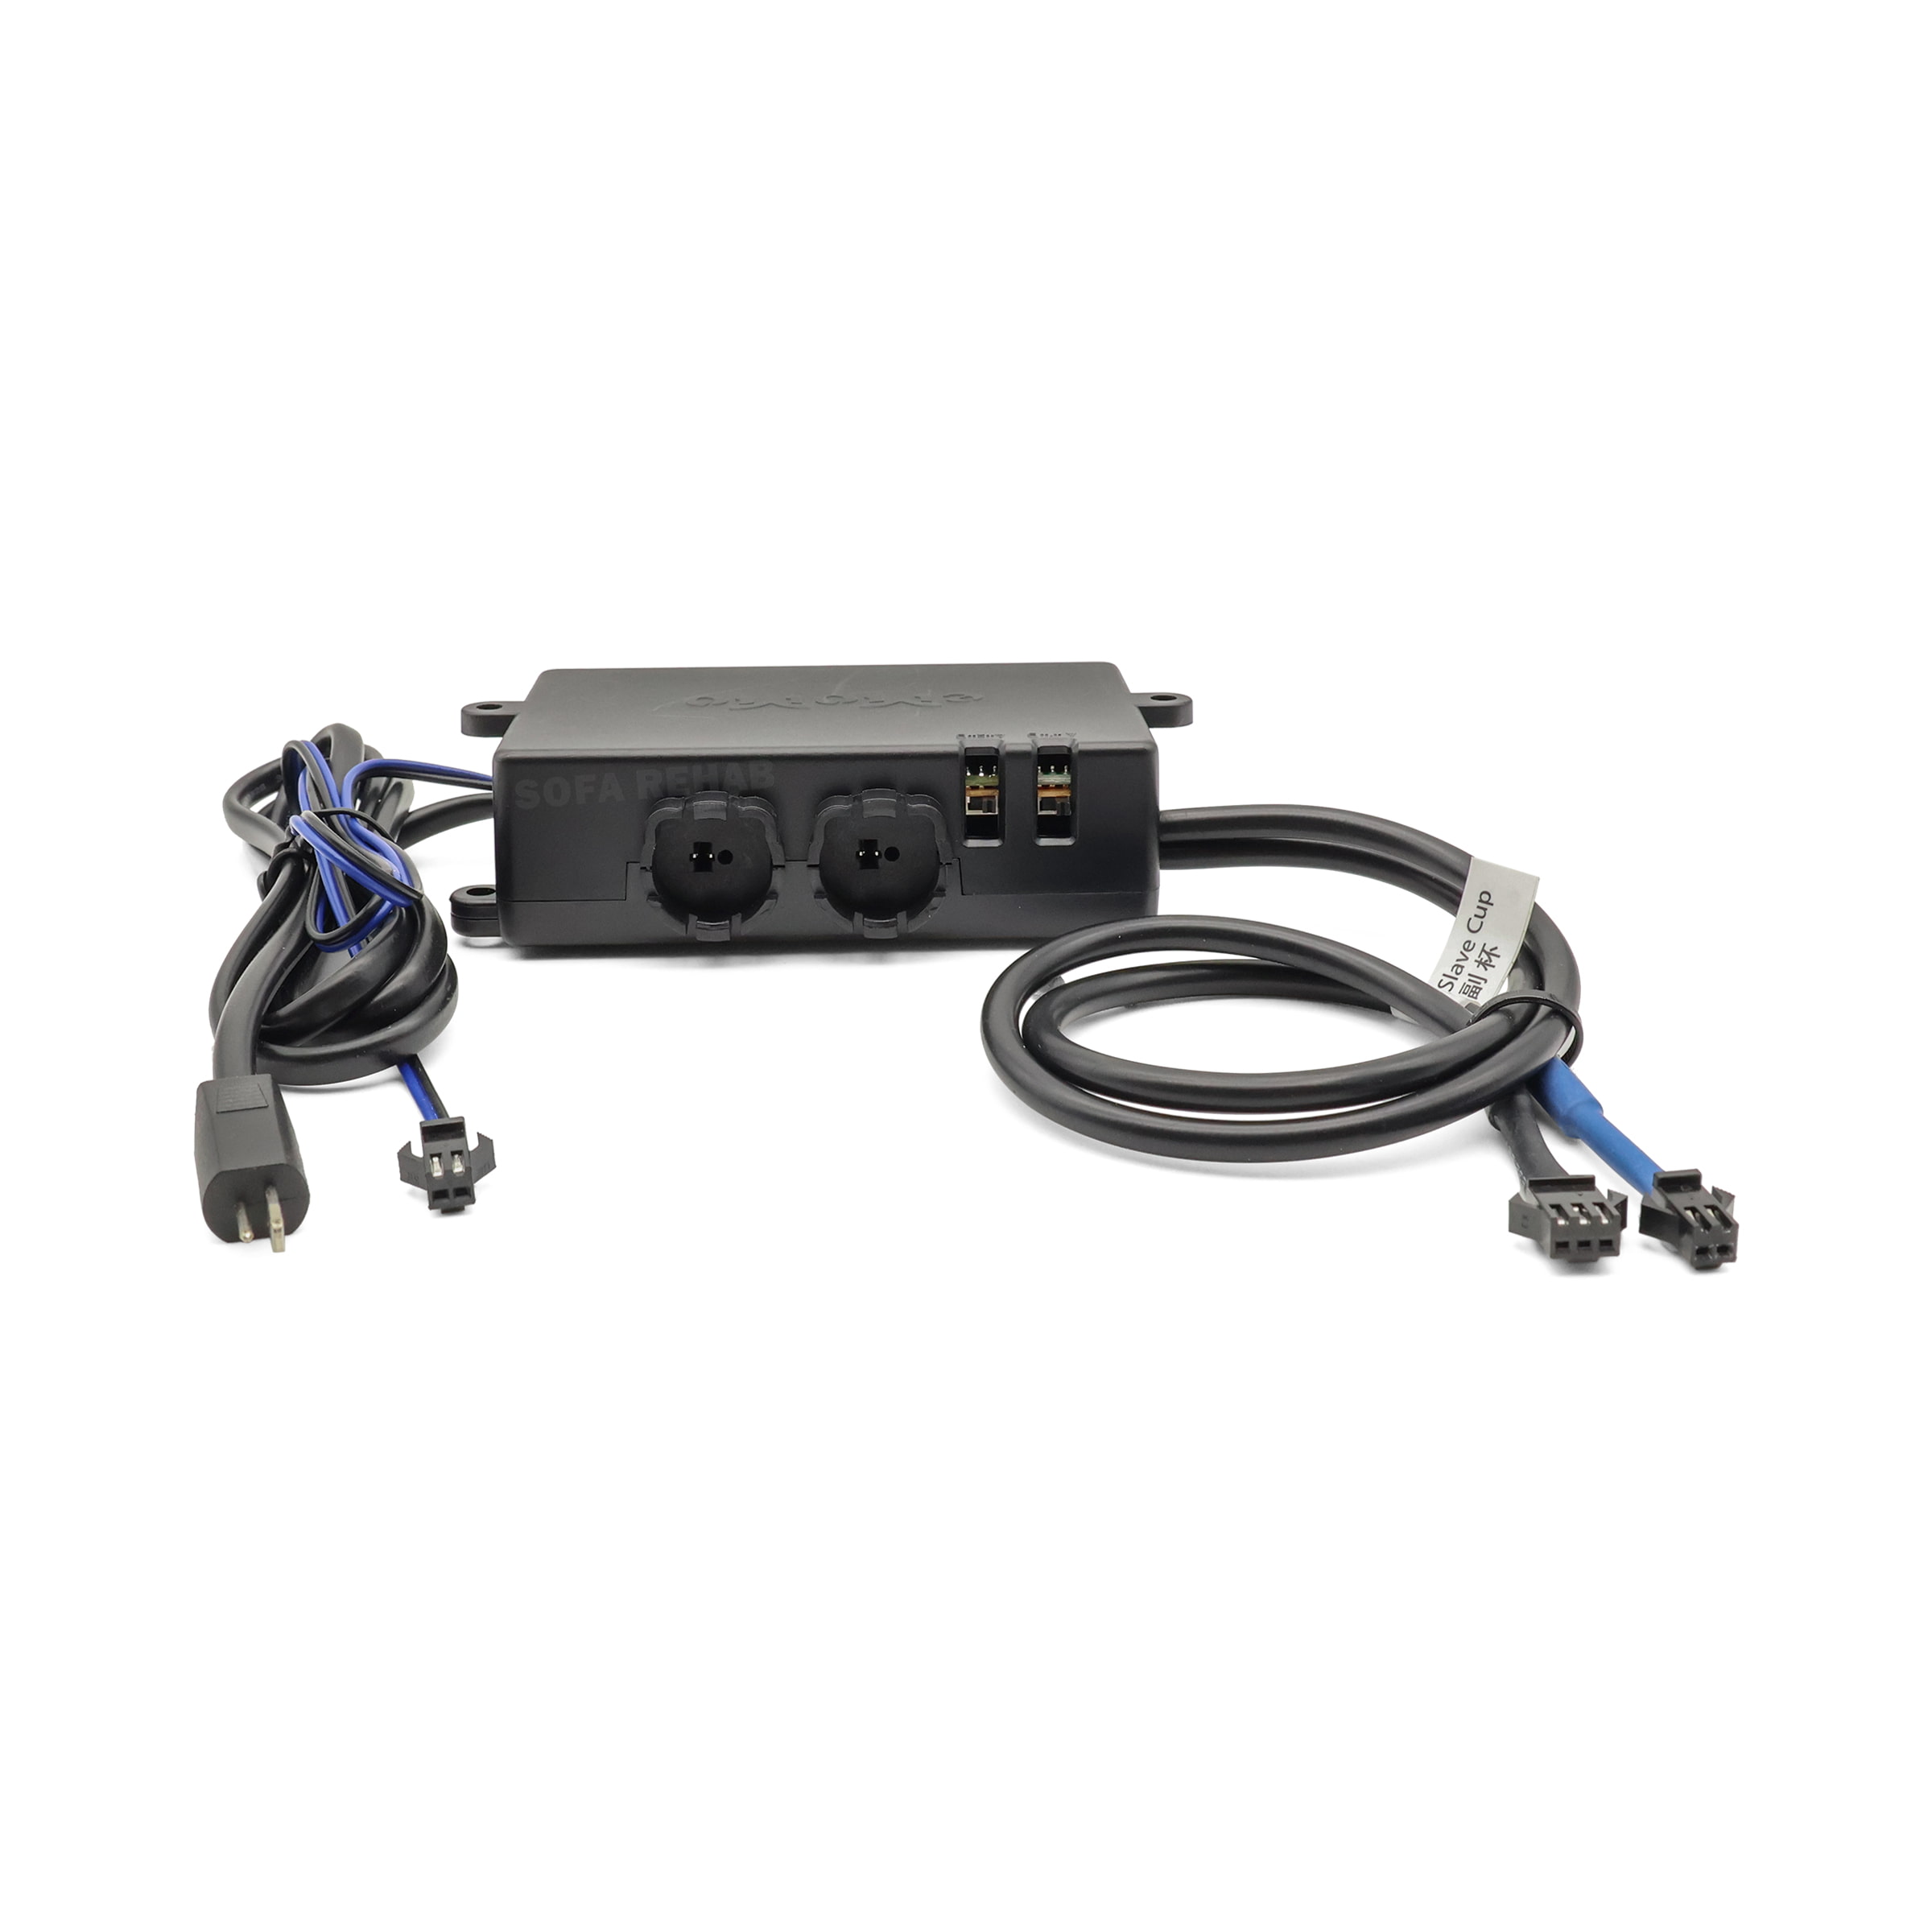
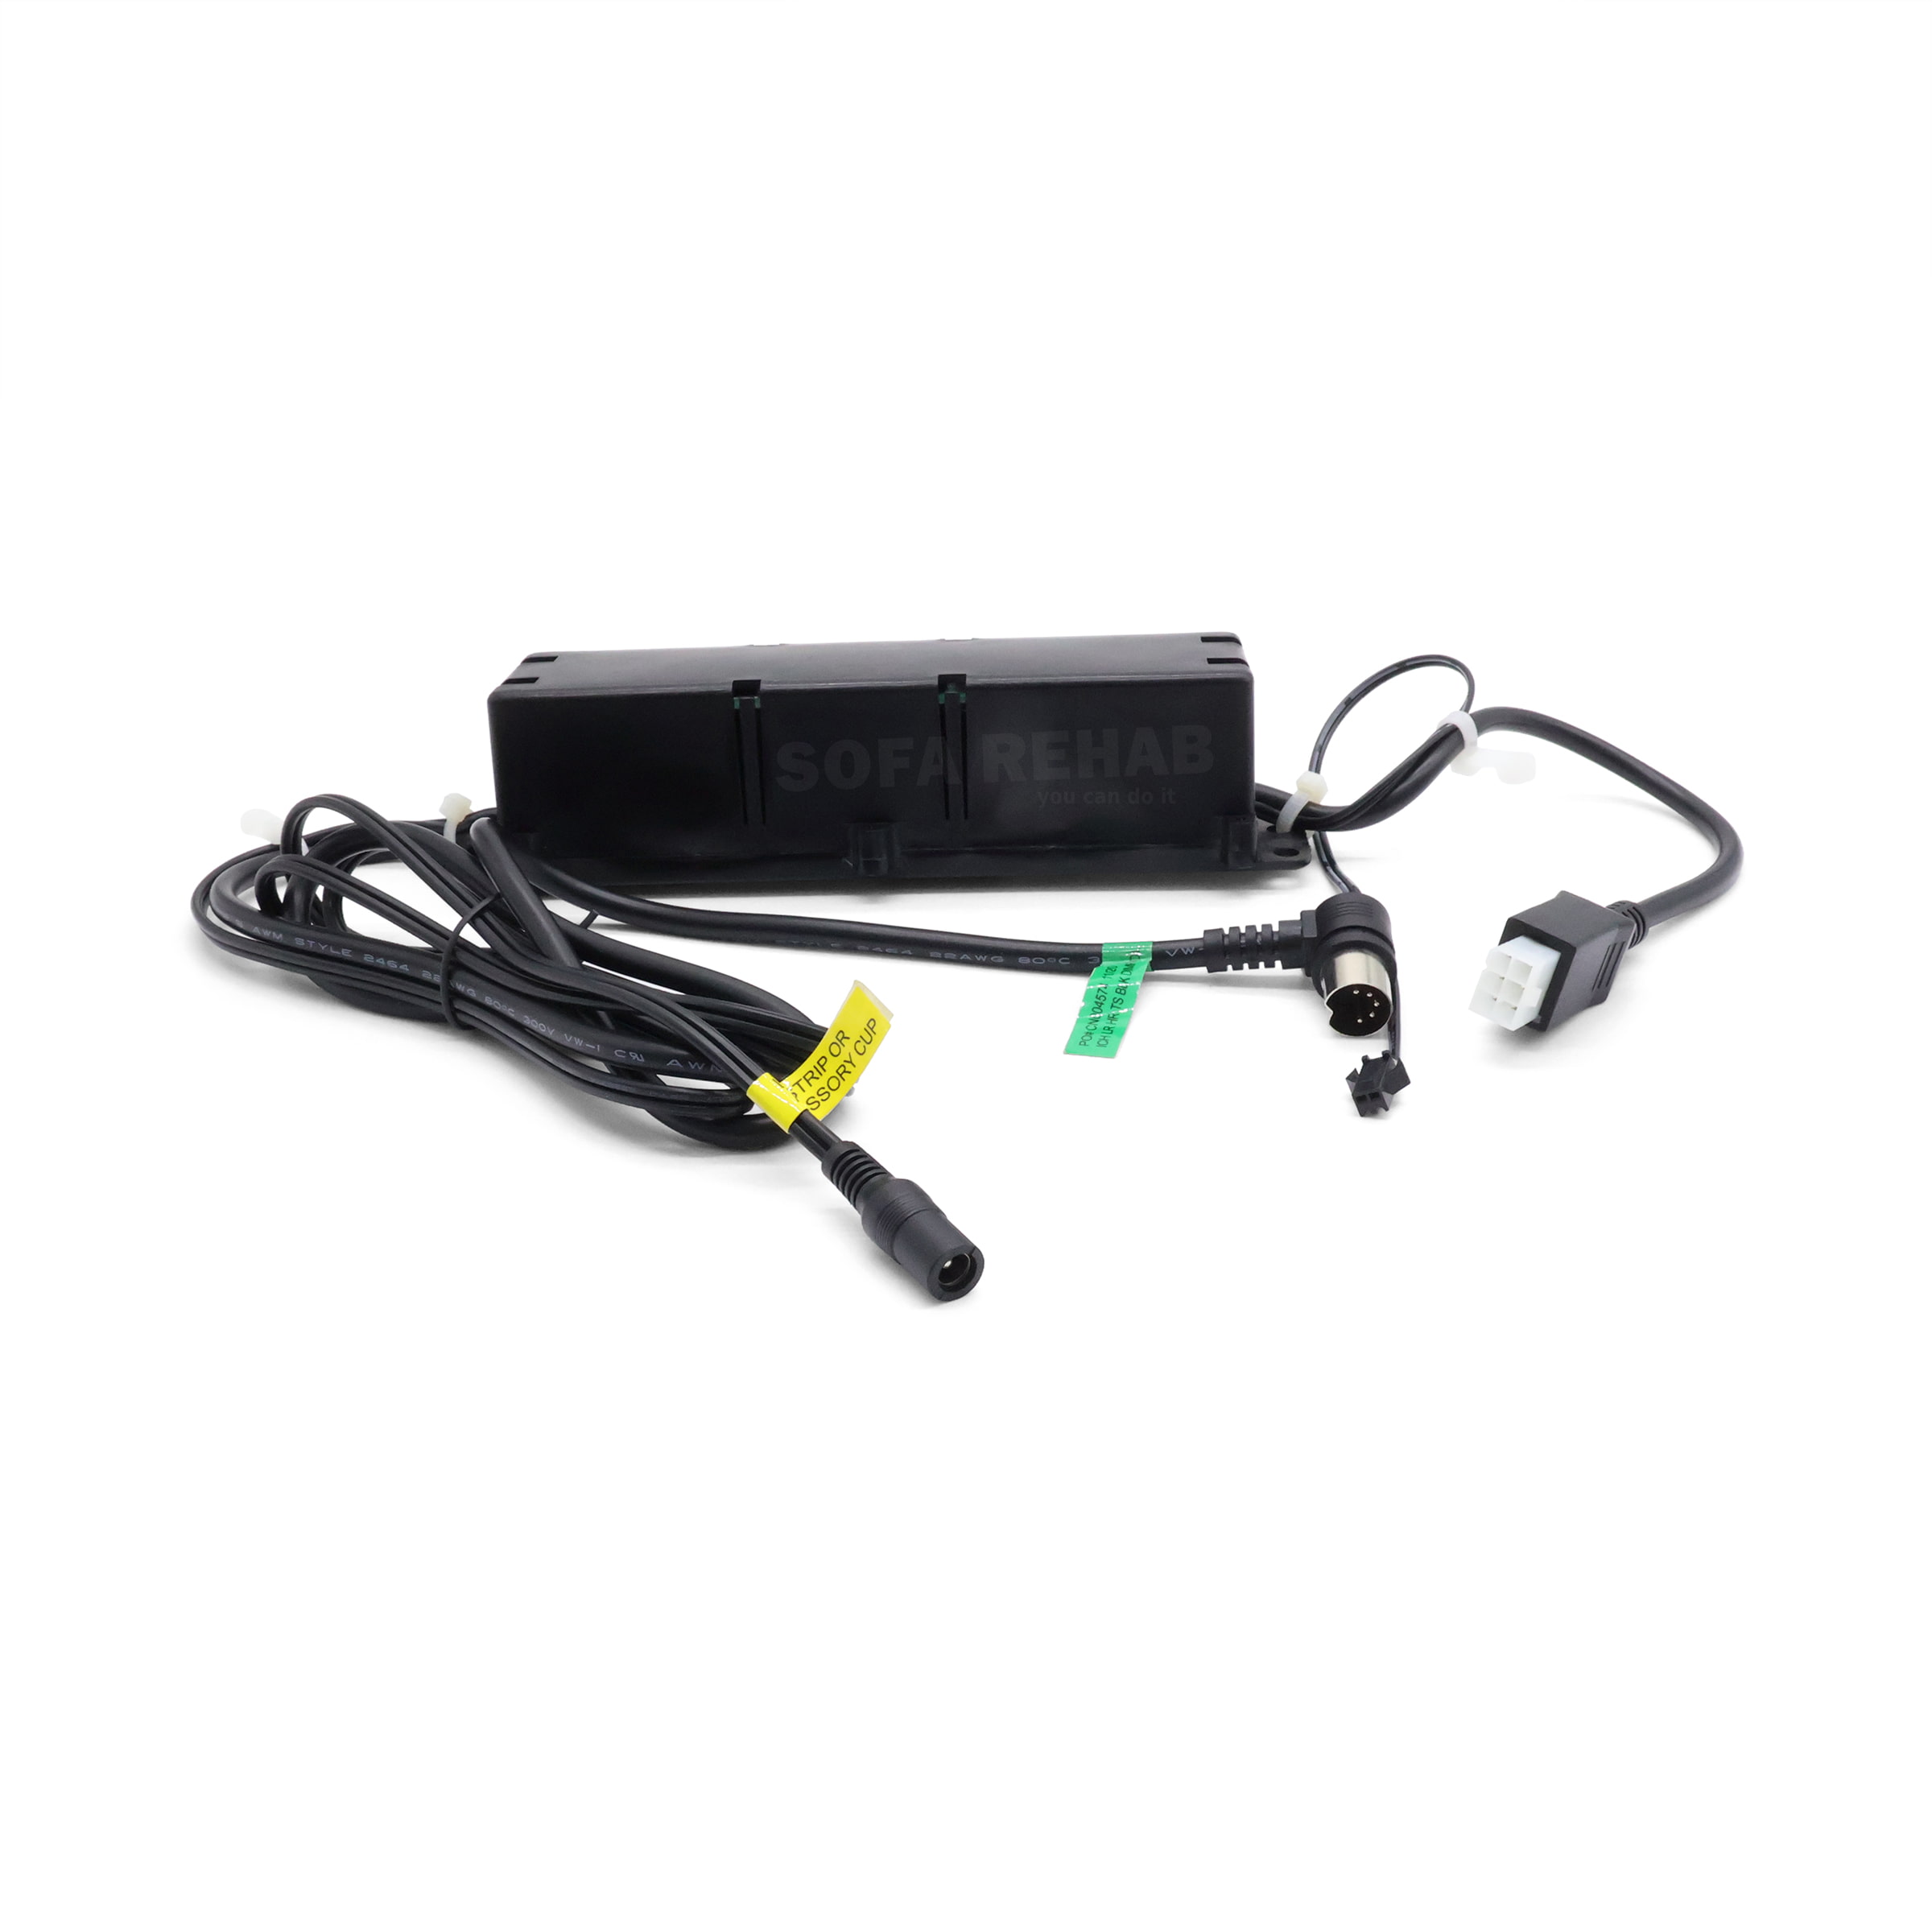
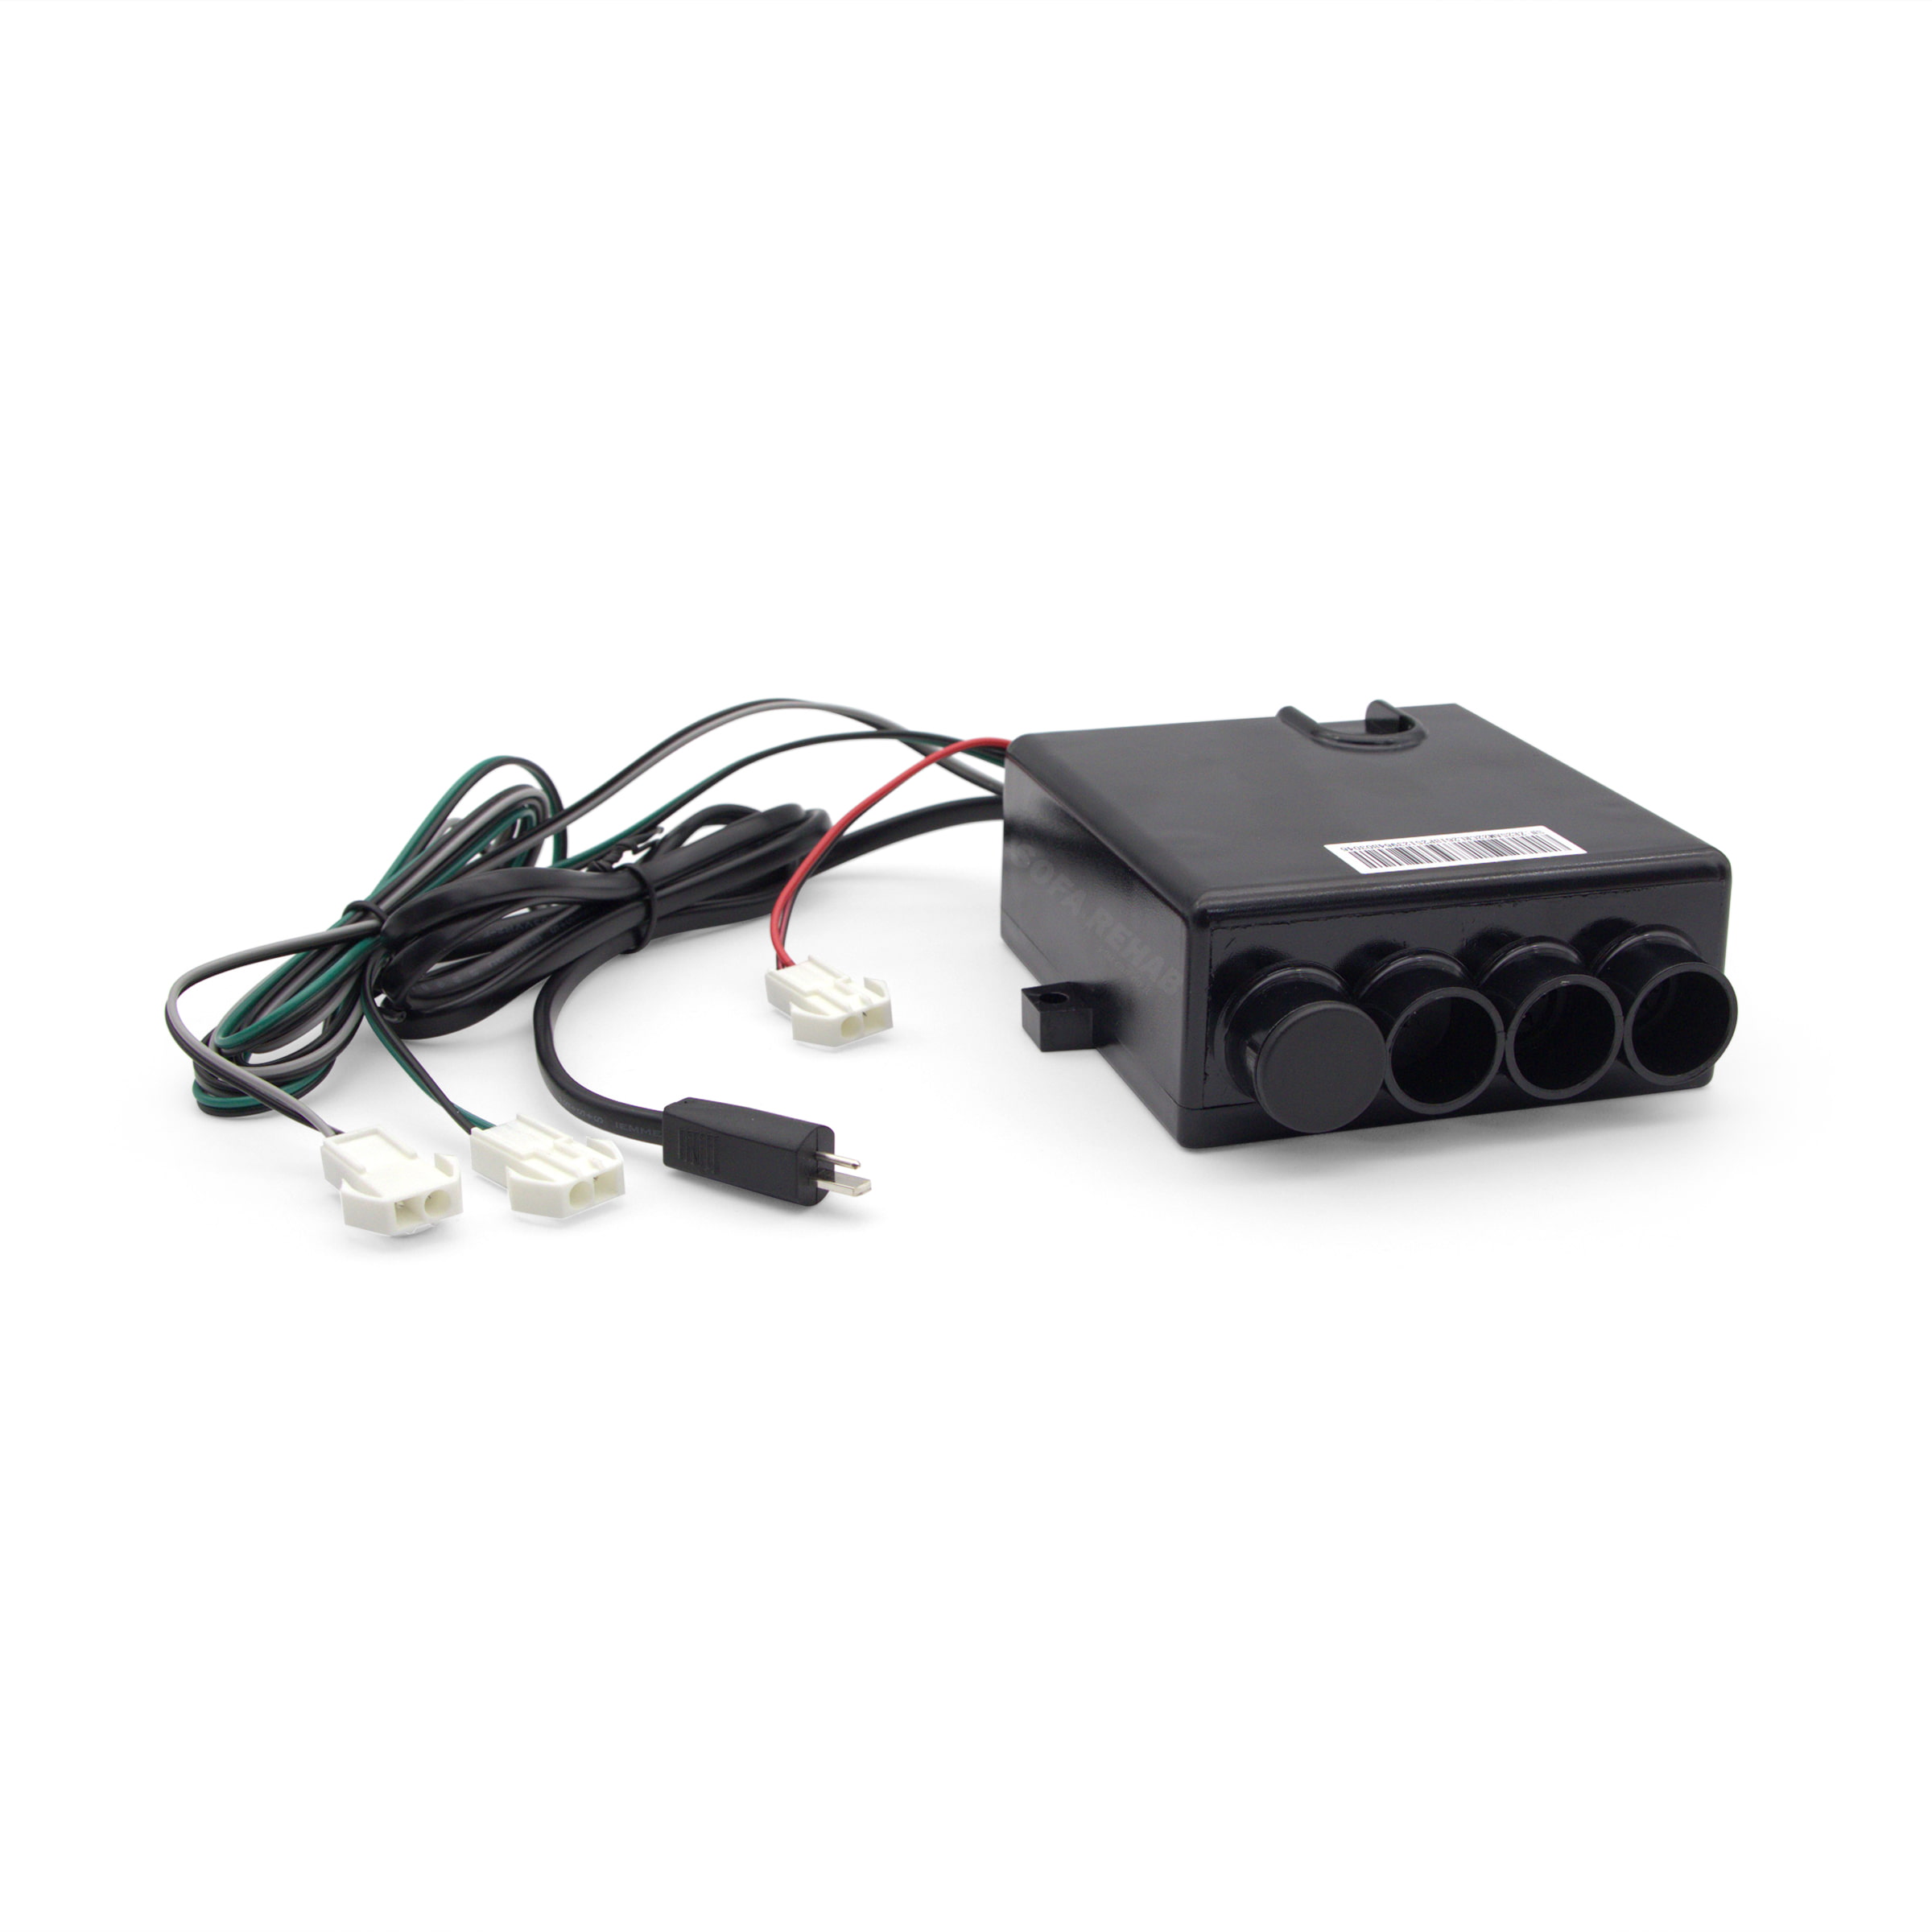
Restore smooth one-touch motion to your favourite chair with this genuine-spec **Okin JLDP.05.068.005 control box**. It sits inline between your 29 V transformer and handset, using a fixed 5-pin **male** DIN lead for power-in and a captive 5-pin **female** DIN socket (with retaining clasp) for your handset/motor. Designed for single-actuator recliners and lift chairs, the micro-controller runs the motor fully open or closed from a single tap and safeguards the mechanism with built-in overload protection. A compact ABS housing (≈ 115 × 65 × 30 mm) screws to the frame with two standard wood/tek screws (not supplied).
Match Your Model Code & 5-Pin Leads
Check the sticker on your old unit: if it begins **JLDP.05** and carries the same two captive 5-pin DIN leads, this is the like-for-like swap-in. Commonly found in Smart Comfort, Harvey Norman, Amart, Plush and other Australian-market recliners paired with JLDK-series handsets. Only for single-motor chairs—if you have two motors and extra ports, see our full range of electric recliner junction boxes (click here). Re-use your existing 29 V transformer, or upgrade with one of our 29 V power supply transformers (click here) if yours has failed.
Quality Spare Parts & Great Customer Support
As Australia’s leading supplier of recliner spares and repair kits, Sofa Rehab stocks only quality OEM-spec parts you can trust. Unsure about compatibility? Need help tracing a wiring fault? Phone, email or live-chat with our repair technicians for expert guidance.
Save Time & Money and Do It Yourself
Why pay a call-out fee when you can fix it yourself with a screwdriver and five spare minutes? Follow our step-by-step guides and video tutorials, enjoy the satisfaction of a job well done, and keep more money in your pocket. “You Can Do It!”
Technical Specifications
Technical Specifications
Make – Okin Refined
Type –JLDP.05
Okin Refined P/N –JLDP.05.068.005
Cable –1 x male 5 pin cable (1110mm long) and female 5 pin cable (340mm)
Plugs –1 x 5 pin male din plug and 1 x female din plug with retaining clasp.
How To
How To
Install Your New Control Box in 7 Easy Steps
⚠ Safety First — Unplug the chair from the wall before you begin.
- Prepare & Lift Safely
- Ask a helper and bend at the knees, keeping your back straight.
- Tip the recliner onto its side or back so the underside is easy to reach.
- Take a “Before” Photo
- Snap a clear picture of the existing control box, cable routing and plugs.
It’s your reference when reconnecting.
- Snap a clear picture of the existing control box, cable routing and plugs.
- Disconnect Existing Wiring
- Unplug the 2-pin DC lead from the transformer.
- Press the metal retaining clip and release the 5-pin female DIN that leads to the
handset / motor. - Unplug the captive 5-pin male DIN that brings power into the old control box.
- Remove the Old Control Box
- Support the box with one hand while you remove the two Phillips screws.
Keep the screws—you’ll reuse them.
- Support the box with one hand while you remove the two Phillips screws.
- Install the New Control Box
- Position the JLDP.05.068.005 in the same spot and secure it with the two screws
(not supplied).
- Position the JLDP.05.068.005 in the same spot and secure it with the two screws
- Reconnect the Leads (Match Your Photo)
- Push the 5-pin male DIN from the transformer firmly into the
POWER IN
socket. - Connect the 5-pin female DIN (with clasp) to the handset / motor lead until it
clicks. - Route cables clear of all moving parts; secure with cable ties if needed.
- Push the 5-pin male DIN from the transformer firmly into the
- Test & Enjoy
- Return the chair to its normal position using safe lifting technique.
- Plug the chair back into the wall, sit down and press the handset button once.
The footrest should travel smoothly from closed to open. Tap again to stop or reverse.
You Can Do It — and save $$$ on a service call!
Need help? Contact our support team – we’re here for you.
Reviews (0)
Thank you for making an effort to leave a reivew but to protect against spam we only accept reviews from verified owners. Please proceed to login using the same email address you used when ordering the product.
Customer Login
- There are no reviews yet.
FAQs
FAQs
How do I know if the JLDP .05 .068 .005 is the correct replacement for my chair?
Check the white sticker on your existing control box—if the part number matches JLDP .05 .068 .005 you’re good to go.
Still unsure? Snap a photo and send it to our support team; we’ll confirm before you buy.
Do I need to re-program or pair the new control box with my handset?
No. JLDP-05 units are fully hard-wired. Once you plug the handset and actuators back into the new box, everything will work exactly as before—no pairing sequences, software or tools required.
My power brick is rated 29 V 2 A. Will it run this control box?
Yes. The JLDP .05 .068 .005 is designed for the standard 29 V DC, 2 A transformer used on most dual-motor recliners and lift chairs. If your original power supply is dead, grab our universal 2-pin 29 V transformer (see related products) and you’re set.
What tools and time do I need to replace the control box?
Just a Philips-head screwdriver and five minutes. Unplug the chair from the wall, loosen the two mounting screws, disconnect the old box, then plug-and-play the new one. Re-secure the screws, power up, and test—DIY repair done, money saved!