
Handles and Cables, Manual Recliner Spare Parts
Small Handle & Adjustable Cable Set
Original price was: $28.99.$26.99Current price is: $26.99.
In stock
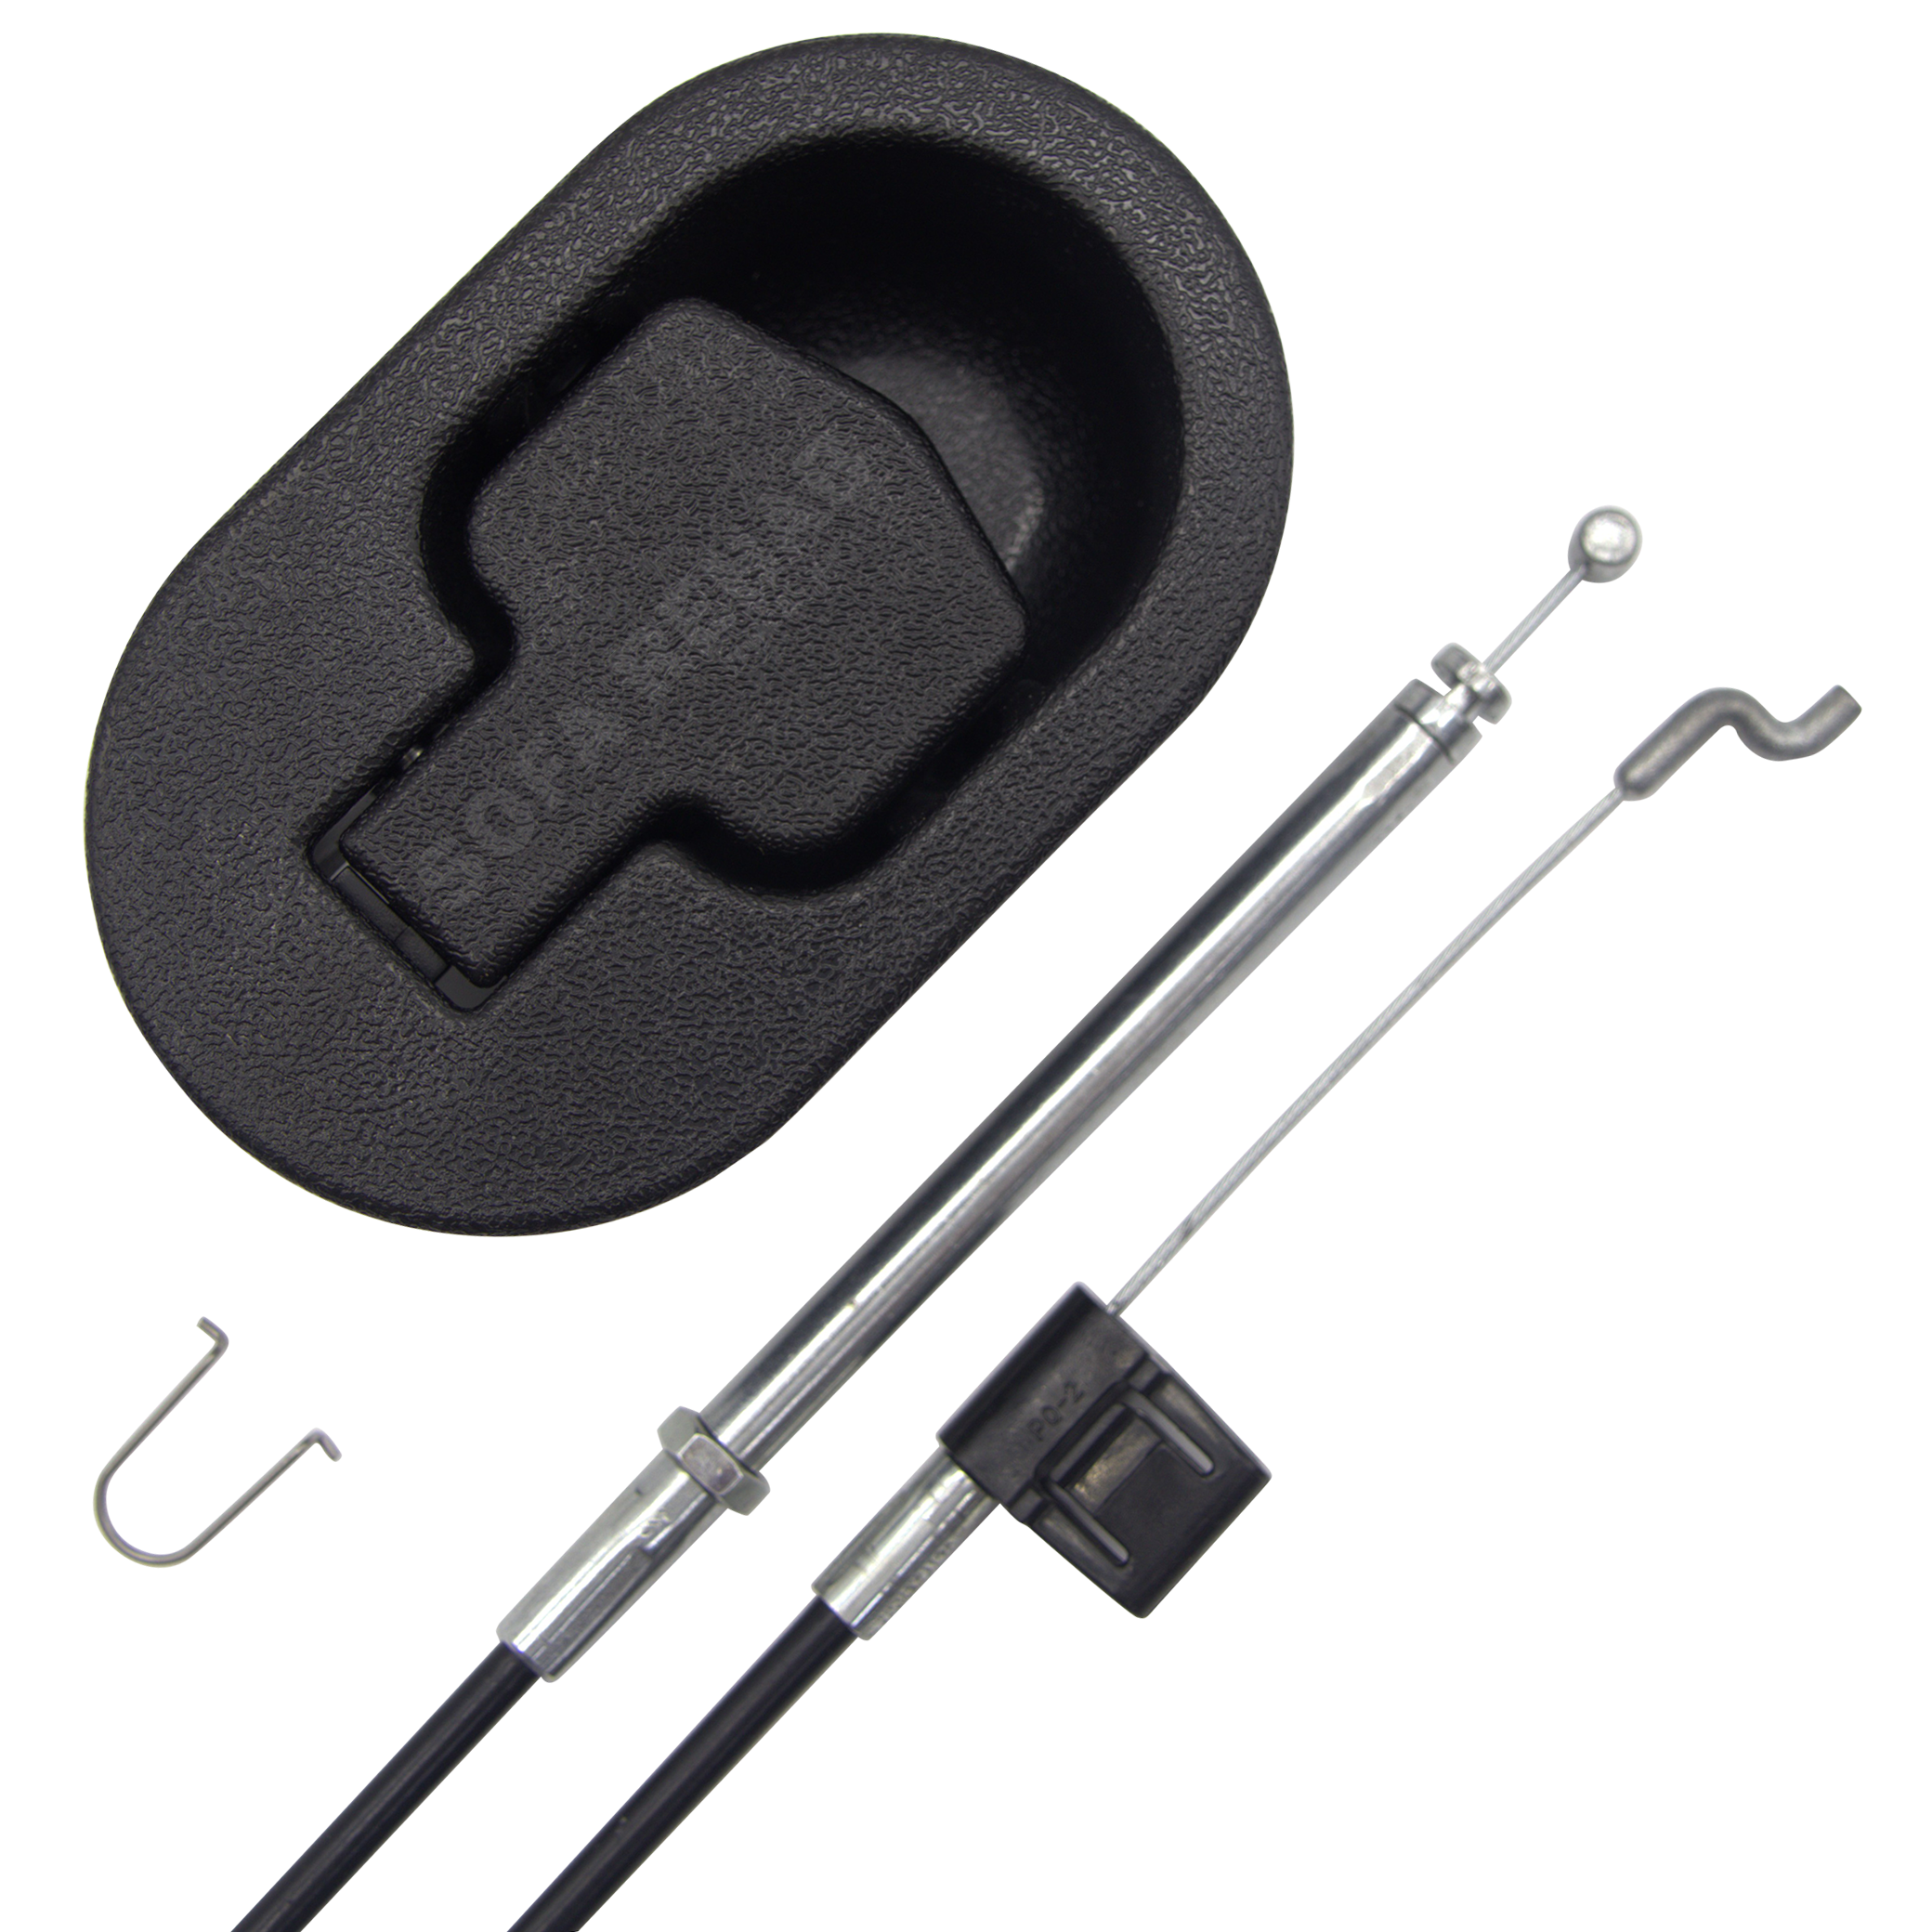
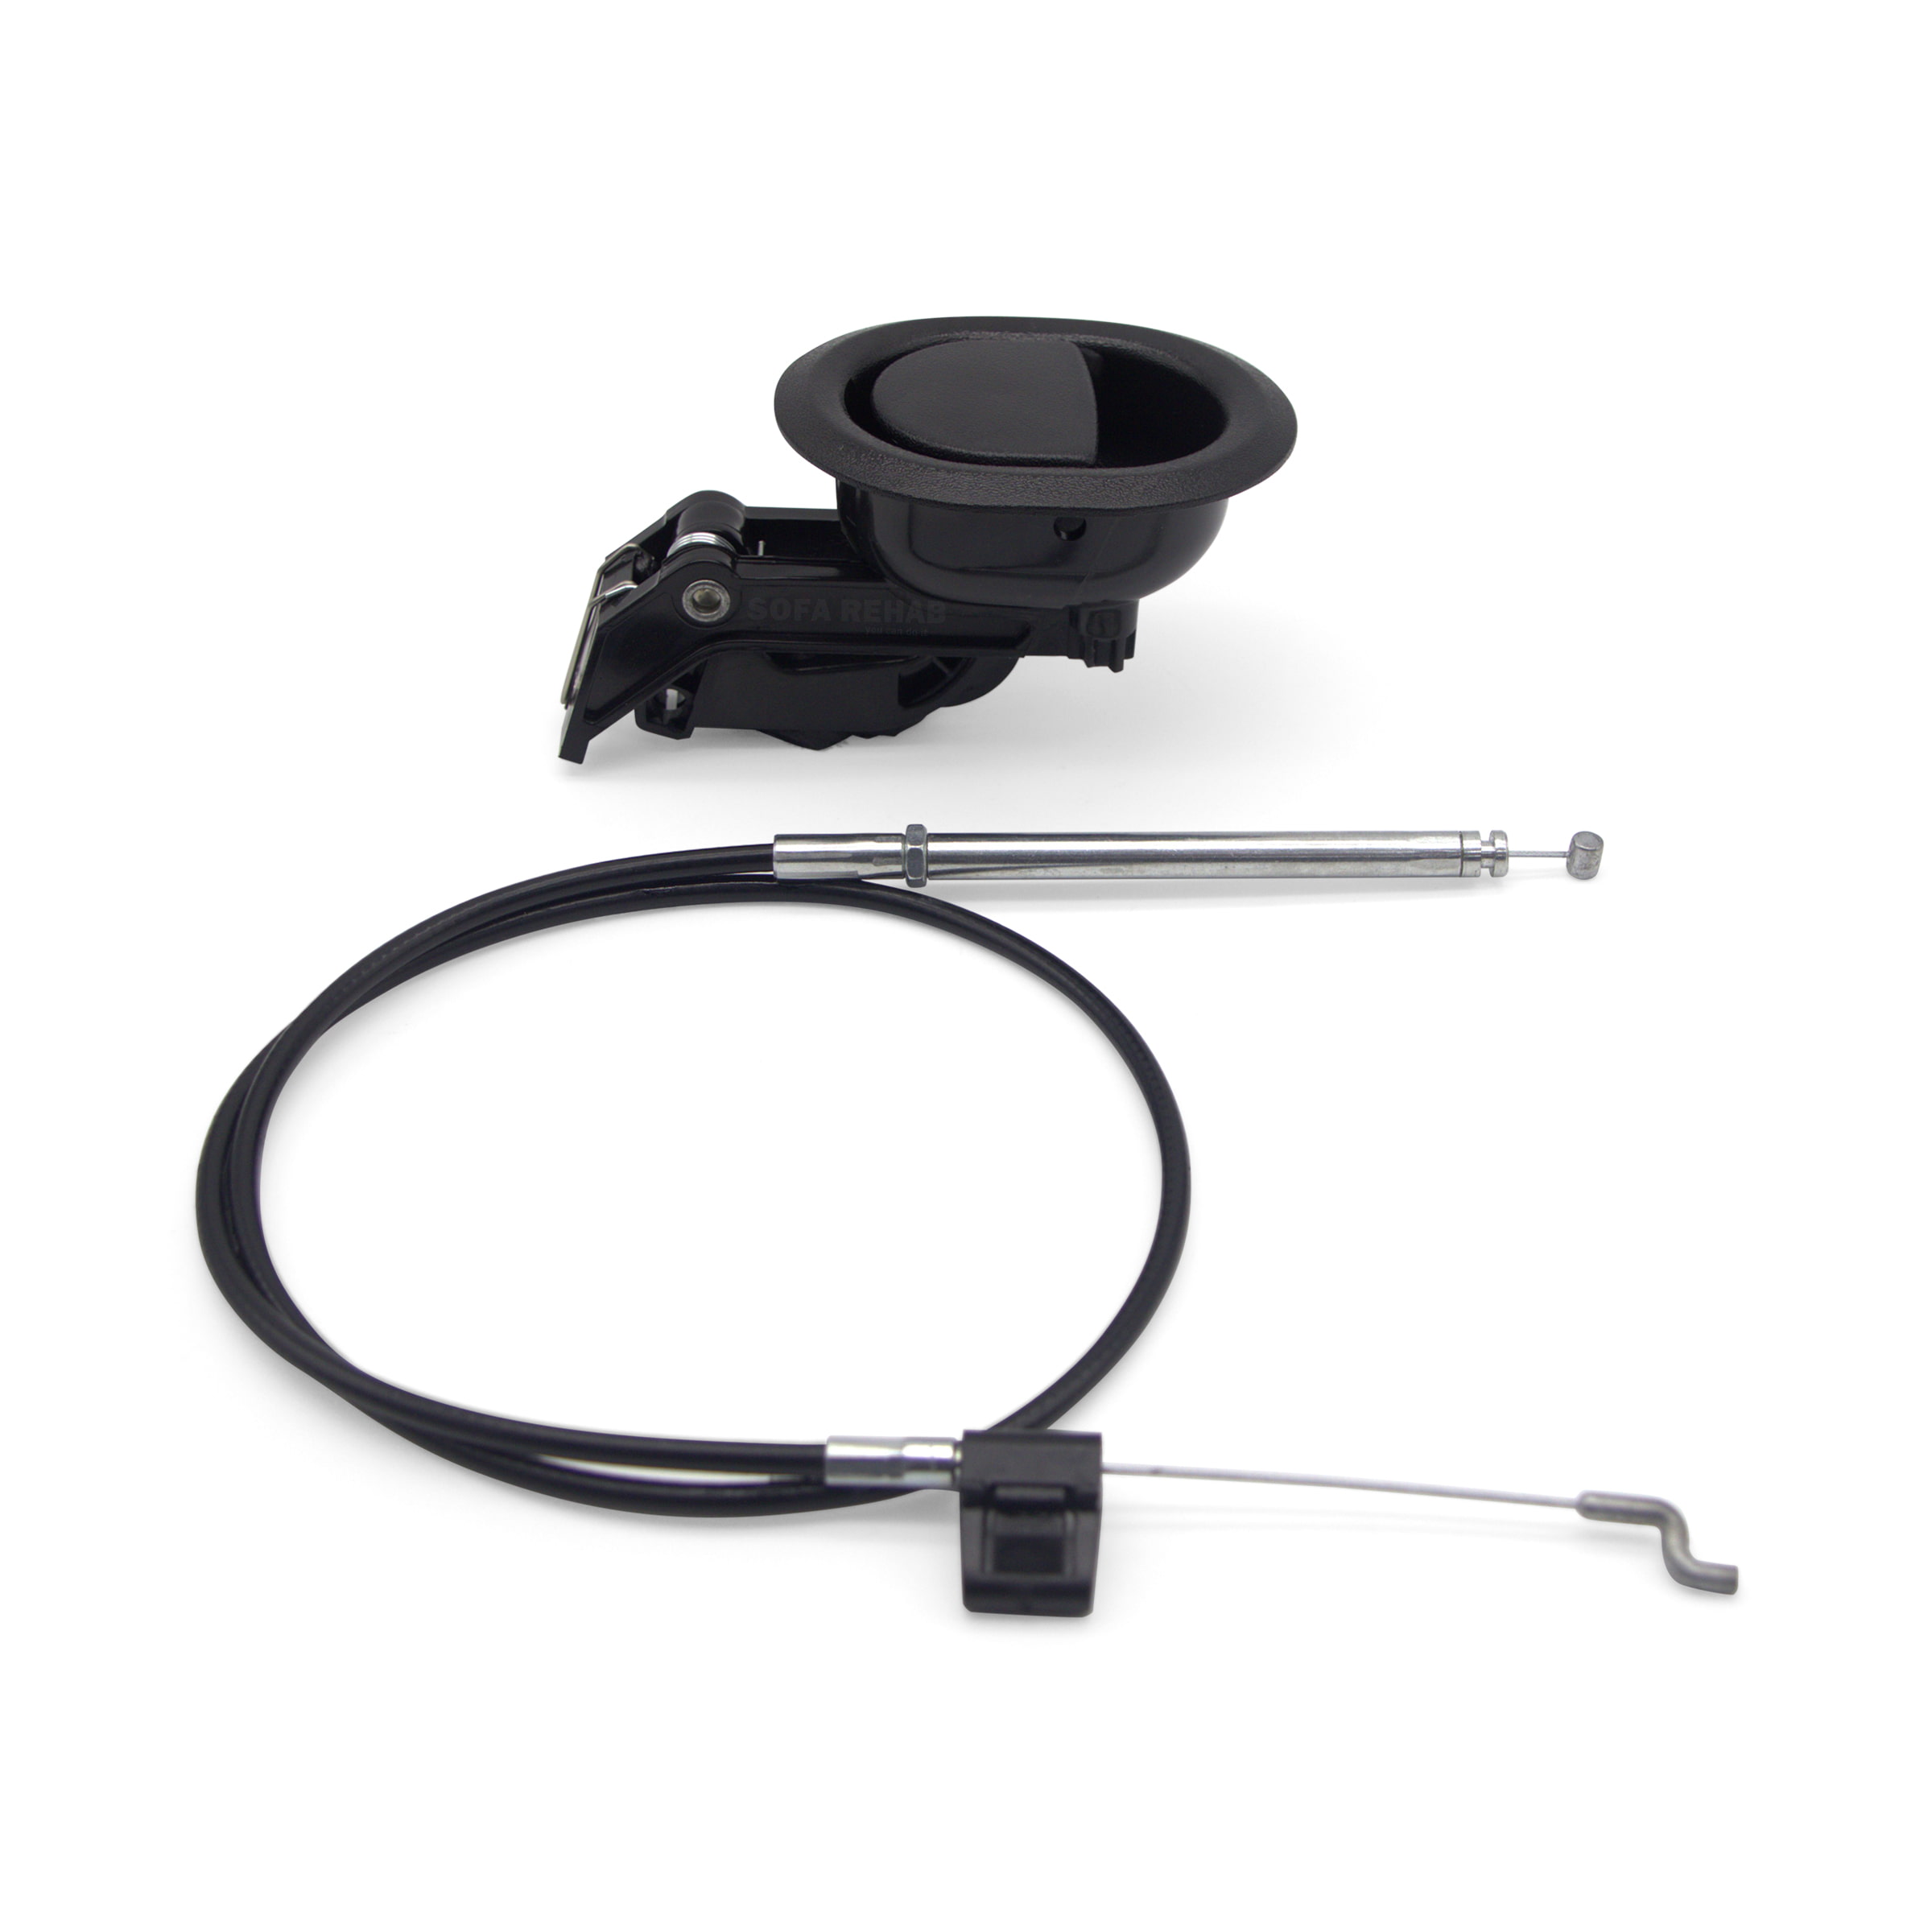
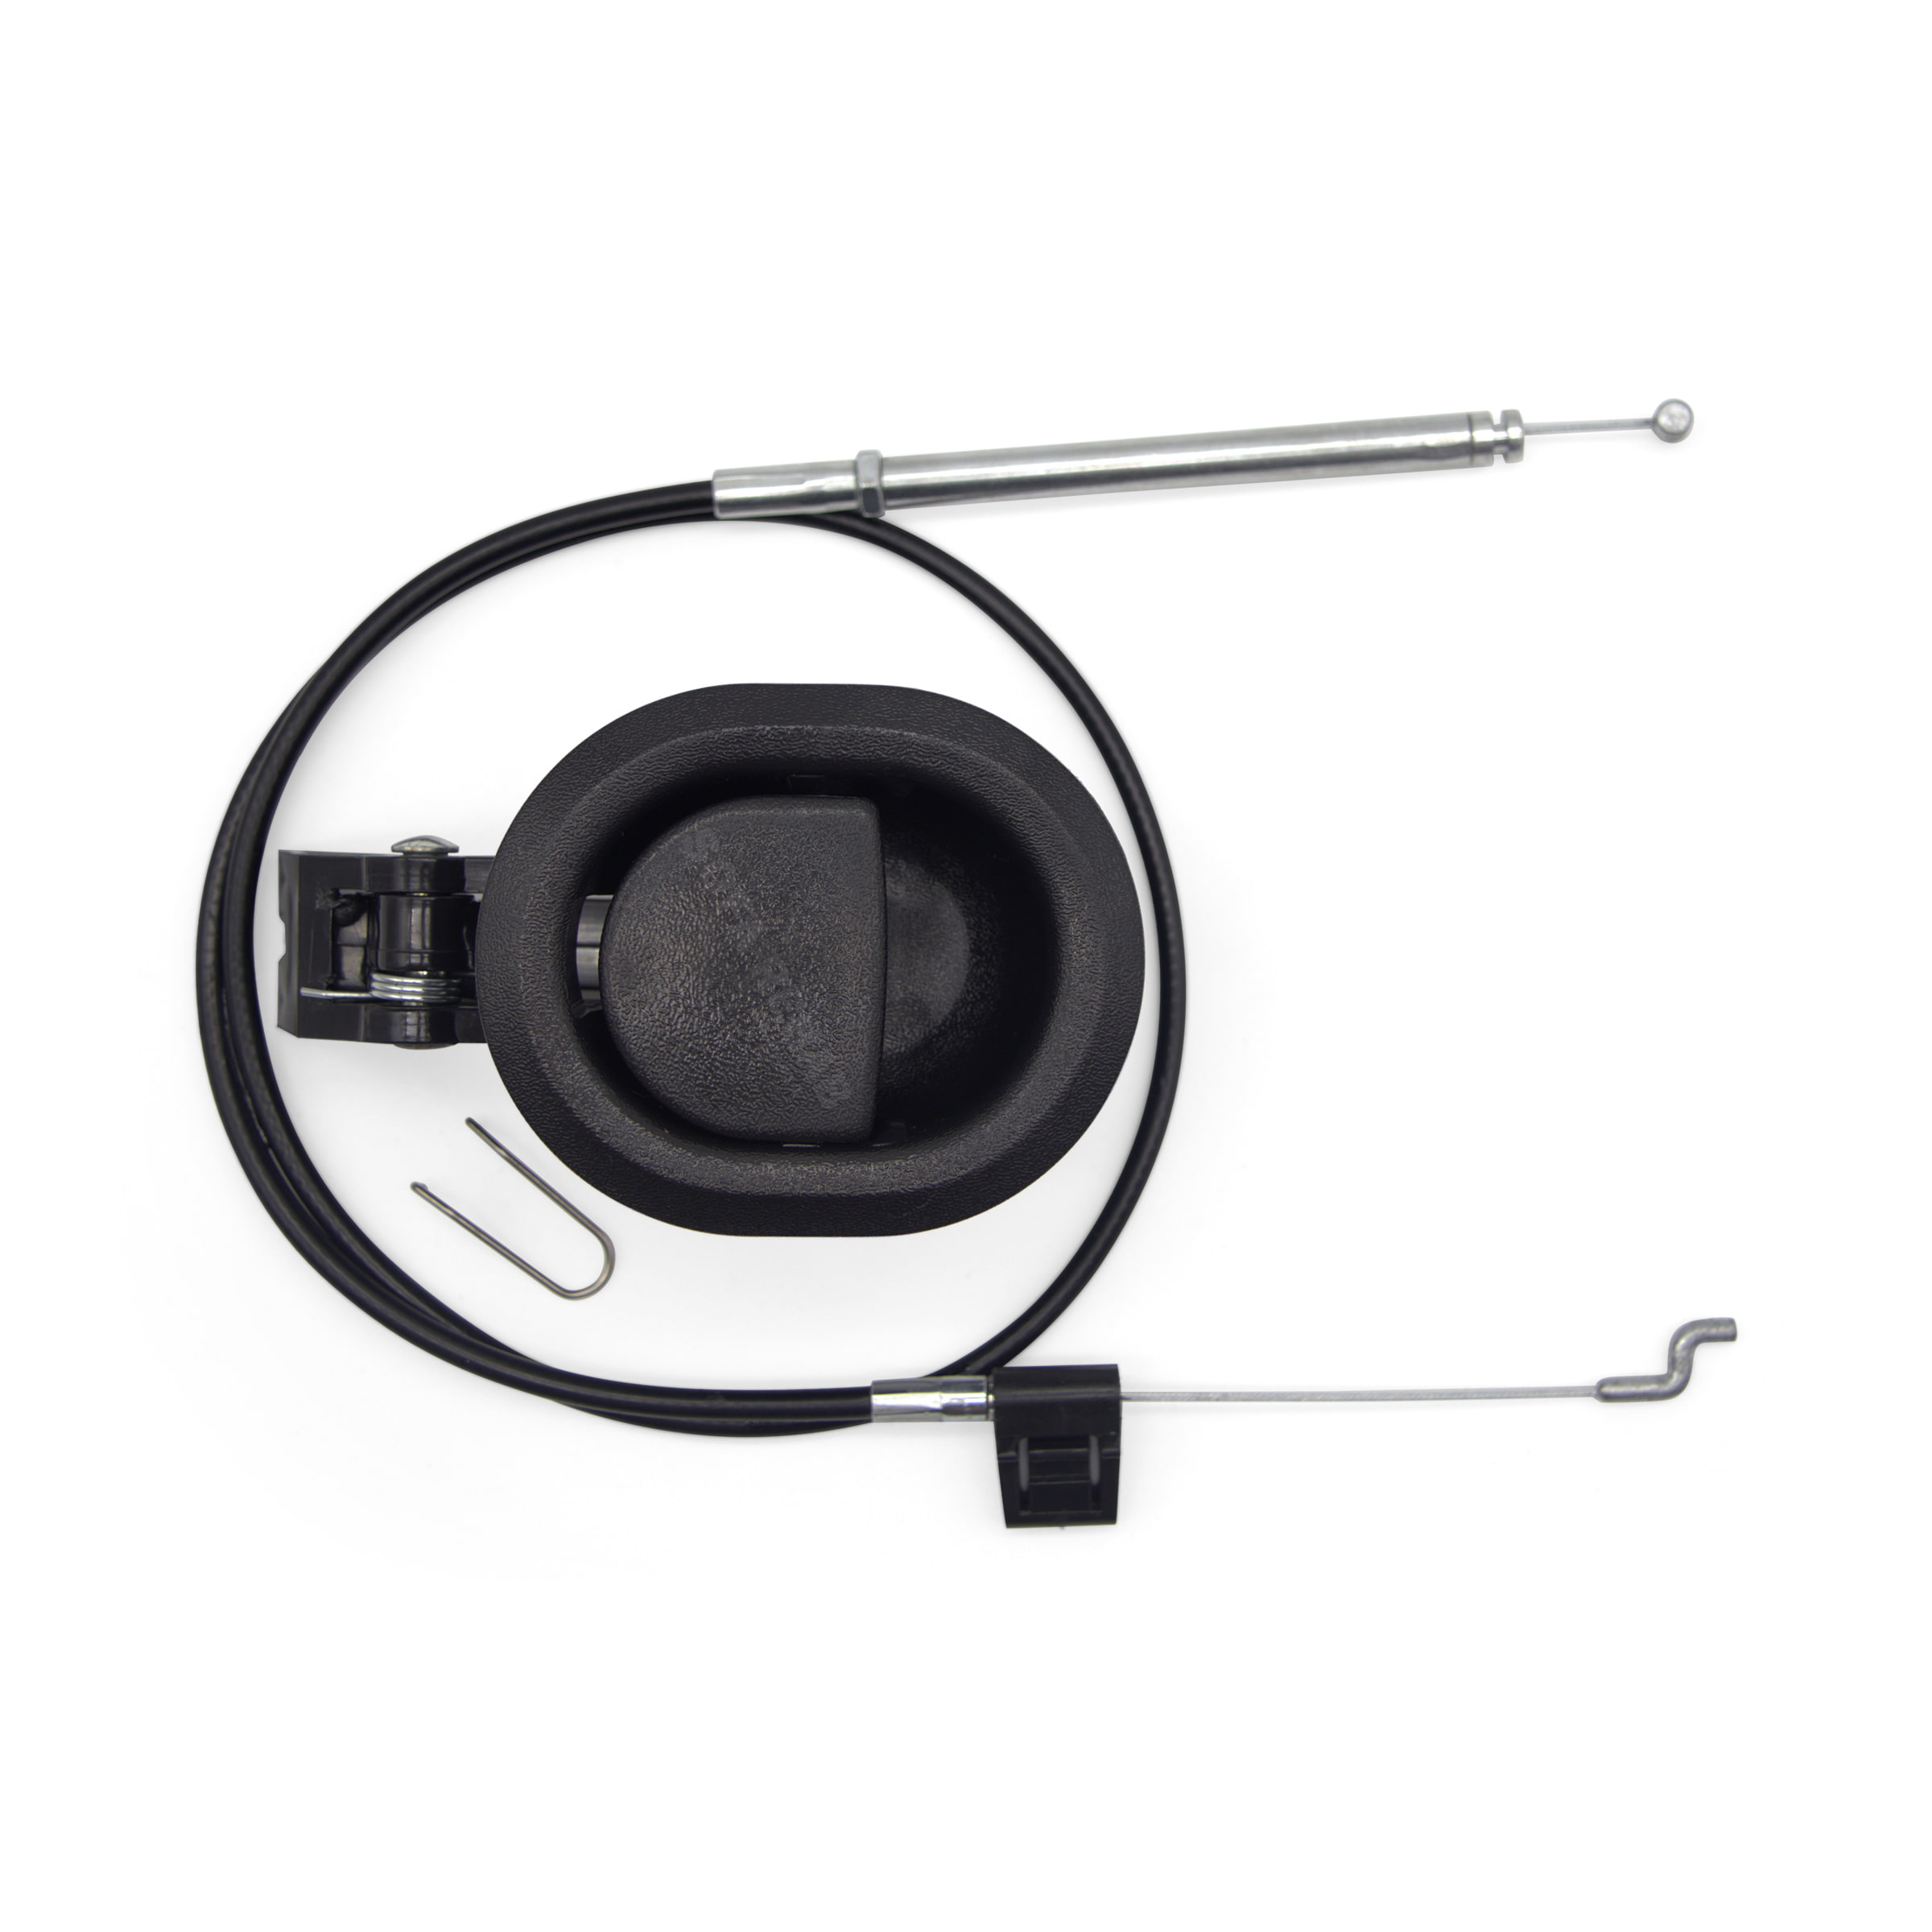
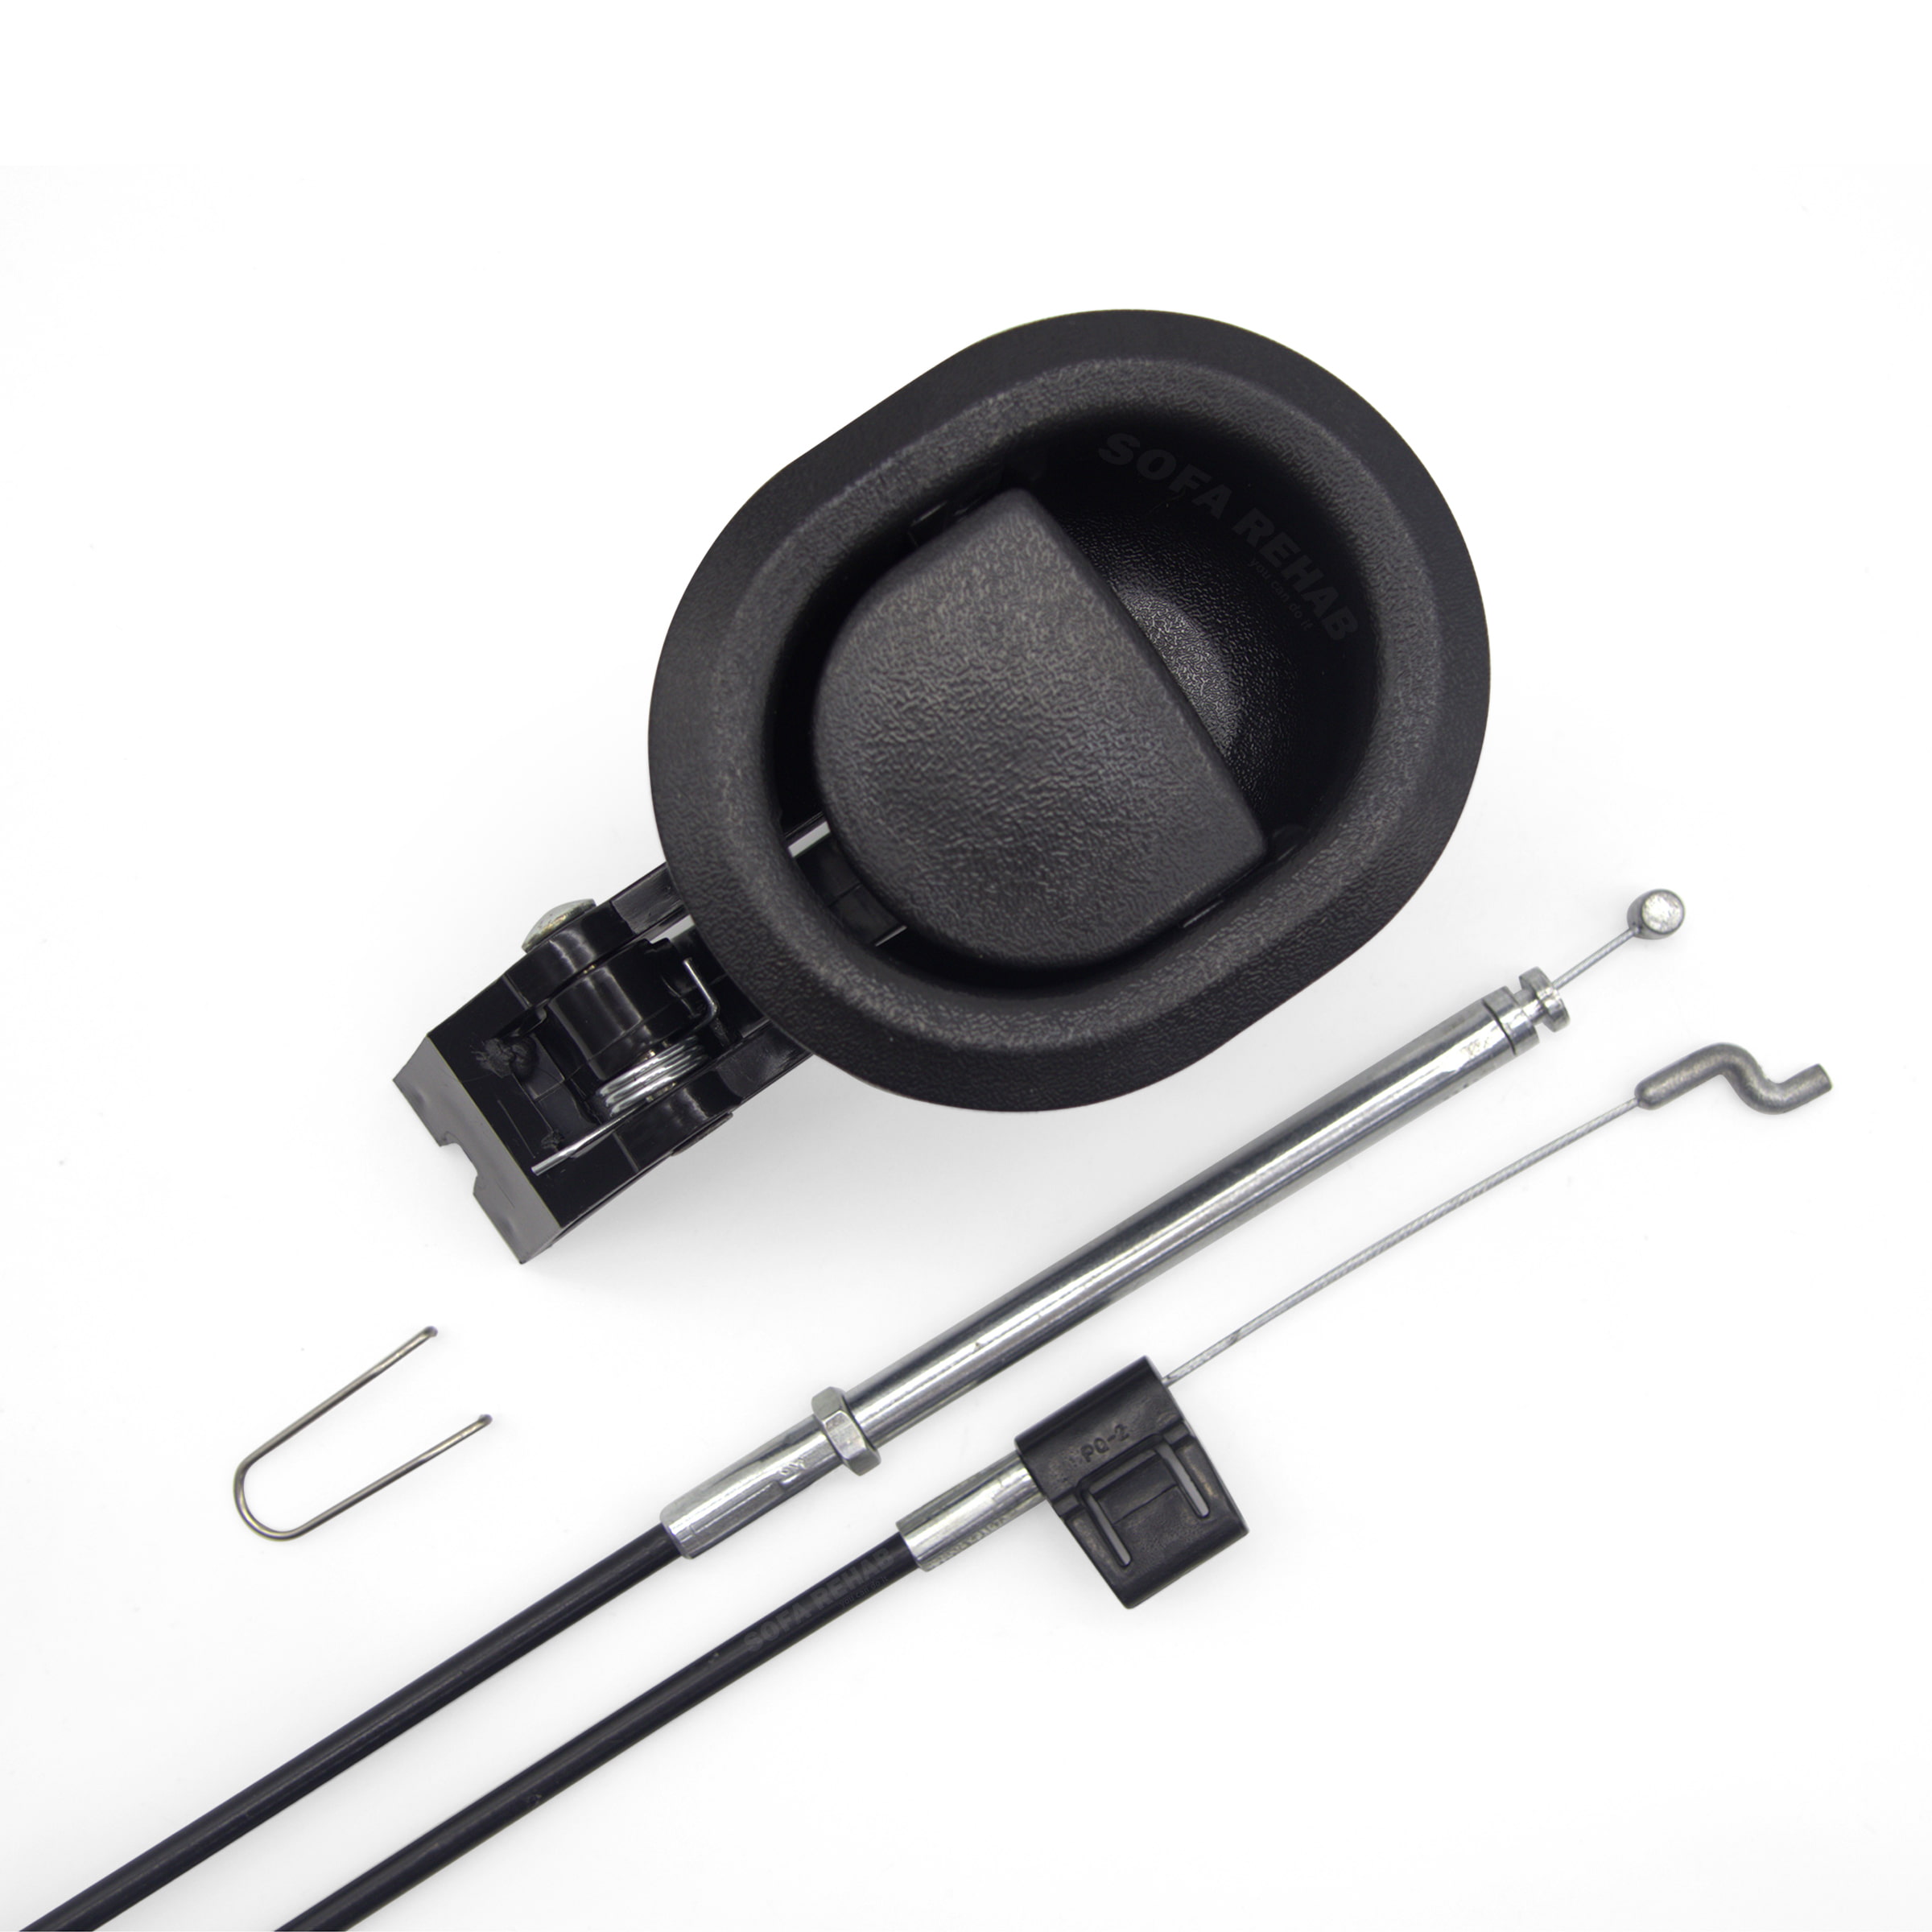
Complete handle & cable set for manual recliners with the industry-standard small oval release handle size. Designed as a universal replacement, it suits all brands and models using this compact oval handle shape. Includes a 91mm x 75mm black plastic handle, matching adjustable release cable and new retaining clip. Since both parts are supplied together, there is no barrel size to check. Cable tension is fine tuned during fitting, taking the stress out of choosing the correct exposed cable length upfront. Screws not included. Small Universal Recliner Handle & Adjustable Cable. Small handles can use either a 3.5mm or 6mm cable barrel. Replacing both parts together means there is no need to remove your old handle and check before ordering. Need the Large Handle Size or a Cable Only? Got the larger handle then see our large handle & cable set (click here). If your handle is still good, buy the adjustable cable only (click here). Don't hesitate to ask us if you need any help. read more
In stock
- Description
- Technical Specifications
- How To Tutorial
- Reviews (0)
- Add a review
Description
Small Recliner Handle and Cable Set
This complete replacement set is for manual recliners with the standard small oval release handle. It includes a 91mm x 75mm black plastic handle, matching retaining clip and our exclusive adjustable cable, set from 75mm to 150mm during fitting to replace any factory-fitted recliner release cable across the full standard size range.
No Barrel Size to Check When Replacing Both Parts
Small oval handles can use either a 3.5mm or 6mm cable barrel, which normally means removing the handle and checking which barrel size before ordering a new cable. This set replaces both parts, so the new handle and cable already match. Simply confirm the compact small handle shape against our guide.
We also sell a large handle & adjustable cable set for the wider handle shape, plus the adjustable recliner release cable only if your existing small handle is still good and accepts a 6mm barrel.
Broken Handle or Cable? Replace Both Together
This complete set is the right repair when the handle has snapped, cracked or come loose, or when it pulls without releasing the footrest. A loose-feeling handle, frayed cable, detached barrel or needing to pull unusually hard are common signs of cable failure.
Exclusive Adjustable Cable from Sofa Rehab
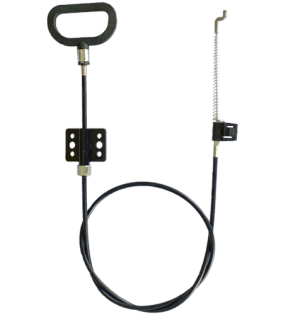
Most recliner cables are sold by the exposed length, meaning the section of wire between the outer sheath and the hook that connects to the mechanism. Standard cables require this measurement to be matched before ordering. As Australia’s leading supplier of recliner spare parts, we saw the same problem again and again: customers had to identify the exact fixed size before they could buy. We had this cable developed exclusively for Sofa Rehab so its 75mm to 150mm adjustment can replace any standard fixed size and be set during installation.
Once fitted, fine tune the tension until the footrest releases cleanly and latches closed, then lock the setting with the alloy collar and nut. A high-flex PVC sheath, coiled metal liner and steel inner wire provide dependable strength for repeated use. Replace the failed handle & cable, not the whole recliner. It’s a repair made easy.
Replace, Adjust and Get Your Recliner Working Again
This is a practical DIY repair with a Phillips head screwdriver, long nose pliers and our step-by-step guide. Since handle and cable are supplied as a matched set, there is no barrel size to check. Built-in adjustment also removes the stress of choosing a fixed cable size upfront. Fit it, test it and readjust until the footrest releases and latches correctly.
Remove the old handle and cable, secure the new cable into its handle with the retaining clip, connect it underneath, then set and lock the tension before reusing your original screws. Follow our instructions and video guide, then enjoy the satisfaction of getting your recliner working again yourself.
Technical Specifications
Technical Specifications
Small Oval Plastic Recliner Handle
| Width | 91mm |
| Height | 75mm |
| Required Cut-Out Hole | Approximately 72mm wide x 57mm high |
| Material | Plastic |
| Colour | Black |
| Cable Fitting | 6mm barrel, matched to the supplied cable |
| Included | Matching handle cable retaining clip |
| Not Included | New mounting screws |
Please measure both your existing handle and the furniture cut-out opening before ordering. This set is intended for the common compact small oval handle shape. Although commonly described as universal, not all recliner manufacturers use identical handle dimensions or mounting positions.
Adjustable Recliner Release Cable
| Exposed Hook-End Adjustment Range | 75mm to 150mm, measured before the cable is fitted into a handle |
| Supplied Setting | 150mm, the longest exposed hook-end setting |
| Overall Inner Wire Length | 1,000mm |
| Inner Wire Thickness | 1.2mm |
| Inner Wire Material | Steel |
| Barrel Size | 6mm diameter x 7mm long |
| Hook Size | 4mm thick x 20mm long |
| Outer Sheath Length | 700mm |
| Outer Sheath Construction | Black high-flex PVC with a coiled metal inner wall |
| Adjustable Collar Length | 97mm |
| Adjustment Method | Threaded collar and locking nut at the handle end |
The supplied handle is the matching 6mm version, so you do not need to determine whether your original small handle used a 3.5mm or 6mm cable barrel. You must still confirm that your recliner uses a handle-operated cable with a hook-end fitting. This set is intended for the small oval handle size, not the large oval size. It is also not suitable for recliner release levers, D-pulley or parachute pull releases, or electric recliners.
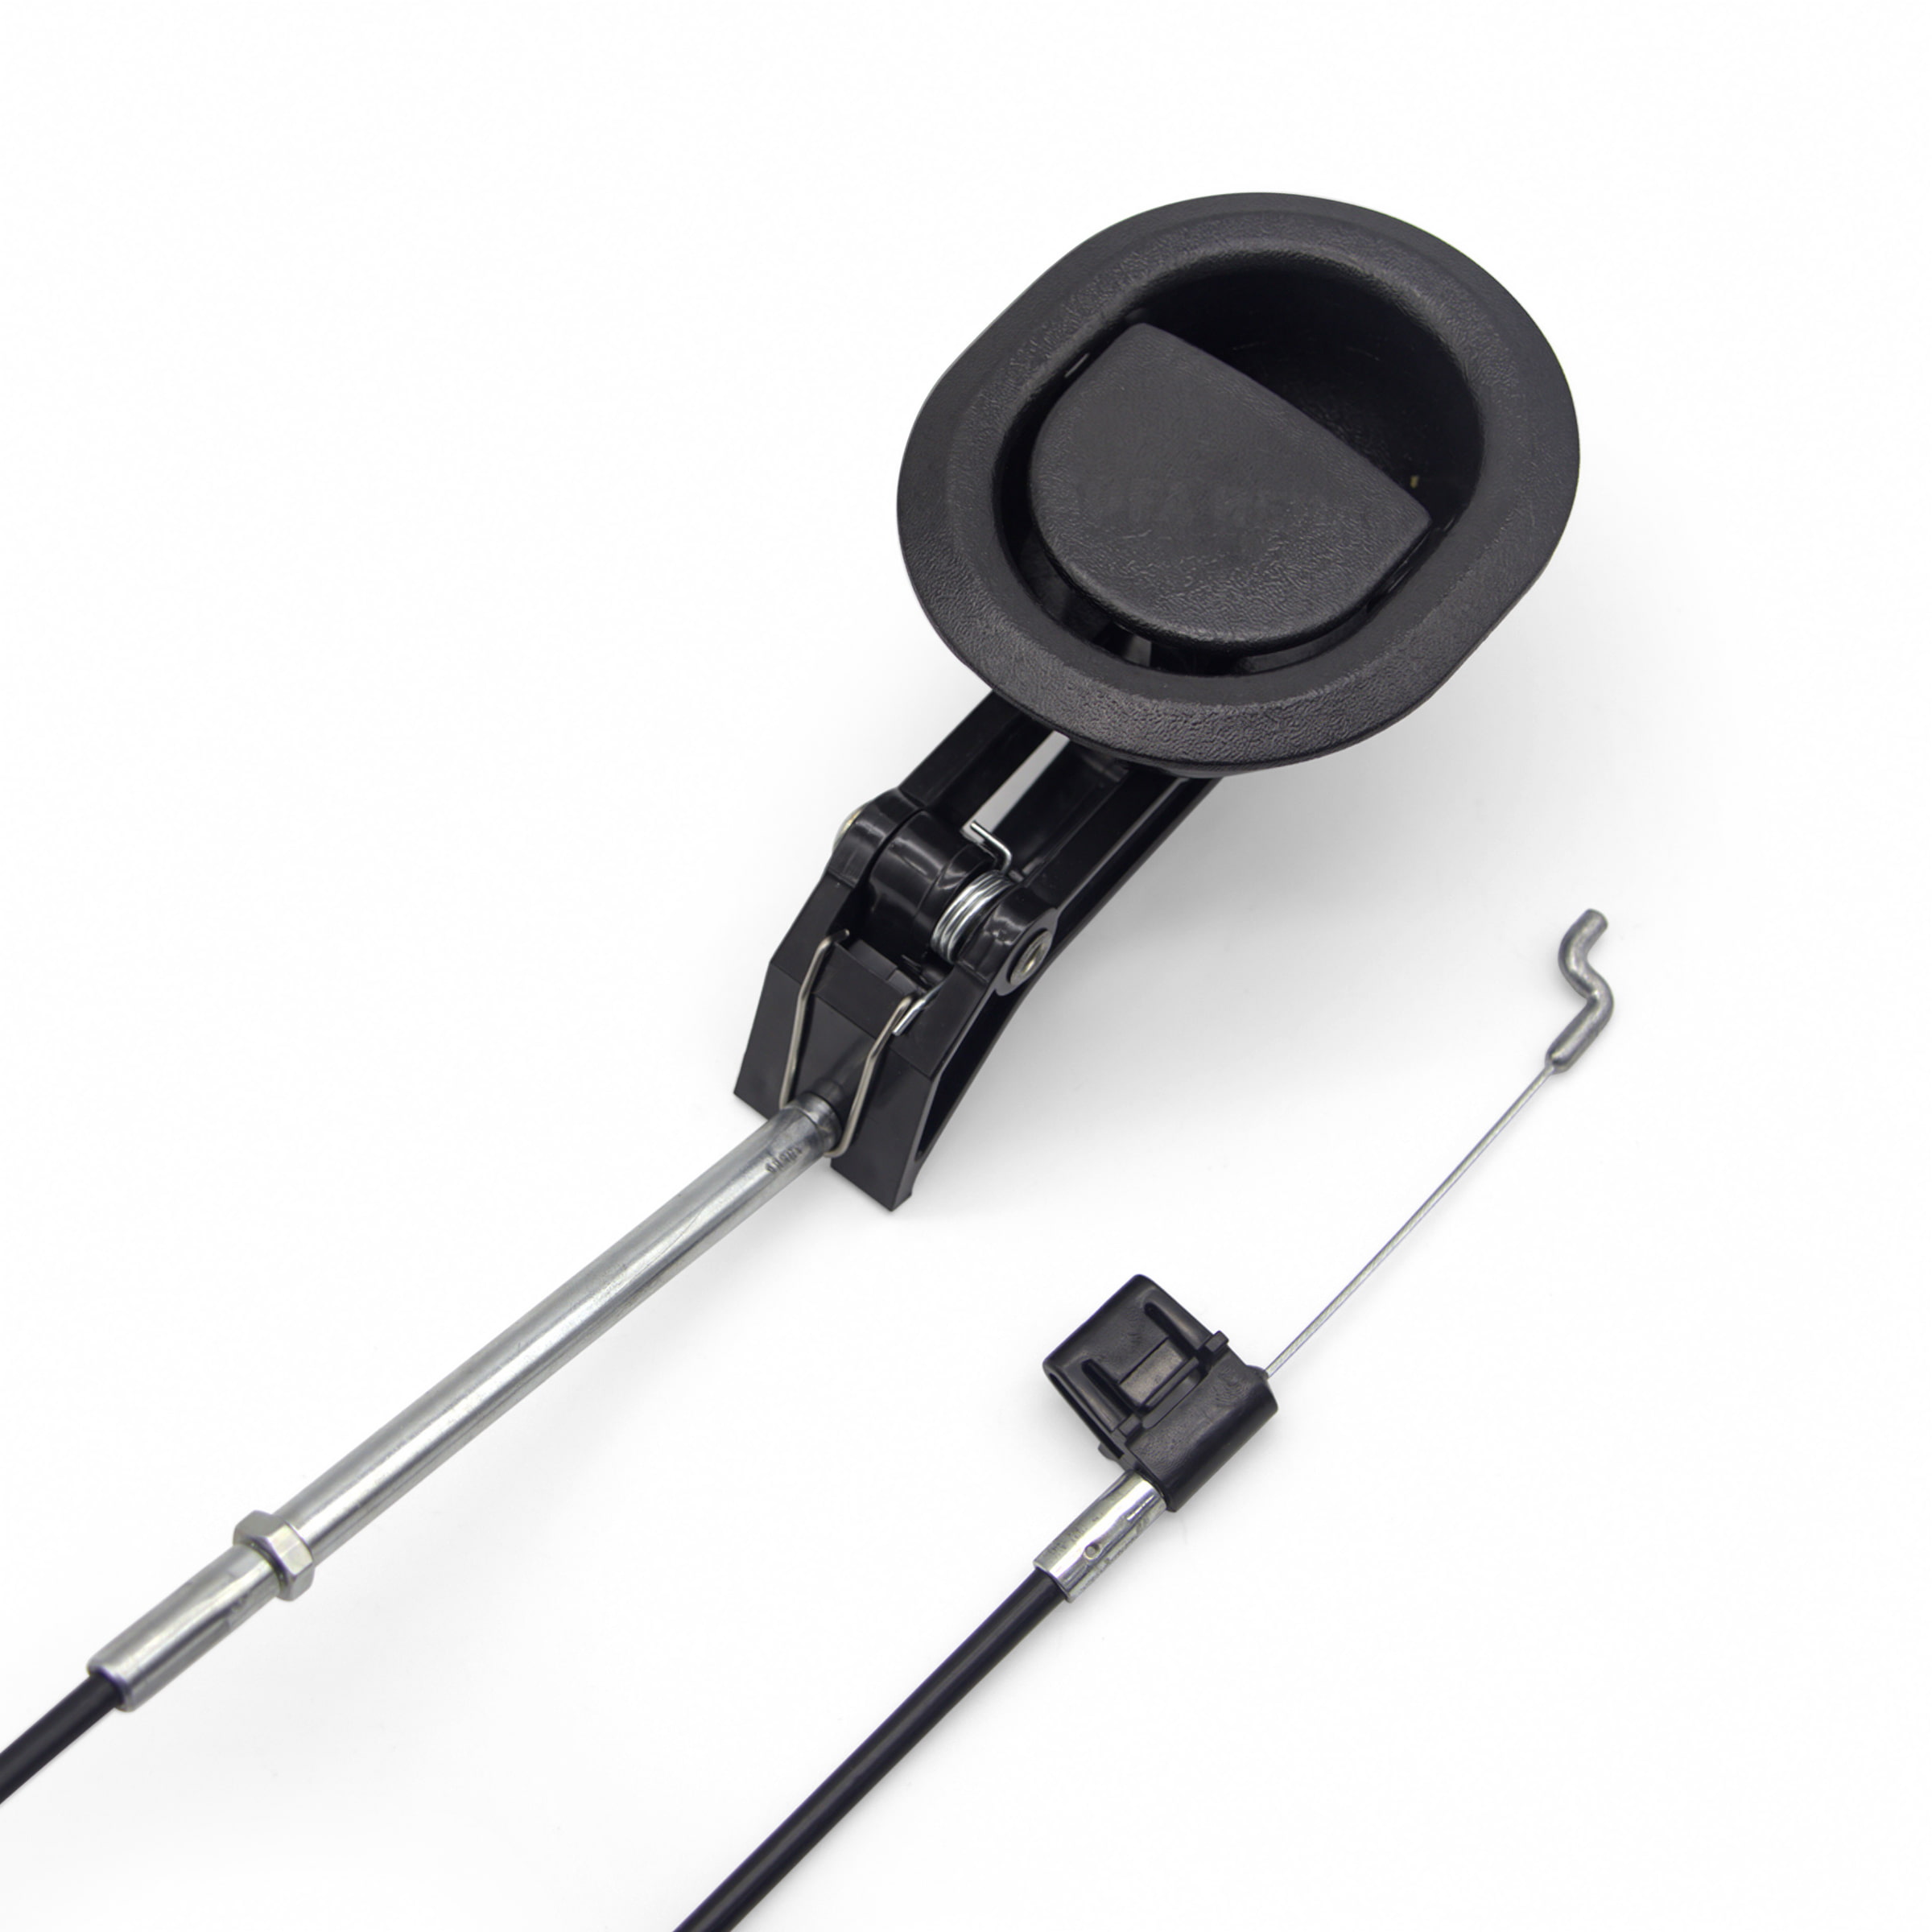
The handle and cable are packaged separately to help protect the parts during delivery. Assemble the cable into the handle and secure it with the included retaining clip before fitting the set to your recliner.
The cable is supplied at the longest 150mm setting. Fit and test it at this setting, then shorten the exposed length only if more tension is required. A Phillips head screwdriver and long nose pliers are recommended. Follow the step-by-step instructions in the How To Tutorial tab before assembling, fitting and adjusting the set.
How To Tutorial
How To Tutorial
How To Fit a Small Recliner Handle and Adjustable Cable Set
These instructions are for fitting the supplied small oval handle, adjustable cable and matching metal handle retaining clip. The handle and cable are packaged separately and must be assembled before the set is fitted to the recliner.
The cable is supplied at its longest 150mm exposed hook-end setting, measured before it is fitted into the handle. Fit and test the cable at this starting position, then shorten it only if more tension is required.
Tools and Preparation
| Tools | Phillips head screwdriver and long nose pliers |
| Floor Protection | Blanket or protective sheet for the furniture and flooring |
| Starting Position | Recliner empty, upright and with the footrest fully closed and latched |
| Extra Help | Ask another person to help if the recliner is heavy or difficult to position safely |
This guide uses metal handle retaining clip for the clip behind the handle and black mechanism retaining clip for the black plastic clip near the hook end of the cable.
Important Safety Note: Keep your hands clear of springs, moving linkages and other pinch points. Never operate the handle while anyone is underneath the recliner or while it is tipped forward. Do not disconnect or adjust any recliner springs. If the furniture has powered functions, disconnect it from mains and battery power before starting.
Step 1: Remove the Old Handle and Check the New Handle Fits
- Keep the recliner upright with the footrest fully closed.
- Remove the screws securing the old handle to the recliner arm.
- Carefully pull the old handle out without pulling sharply on the cable.
- Keep the original mounting screws in a safe place.
- Hold the supplied small handle against the furniture opening and confirm that it will sit flat and flush.
- Check that the cut-out and mounting positions are suitable. Do not use the screws to pull the handle into an opening that is too small or incorrectly shaped.
Step 2: Tip the Recliner Forward and Photograph the Cable Setup
- Place a blanket or protective sheet on the floor in front of the recliner.
- With help if required, tip the recliner forward so the arm tops and headrest area rest securely on the protected floor.
- Make sure the recliner is stable and is not balancing on a loose cushion or narrow edge.
- Take clear photos showing the complete cable route, the mechanism hole used, which side of the lever receives the hook, the black retaining clip orientation and any retaining screw.
- For this fitting method, do not tip the recliner backwards or onto its side. If it cannot rest securely in the forward position, stop and get assistance.
Step 3: Disconnect and Remove the Old Handle and Cable
- Locate the hook end and black mechanism retaining clip underneath the recliner.
- If a screw secures the rear of the black retaining clip, remove it and keep it with the handle screws.
- Using long nose pliers, pinch the rear tabs of the black retaining clip and ease it out of the mechanism slot. Access it from the inside seat cavity where possible.
- Unhook the cable from the release lever, noting the original hole, side and orientation.
- Release the cable from any reusable guides or clips without damaging them.
- From outside the recliner arm, gently withdraw the old handle and attached cable through the handle opening while guiding the cable past the internal frame.
Step 4: Assemble the Cable Into the Supplied Small Handle
- If the supplied metal handle retaining clip is already fitted, pinch its sides so the ends release from the handle slots, then lift it clear.
- Fit the 6mm barrel of the adjustable cable into the hole in the handle lever.
- Guide the inner wire through the handle groove towards the back of the handle.
- Seat the narrow end of the long metal adjustment collar fully into the handle cable slot.
- Fit the supplied metal handle retaining clip over the cable and into the handle slots.
- Confirm that both ends of the clip are engaged and the adjustment collar cannot lift out of the handle.
Step 5: Feed, Route and Connect the New Cable
- With the recliner still tipped forward, feed the hook end and exposed wire through the handle opening and down through the recliner arm.
- Guide the cable until the hook end and black mechanism retaining clip can be reached underneath the chair.
- Follow the original cable route and reuse the original guides where suitable.
- Keep the cable away from sharp edges, moving linkages and springs. Avoid tight bends, twists or pulling the cable tightly around the internal timber frame.
- Connect the hook through the same mechanism hole, from the same side and in the same orientation as the original cable. If the original position is unknown, contact us rather than guessing.
- Press the black mechanism retaining clip into the original slot. Confirm that both retaining tabs are fully engaged, then give the clip a light pull to check that it is secure.
- Refit the original retaining screw if one was used.
- Check that the cable is not trapped, kinked or touching a moving part. Leave the handle unsecured until the tension has been tested.
Step 6: Return the Recliner Upright and Test the Starting Setting
- Make sure no tools, hands or other objects remain underneath the recliner.
- Return the recliner fully upright before operating the handle.
- With the chair empty, hold the loose handle fully seated and square in its normal installed position.
- Pull the handle to release the footrest, then close the footrest normally and confirm that it latches shut.
- Correct tension: The footrest releases without excessive handle travel, closes normally and latches securely.
- Too loose: The handle must be pulled almost completely before the footrest releases, or the footrest does not release.
- Too tight: The footrest releases but will not latch shut, or the release lever remains partly activated.
Step 7: Adjust the Cable Tension If Needed
The supplied 150mm setting is the longest exposed hook-end length and normally provides the least cable tension. Before shortening the cable, confirm that the barrel, adjustment collar, both retaining clips and hook are correctly seated and that the handle is held fully in position during testing.
If the cable already appears too tight on this first 150mm test, do not try to wind it beyond the supplied starting position. Recheck the cable route, hook position, mechanism connection and handle assembly.
- Pull the handle back out of the recliner arm opening.
- If the locking nut is touching the adjustment collar, wind the nut away from the collar to expose some adjustment thread.
- Hold the black outer sheath and the fixed metal fitting at the end of the sheath stationary.
- Looking at the front of the handle, rotate the loose handle and long metal adjustment collar together anticlockwise. This shortens the exposed hook-end length, increases tension and reveals more thread.
- Begin with up to 5 full turns, then return the handle fully to its installed position and test the recliner upright.
- Repeat using smaller adjustments as the release point gets closer to the correct position.
- If the footrest stops latching after the cable has been shortened, rotate the handle and adjustment collar clockwise in small increments. This lengthens the exposed hook end, reduces tension and hides more of the thread.
- Do not adjust the cable below its 75mm minimum exposed hook-end length, measured before fitting it into the handle. If the footrest still does not release at this limit, stop and contact us.
- Once the tension is correct, hold the adjustment collar still and wind the locking nut along the thread until it sits firmly against the base of the collar.
Step 8: Secure the Small Handle and Complete the Final Test
- Place the supplied handle fully into the recliner arm opening.
- Reuse the original mounting screws only if they remain serviceable and suitable for the new handle.
- Tighten the screws evenly until the plastic handle sits firmly and flush. Do not overtighten the screws.
- Test several complete opening and closing cycles.
- Confirm that the handle returns normally, the footrest releases consistently and the footrest locks securely when closed.
- Stop using the recliner and recheck the installation if the handle becomes stiff, the cable rubs against the mechanism or the footrest does not latch reliably.
Troubleshooting
| Problem | Checks and Correction |
| Handle pulls fully but the footrest does not release | Check that the barrel and adjustment collar are seated in the handle, both retaining clips are secure and the hook is engaged. If every connection is correct, shorten the cable gradually as described in Step 7. |
| Footrest opens but will not latch shut | If this began after shortening the cable, return the adjustment clockwise towards the 150mm starting position. If it occurs on the first test at 150mm, recheck the route, hook position and mechanism connection rather than forcing further adjustment. |
| Handle feels stiff or rough throughout its movement | Check for a kink, twist, sharp bend, rubbing point or incorrect hook orientation. Do not add more tension until the cable follows a smooth route and the handle moves freely. |
| Handle has little or no resistance | Check whether the barrel has left the handle lever, the hook has detached or either retaining clip has come loose. |
| Recliner still does not operate correctly | The required cable setting may be outside the 75mm to 150mm range, or the recliner may have a faulty handle, release mechanism or spring. Do not dismantle the mechanism or remove tensioned springs. Contact Sofa Rehab for help identifying the fault. |
Reviews (0)
Thank you for making an effort to leave a reivew but to protect against spam we only accept reviews from verified owners. Please proceed to login using the same email address you used when ordering the product.
Customer Login
- There are no reviews yet.