- Description
- Technical Specifications
- How To Tutorial
- Reviews (0)
- FAQs
- Add a review
Description
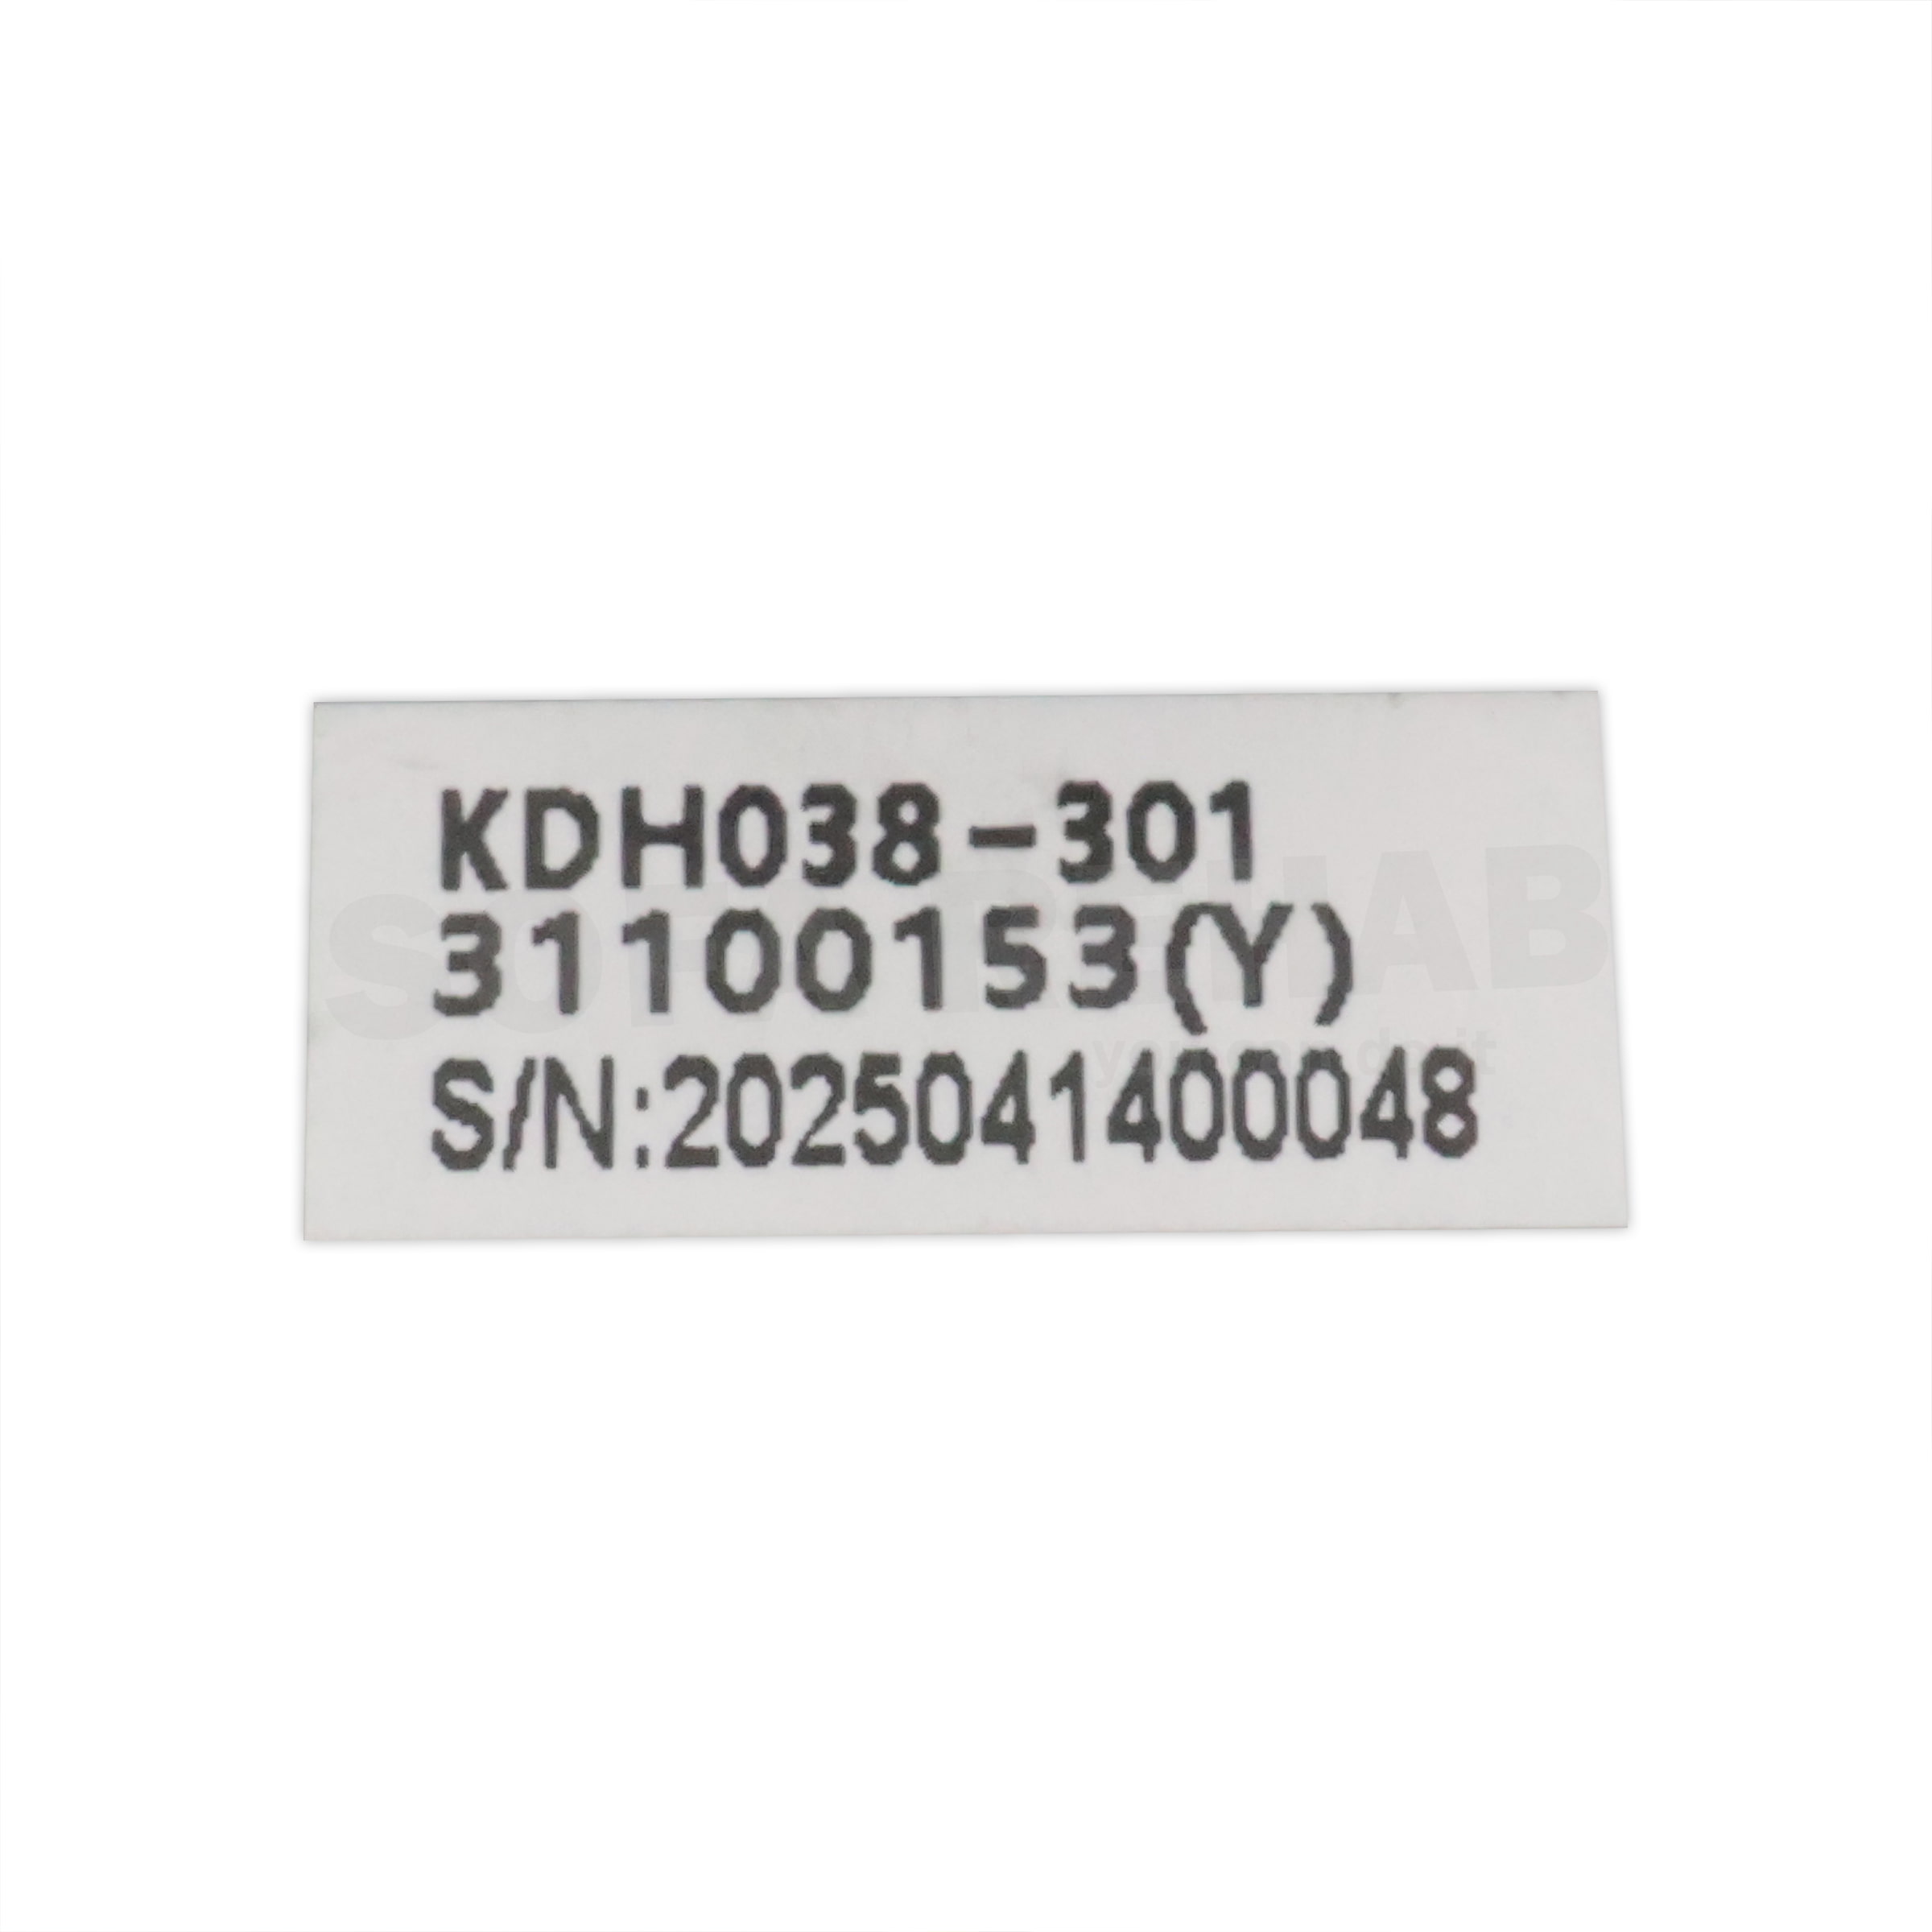
Kaidi KDH038-301 Brushed Chrome 2 Button Diamond Switch
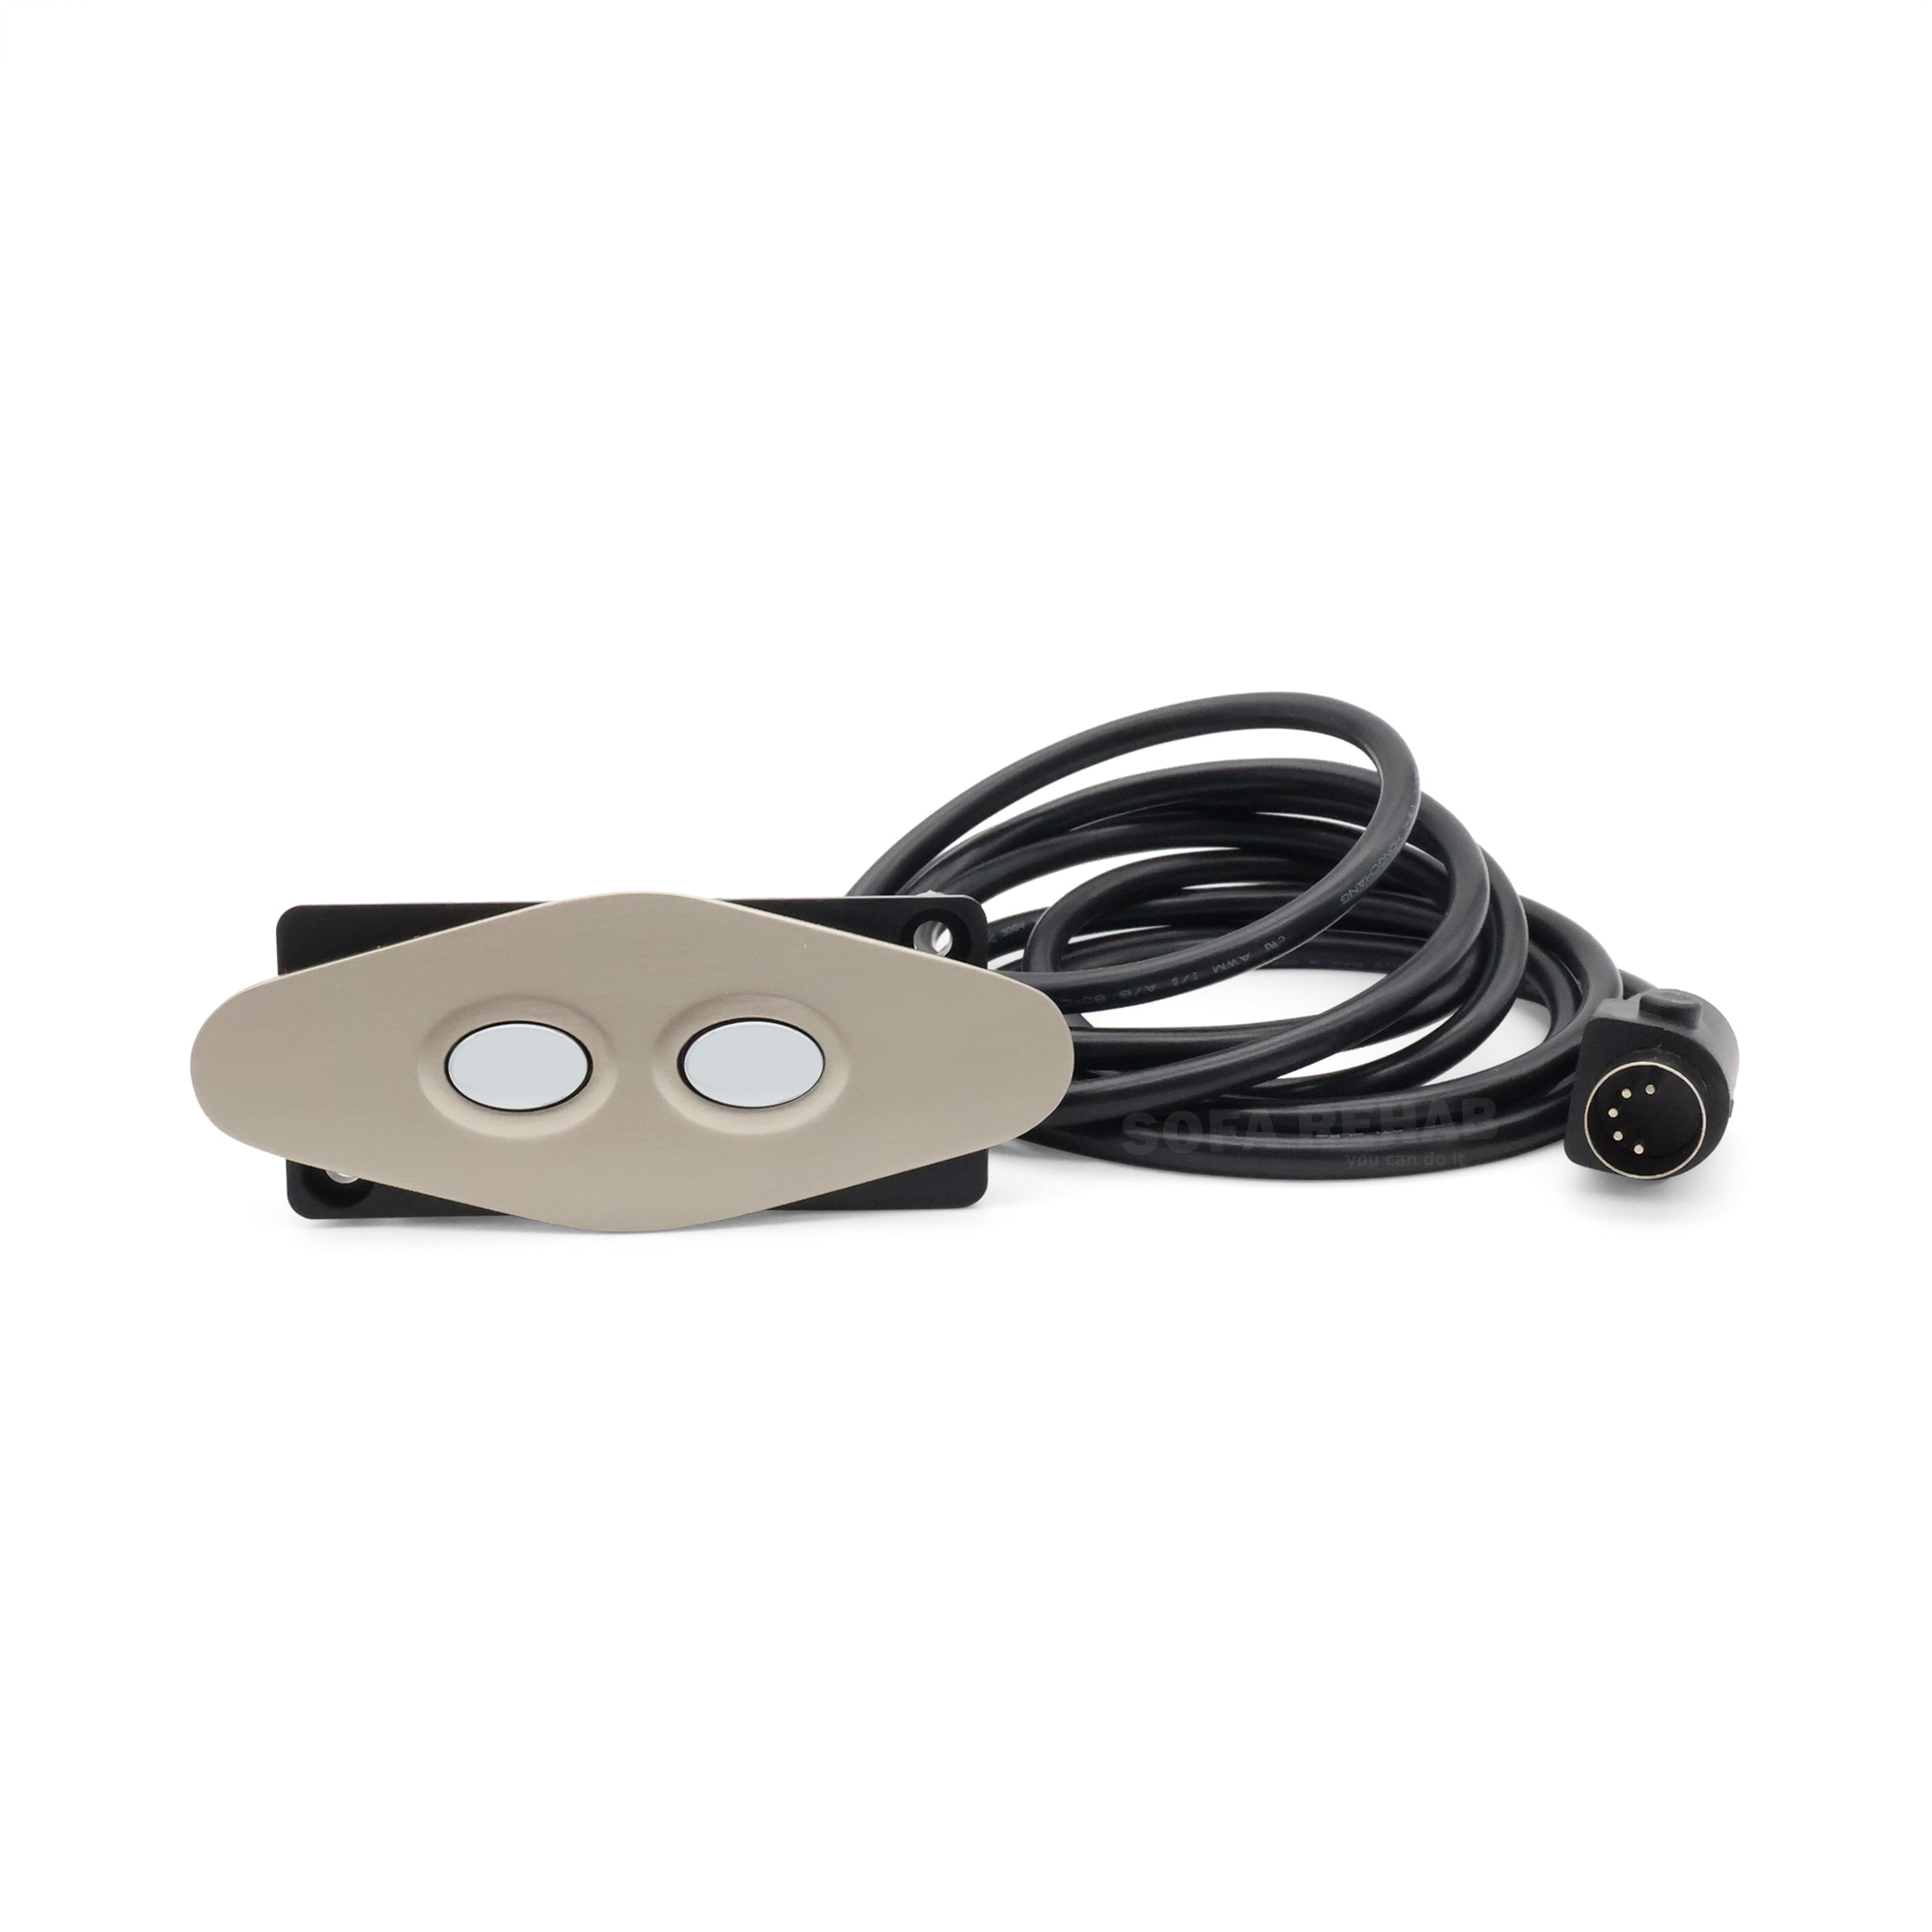
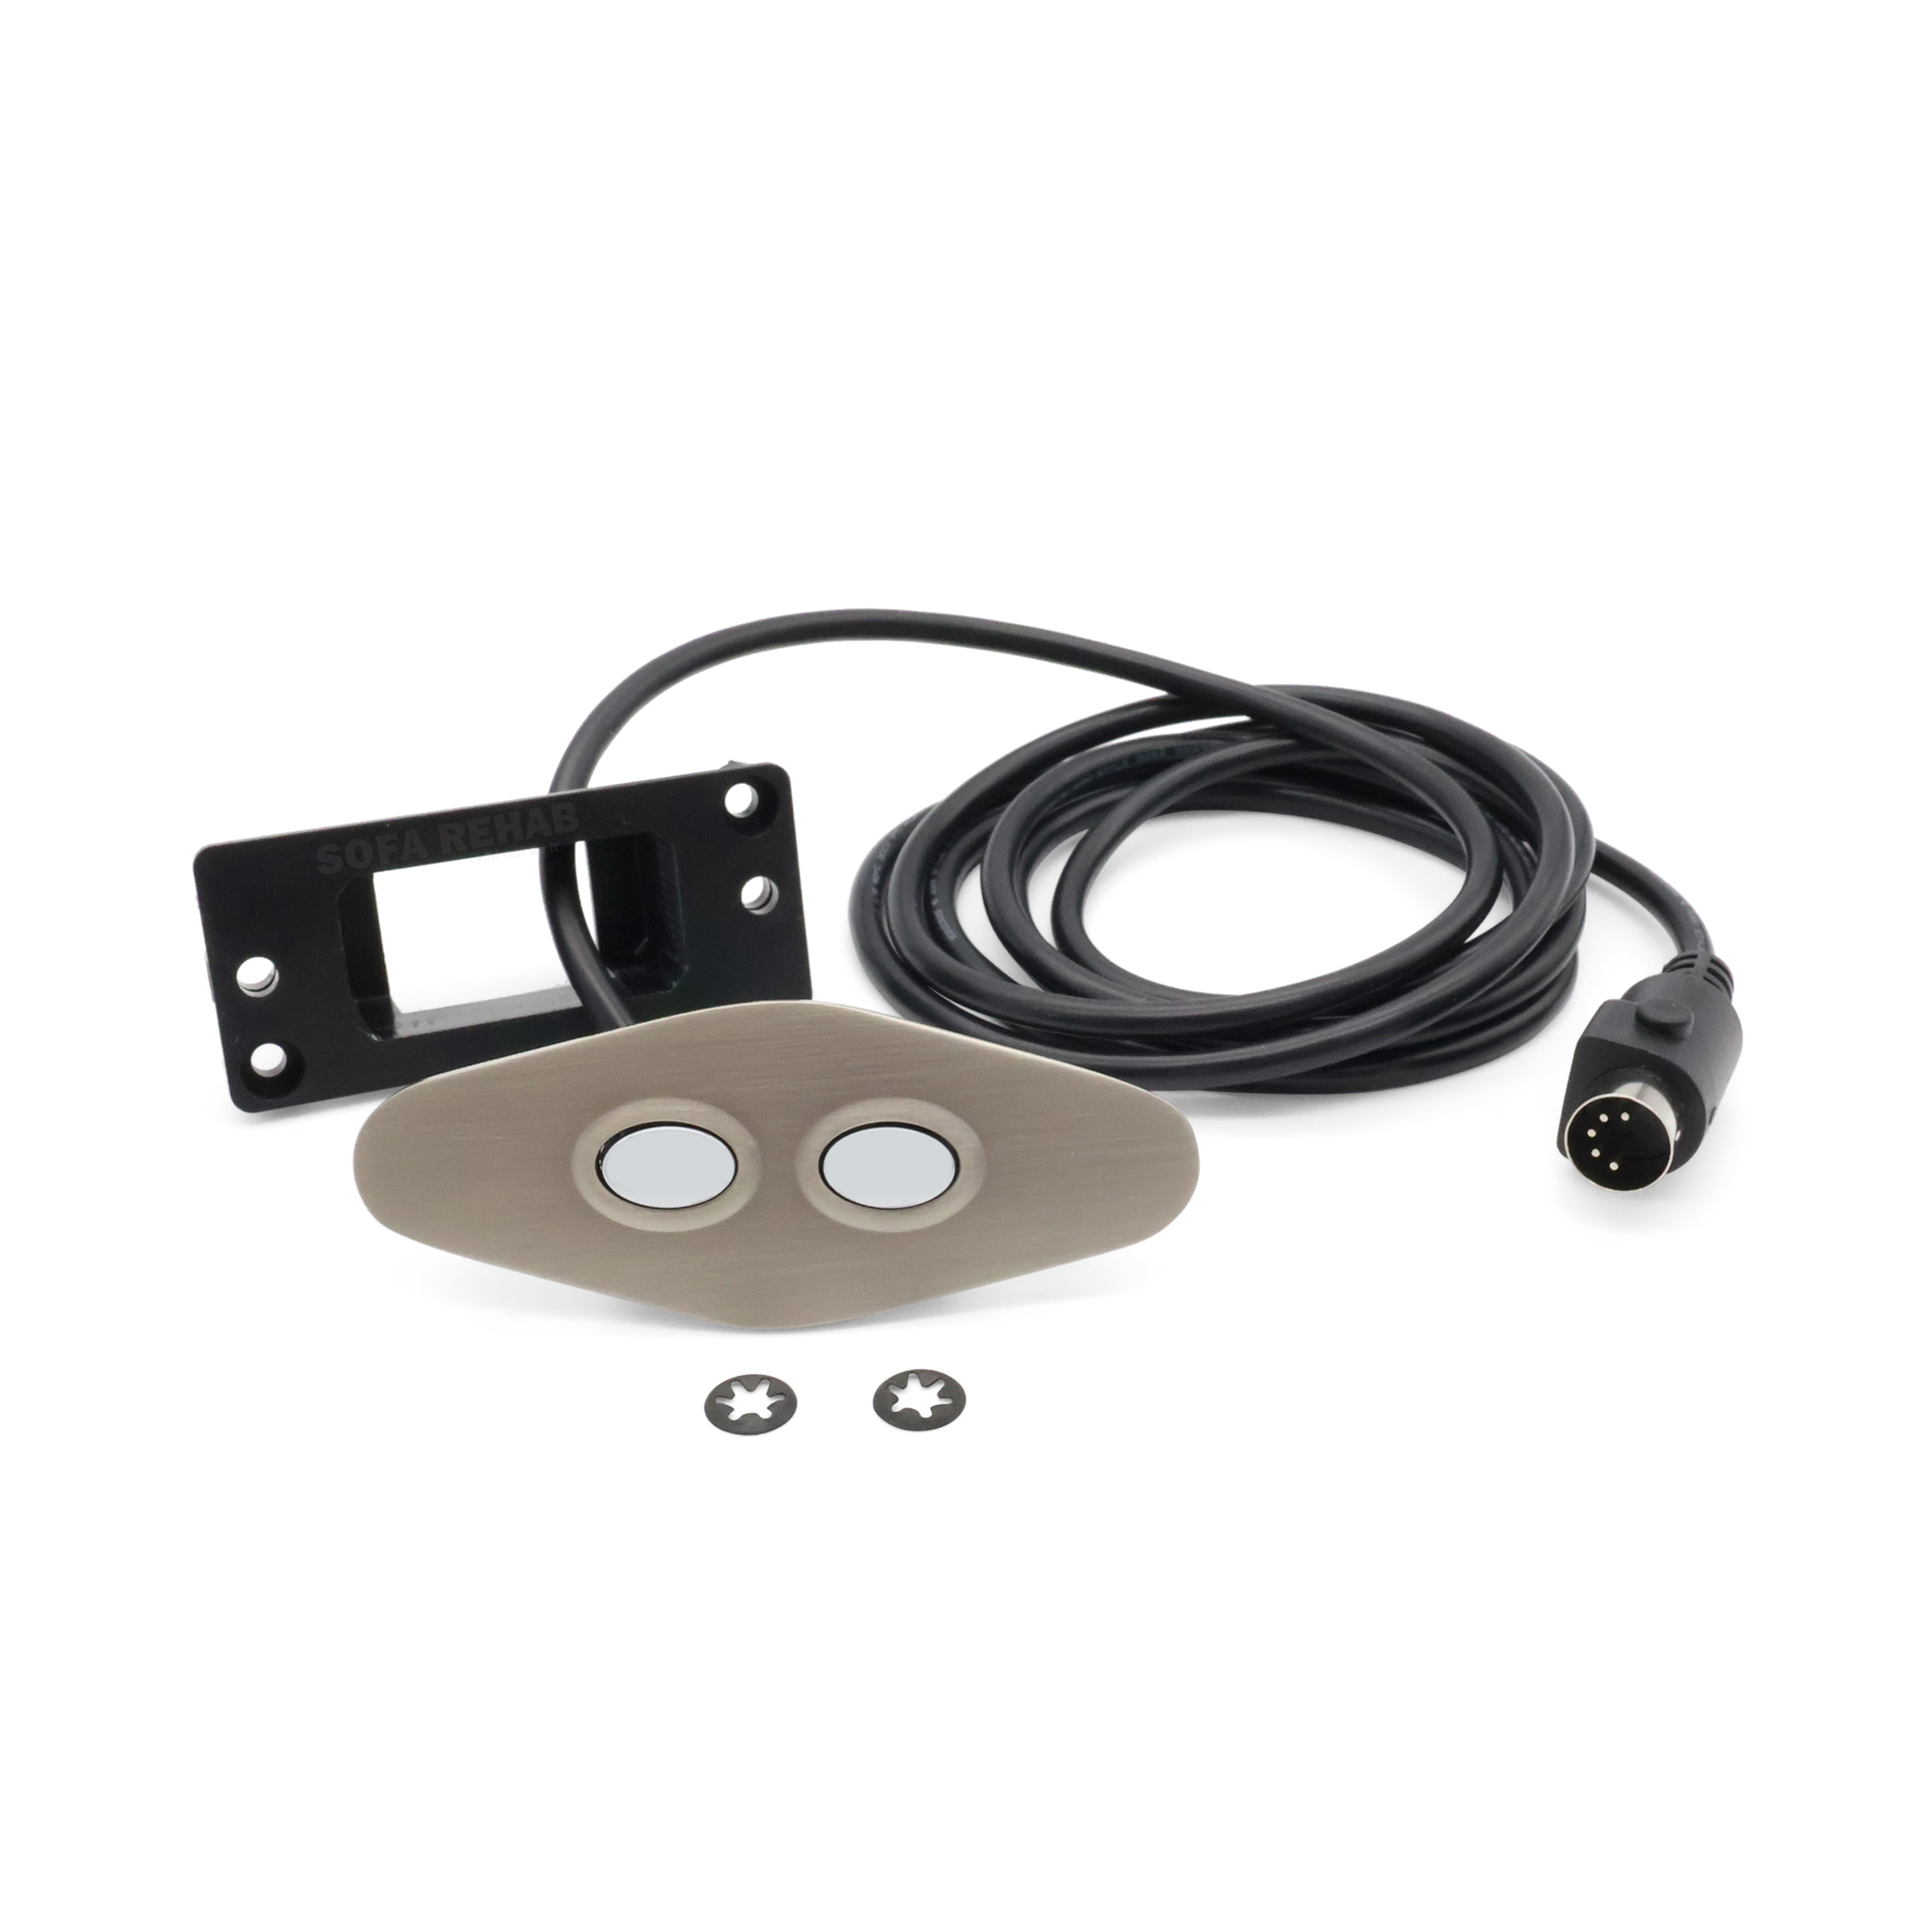
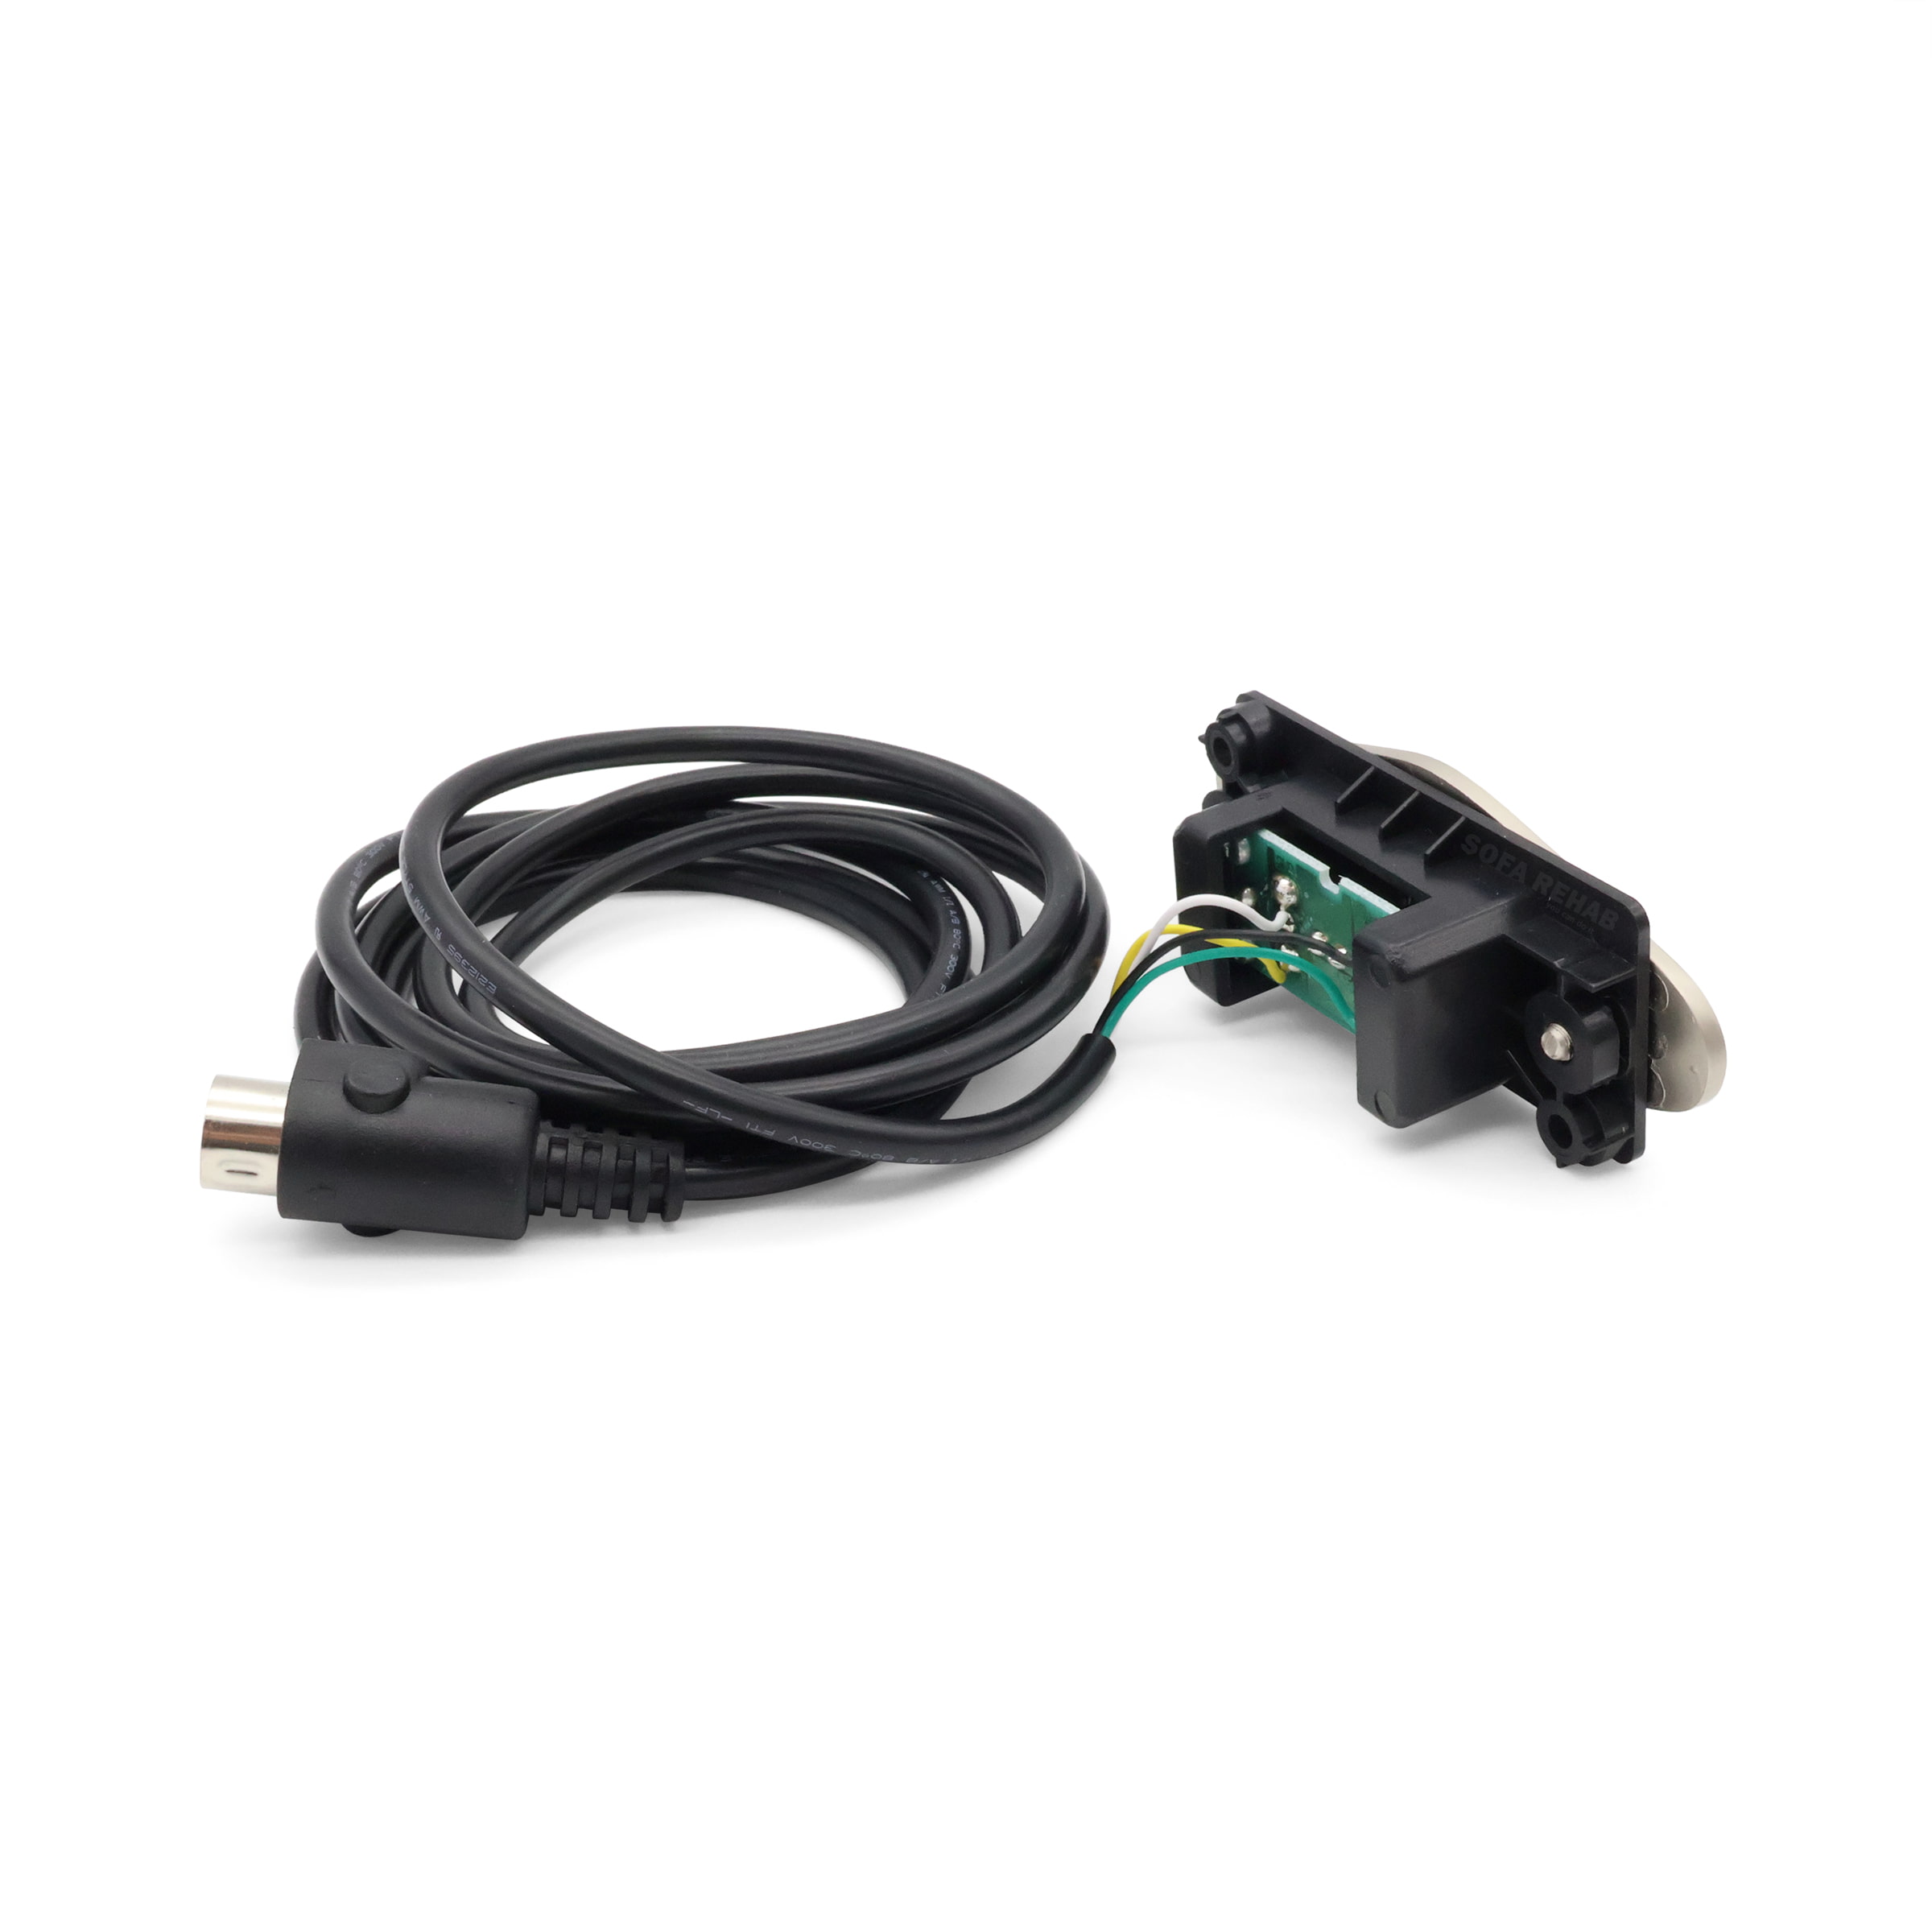
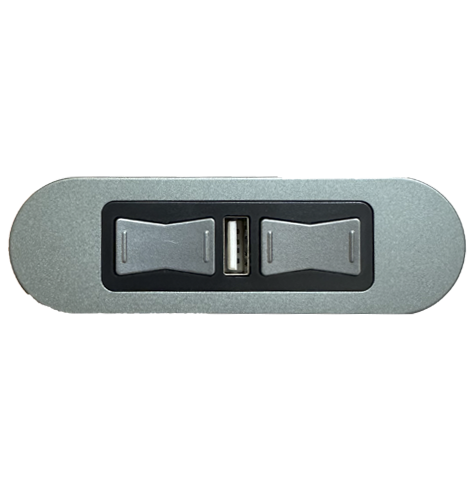
The Kaidi KDH038-301 is a genuine replacement switch for electric recliners and lift chairs, featuring a premium brushed chrome diamond-shaped faceplate with two smooth-finish buttons. It is designed to operate a single actuator and comes complete with an integrated 1975mm cable and a straight 5-pin DIN plug with retaining clips for secure connection.
Dimensions and Mounting Requirements
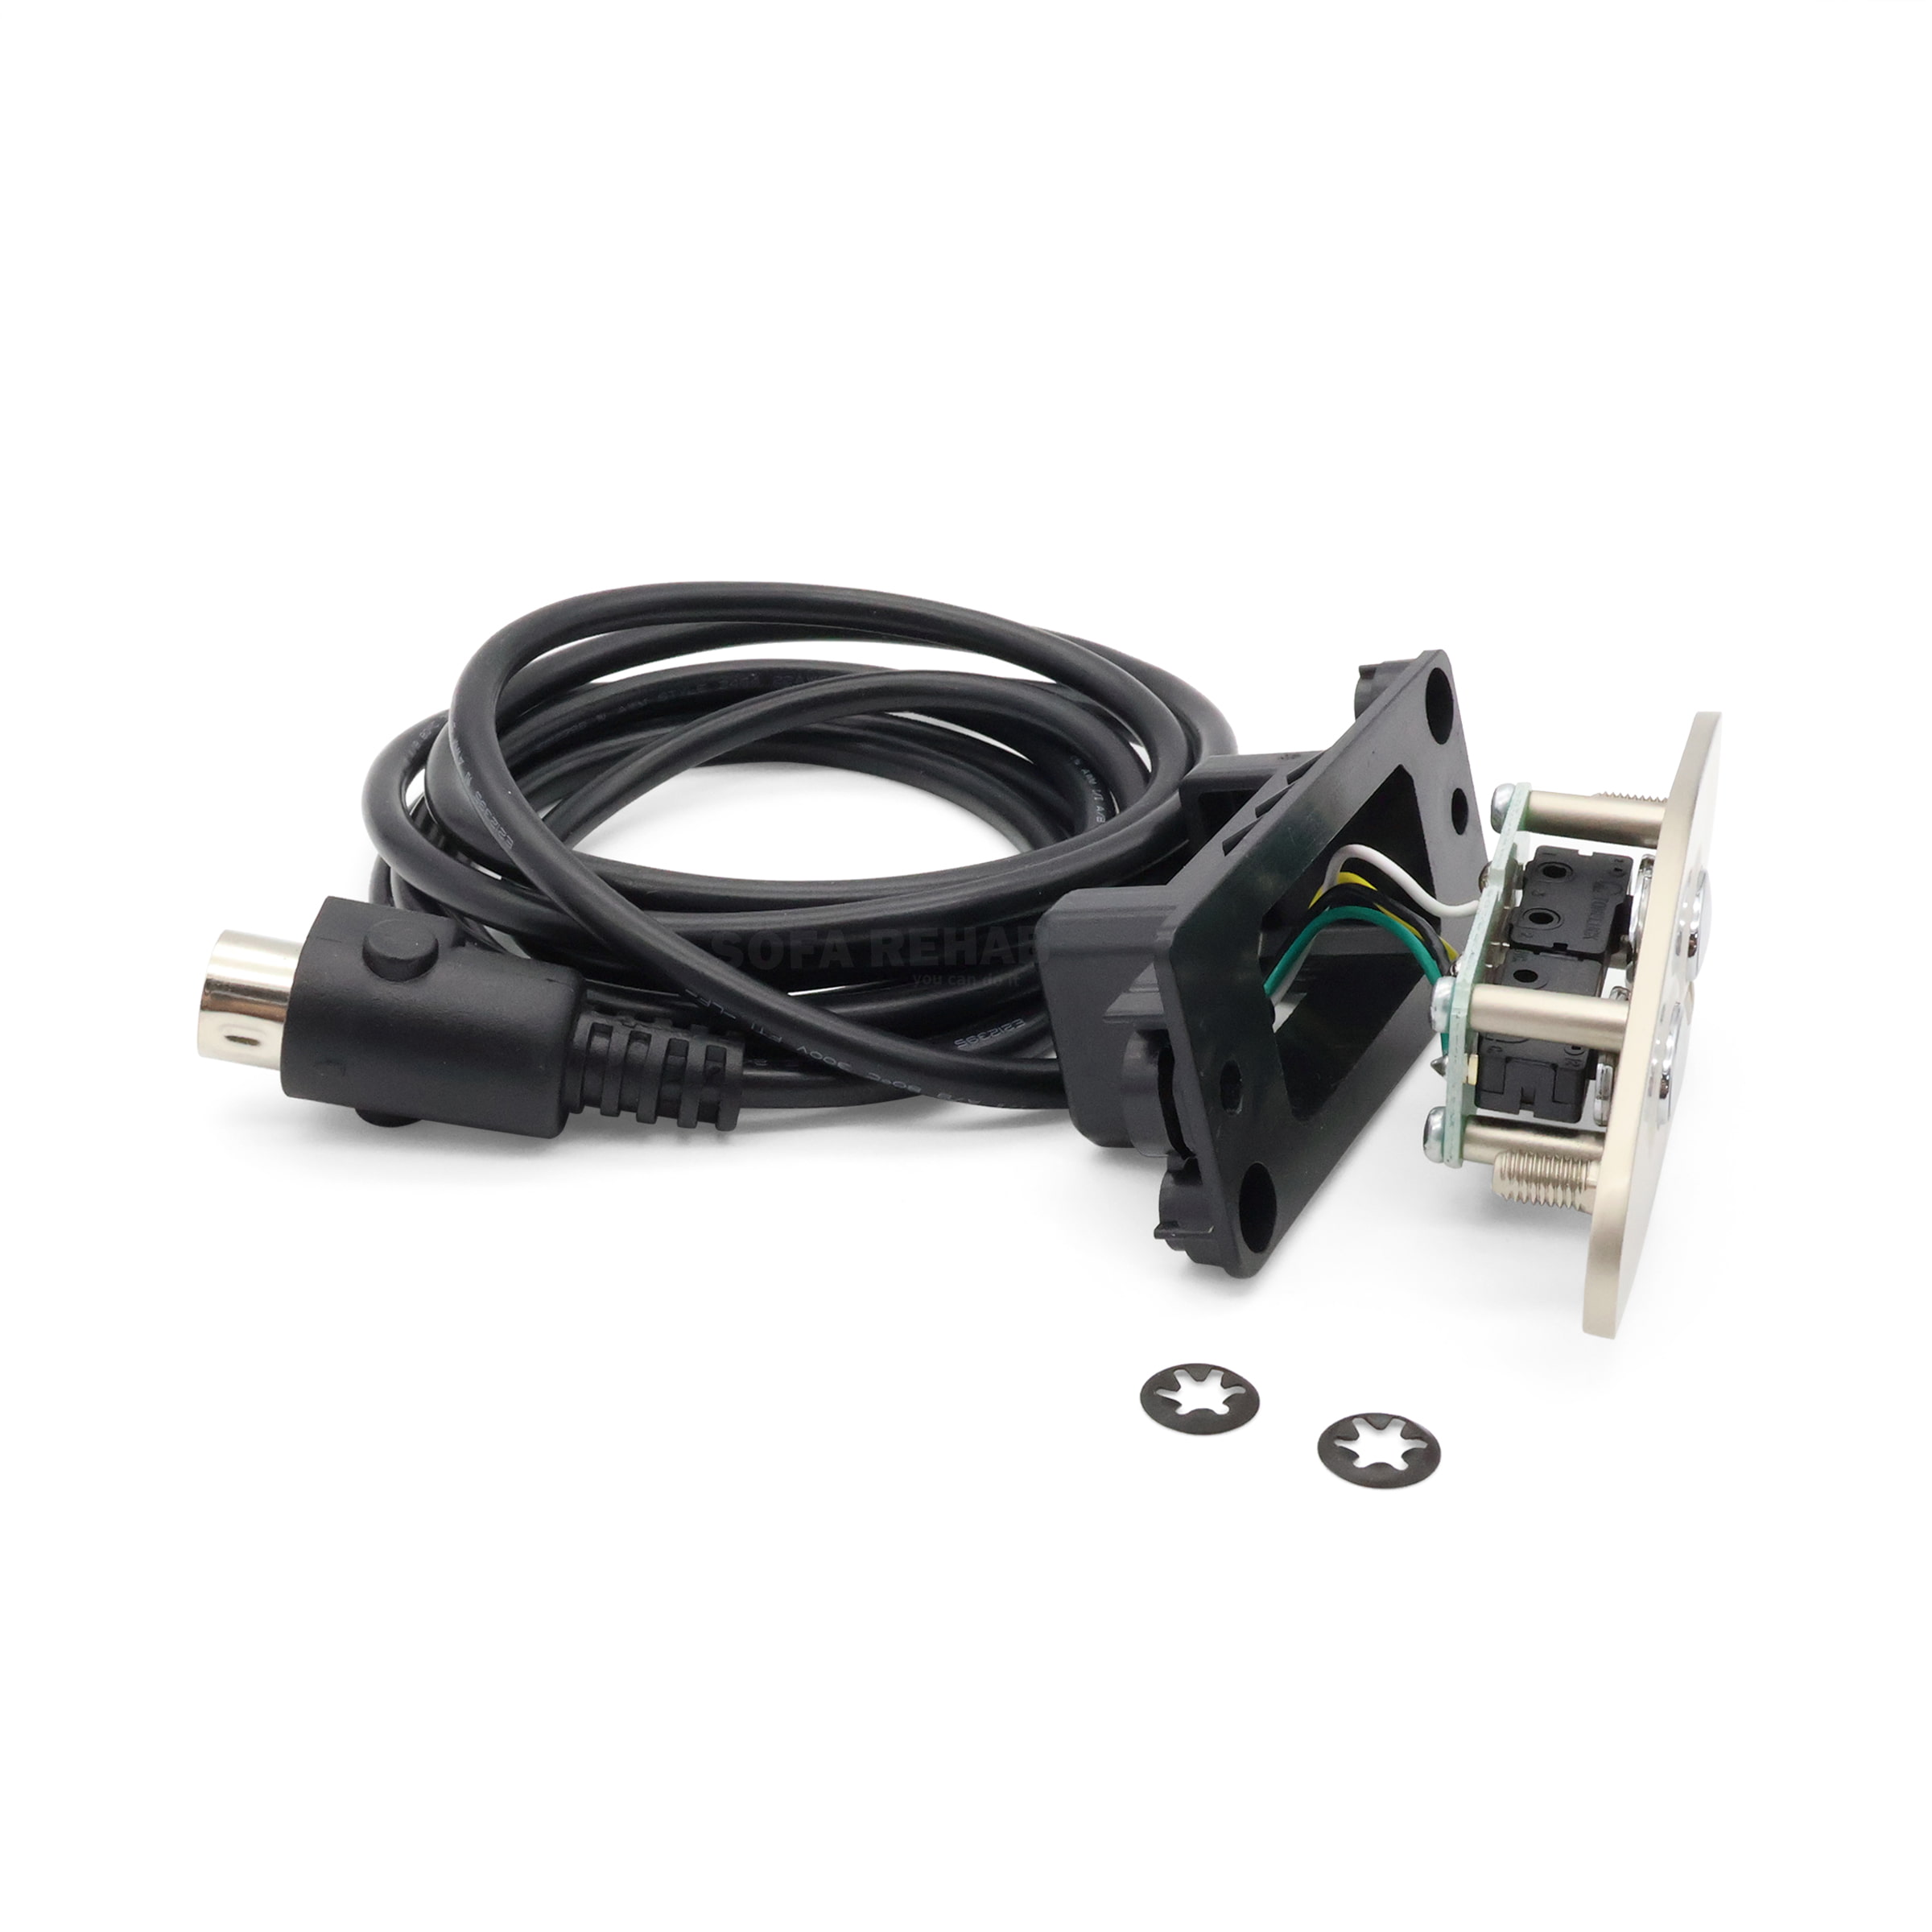
The brushed metal faceplate measures 100mm wide and 39mm deep at its centre, tapering towards the edges for a sleek profile. The plate thickness is 3.4mm. On the rear, a removable black plastic housing (80mm x 36mm) covers the electronics and cable. The required cut-out in the chair arm is 49mm wide by 27mm high. Two 11mm mounting studs are located at either end of the switch, secured in place using the supplied push-fit star washers. The rear plate requires 2 screws (not included) to fix to the wooden frame before the faceplate and washers are fitted to complete the installation.
Reliable OEM Quality from Sofa Rehab
As a genuine Kaidi part, this switch is built to meet the original manufacturer’s specifications for quality and compatibility. The brushed chrome face not only offers durability but also a premium look, while the long 1975mm lead provides flexibility for fitting on either the left or right-hand side of your recliner or lounge frame.
DIY Friendly Replacement – Save Time & Money
Replacing this switch is quick and straightforward. With only a screwdriver required, you can install it in just minutes without needing a technician. Fit the rear plate with two screws, connect the plug, slide the front faceplate into position, and secure with the supplied star washers for a seamless finish. With our step-by-step guides and video tutorials, you’ll find it easy to restore your recliner yourself and save $$$ on service calls.
Technical Specifications
Technical Specifications
Technical Specs
- Model: Kaidi KDH038-301
- Function: 2 button switch (operates a single actuator)
- Faceplate Material: Brushed chrome metal with non-brushed buttons
- Faceplate Dimensions: 100mm wide x 39mm deep at centre (diamond profile tapers toward edges)
- Faceplate Thickness: 3.4mm
- Rear Housing: Removable black plastic cover, 80mm x 36mm
- Required Cut-Out (Arm/Frame): 49mm wide x 27mm high
- Mounting Hardware: 2x rear threaded studs (11mm long) secured with push-fit star washers (included)
- Rear Plate Fixing: Requires 2 screws to secure to frame (not supplied)
- Cable Length: 1975mm integrated lead
- Connector: Straight 5-pin male DIN plug with retaining clasp lugs
- Installation Position: Fits either left or right side of arm or seat frame
- Compatibility: Kaidi control systems and other recliners or lift chairs using the same 5-pin configuration
How To Tutorial
How To Tutorial
How To Install the Kaidi KDH038-301 Switch
Follow the steps below to replace your electric recliner switch safely and correctly. Read the entire guide first. If you have any questions, contact our support team for help.
Before You Start (Safety First)
- Unplug the chair from mains power and wait 2–3 minutes for any stored charge to dissipate.
- Take a clear photo of the existing switch wiring and cable routing. This is your reference during reassembly.
- Safe lifting technique: if you need to tip or move the chair, bend your knees, keep the load close, and lift with your legs (not your back). Ask for help with heavy lounges.
- Work on a clean surface. Protect leather or fabric with a soft blanket or cardboard.
- Wear eye protection when drilling or using screws. Keep fingers clear of moving mechanisms.
Tools and Parts You Will Need
- Phillips screwdriver (or driver that suits your frame screws)
- 2 x wood screws for the rear plate (not supplied), length suited to your frame
- Drill and timber bit (only if you need to create the cut-out)
- Measuring tape and pencil for marking
- The new KDH038-301 switch assembly with faceplate, rear cover and star washers (included)
Check Fitment and Cut-Out
- The required cut-out in the arm or frame is 49mm (W) x 27mm (H).
- The rear plastic housing is 80mm x 36mm. Confirm clearance behind the panel.
- The faceplate is 100mm wide x 39mm deep at the centre and 3.4mm thick.
- The integrated lead is 1975mm long with a straight 5-pin male DIN plug that has retaining lugs.
Removal of the Old Switch
- Unplug the transformer from the wall socket.
- Locate the existing switch on the arm or seat side. Take a photo of the plug and routing.
- Disconnect the switch cable from the chair harness or actuator control box. Some plugs have a latch. Press gently and pull straight.
- Remove the old switch fixings from the arm panel and lift the switch out carefully. Do not force it through the opening.
Installing the Rear Plate
- Hold the rear plate behind the cut-out. Ensure the plate sits flat against the frame and the opening is centred.
- Using two suitable wood screws (not supplied), secure the rear plate to the frame. Do not overtighten. Check that the opening remains true.
Routing the Cable
- Feed the new switch cable through the opening from the outside to the inside of the arm or frame.
- Route the lead along the original path where possible. Avoid pinch points, sharp edges and moving linkages.
- Guide the cable to the control box or actuator loom and leave the plug accessible for connection later.
Fitting the Switch and Faceplate
- With the rear plate secured, align the switch body so the two mounting studs pass through the rear plate slots.
- Seat the diamond faceplate in the opening so it sits flush. Ensure button orientation is correct for your left or right side installation.
- From inside the arm, push the star washers onto the two 11mm studs until firm. The star washers lock onto the threads to hold the assembly in place for a seamless appearance.
- Clip or place the rear plastic cover over the PCB and cable as supplied.
Connecting and Testing
- Plug the 5-pin DIN connector into the chair control socket. Ensure the retaining lugs engage fully.
- Re-check that the cable is clear of hinges and scissor mechanisms.
- Reconnect the transformer to the wall socket and switch on.
- Test both buttons. One should extend the actuator and the other should retract. If reversed for your preferred orientation, rotate the switch assembly 180 degrees and refit, or swap mounting sides if desired.
Final Checks
- Operate the chair through a full cycle while watching the cable path. Confirm there is no rubbing or pulling.
- Wipe the faceplate clean. Confirm the switch is seated evenly and does not rock.
- Dispose of the old part responsibly or keep it as a reference with your install photo.
Reviews (0)
Thank you for making an effort to leave a reivew but to protect against spam we only accept reviews from verified owners. Please proceed to login using the same email address you used when ordering the product.
Customer Login
- There are no reviews yet.
FAQs
FAQs
Will this switch fit my recliner?
This is a genuine Kaidi KDH038-301 switch designed to operate a single actuator via a 5-pin DIN plug. If your existing switch has the same 5-pin connection and cut-out size (49mm x 27mm), it will be compatible.
Does the switch come with screws for installation?
The switch is supplied with push-fit star washers for the rear mounting studs, but the 2x wood screws required for securing the rear plate to your chair frame are not included.
Can I install this myself without experience?
Yes. This switch is DIY-friendly and requires only a screwdriver. Simply secure the rear plate, connect the plug, and fit the faceplate with the supplied washers. We recommend taking a photo of your old switch wiring before removal.
How long is the cable and what type of plug does it use?
The integrated lead is 1975mm long and comes with a straight 5-pin male DIN plug with retaining lugs. This ensures a secure and reliable connection.
Can the switch be mounted on either side of my chair?
Yes. The KDH038-301 can be installed on either the left or right arm of your recliner or sofa. Simply orient the switch so the buttons face the correct direction for your preferred setup.


