Okin 7 Button Switch JLDK.15.08.31
$79.00
In stock
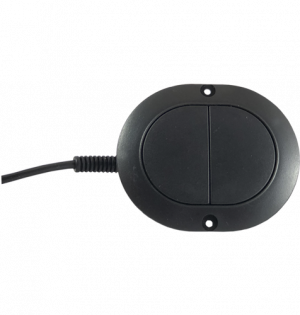
Replacement control panel with seven easy-press buttons for footrest, headrest, lumbar and 'home' reset. Genuine Okin Refined model JLDK.15.08.31, moulded in tough black ABS and supplied with two mounting screws. A straight 7-pin DIN plug on a 1470 mm lead suits any triple-actuator recliner system and swaps over in minutes with just a screwdriver. 7 Button Recliner Arm Switch. Universally mounted left or right, this fascia panel replaces any JLDK-15 style seat switch that uses a straight 7-pin DIN lead. Triple-actuator compatible and delivered ready to plug-and-play so you can restore full motion control fast. Not the Switch Your Looking For? We stock all the popular recliner switches (click here). If you are still not sure which replacement power recliner chair or sofa switch is right for you please contact our helpful team. read more
In stock
- Description
- Technical Specifications
- How To Tutorial
- Reviews (0)
- FAQs
- Add a review
Description
7-Button Seat-Mounted Recliner Switch – Universal 7-Pin DIN
Restore full control to any triple-actuator recliner, theatre seat or powered sofa with this genuine Okin Refined JLDK.15.08.31 switch panel. Seven soft-touch buttons operate footrest up/-down, headrest up/-down, lumbar up/-down and a single Home key that returns every motor to the closed position. Moulded in durable black ABS with a low-profile bezel, the panel screws straight into the arm frame and connects via a straight 7-pin DIN plug on a 1470 mm lead. Two mounting screws are included, so the whole swap can be done in minutes with nothing more than a Phillips screwdriver.
Supplied Ready to Plug-In – No Guesswork
Everything you need is in the packet: the pre-wired switch, captive 7-pin lead and matching screws. No extra cables, adaptors or programming are required. The 29 V low-voltage control line used in all modern motion furniture means the panel is voltage-agnostic, so it will work anywhere your existing motors already run.
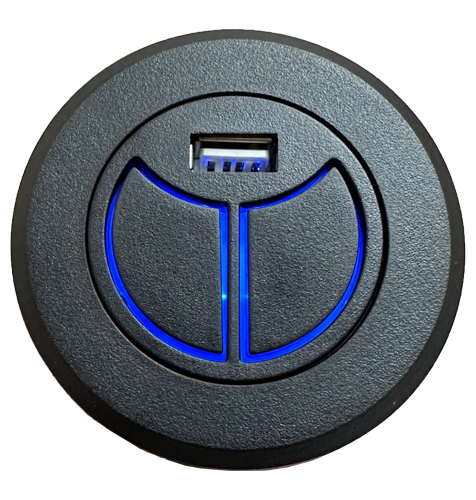
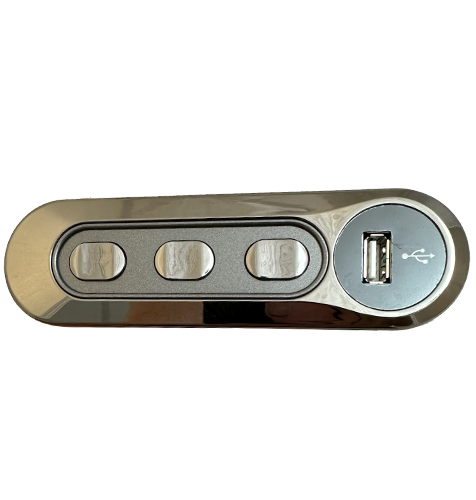
Looking for the USB version? We also stock the USB version of this switch is a modern brushed nickel colour. To view and read about this switch (click here).
Quality Spare Parts from Sofa Rehab
We source genuine components direct from the factory and check every batch in-house to ensure plug, pin-out and finish match the original specification. Buying genuine means the DIN plug, wire gauge and button PCB all align with your furniture’s harness for a painless like-for-like replacement. If you are unsure about lead lengths or pin counts, our experienced technicians are only a phone call, email or chat away.
Save Time & Money and Do It Yourself
Replacing a seat switch is one of the quickest DIY fixes you can perform on motion furniture. Remove two screws, unplug the DIN connector, rotate the new panel for left- or right-hand fitment, fasten with the supplied screws and reconnect. Five minutes of effort equals full motion again, no call-out fees and the satisfaction of a job well done.
Technical Specifications
Technical Specifications
| Technical Specification | |
|---|---|
| Part Number | Okin Refined JLDK.15.08.31 |
| Product Family | JLDK-15 arm-mounted control panel |
| Button Functions (7) | Footrest Up, Footrest Down, Headrest Up, Headrest Down, Lumbar Up, Lumbar Down, Home/Reset |
| USB Charging | Not included (USB-free variant) |
| Motor Support | Triple-actuator motion furniture (3 independent motors) |
| Connector Type | Straight 7-pin DIN male plug |
| Operating Voltage | Low-voltage 29 V DC control circuit (industry standard) |
| Fascia Material / Colour | ABS plastic, matte black |
| Dimensions | |
| Fascia Size (W × H) | 125 mm × 38 mm |
| Cut-Out Opening (W × H × D) | 96 mm × 27 mm × 41 mm |
| Cable Length | 1470 mm (measured from rear of switch shell to start of DIN metal shell) |
| Mounting | Two pan-head screws (supplied) – installs left or right arm |
| Orientation | Universal – rotate fascia for LH or RH fitment |
| Package Contents | 1 × JLDK.15.08.31 switch panel with 7-pin lead 2 × mounting screws |
How To Tutorial
How To Tutorial
How to Replace Your Seat-Mounted 7-Button Switch
- Step 1 – Disconnect Power.
Unplug the transformer or wall plug to remove all mains voltage from the chair. - Step 2 – Position the Chair Safely.
Recliners are heavy. Use proper safe-lifting technique and get assistance if required. Tilt the chair onto its side to expose the switch plate without straining. - Step 3 – Photograph the Existing Wiring.
Before undoing any connectors, take a clear photo of the 7-pin DIN plug and cable routing. This reference will make re-assembly fool-proof. - Step 4 – Remove the Old Fascia.
Undo the two mounting screws and pull the switch plate clear of the arm frame. - Step 5 – Unplug the 7-Pin DIN Connector.
Grip the switch collar, pull straight out, and set the old switch aside. - Step 6 – Route the New Lead.
Feed the new 1470 mm cable along the exact path shown in your photo, avoiding sharp edges or moving parts. - Step 7 – Plug In the New 7-Pin DIN.
Align the keyway and push until fully seated. - Step 8 – Seat & Orient the Fascia.
Rotate the plate for left- or right-hand fitment, slide it into the cut-out, and hold flush. - Step 9 – Secure with the Supplied Screws.
Fit the two pan-head screws, tightening just until snug.
Snap on the replacement facia. - Step 10 – Restore Power & Test.
Return the chair upright, reconnect the mains lead and confirm every button (footrest, headrest, lumbar and Home) works correctly.
Job Complete! The swap typically takes about five minutes and avoids a costly service call.
Reviews (0)
Thank you for making an effort to leave a reivew but to protect against spam we only accept reviews from verified owners. Please proceed to login using the same email address you used when ordering the product.
Customer Login
- There are no reviews yet.
FAQs
FAQs
How do I confirm this is the correct replacement for my chair?
Match three things: (a) the part-number on your old label must read JLDK .15 .08 .31 (or the mould looks identical with seven buttons and no USB slot); (b) your furniture must use a straight 7-pin DIN plug for the seat switch; and (c) the chair has three separate motors (footrest, headrest, lumbar). If all three points line up, this panel will drop straight in.
My original switch is on the left arm—will this work?
Yes. The fascia is completely symmetrical; simply rotate it 180 ° during fitting and fasten with the supplied screws. It can be mounted on either the left or right side without modification.
Does the kit include everything I need for installation?
Everything electrical is pre-wired, and two mounting screws are included. The only tool you’ll provide is a Phillips screwdriver.
Can I use this to replace a 7-button switch that has a USB charging port?
Electrically it will still drive the three motors, but you will lose the charging function because this variant has no 5 V output. If you want to keep USB charging, choose a JLDK-15 model that specifies “USB” in the listing instead.
Will it damage my chair if I only have two motors?
It won’t damage anything, but two of the buttons would have nothing to do. For best results use a switch that matches your actuator count (e.g. a 4- or 5-button panel for dual-motor recliners).