
Description
Firm Beeswax Filler Sticks for Timber Furniture and Floors
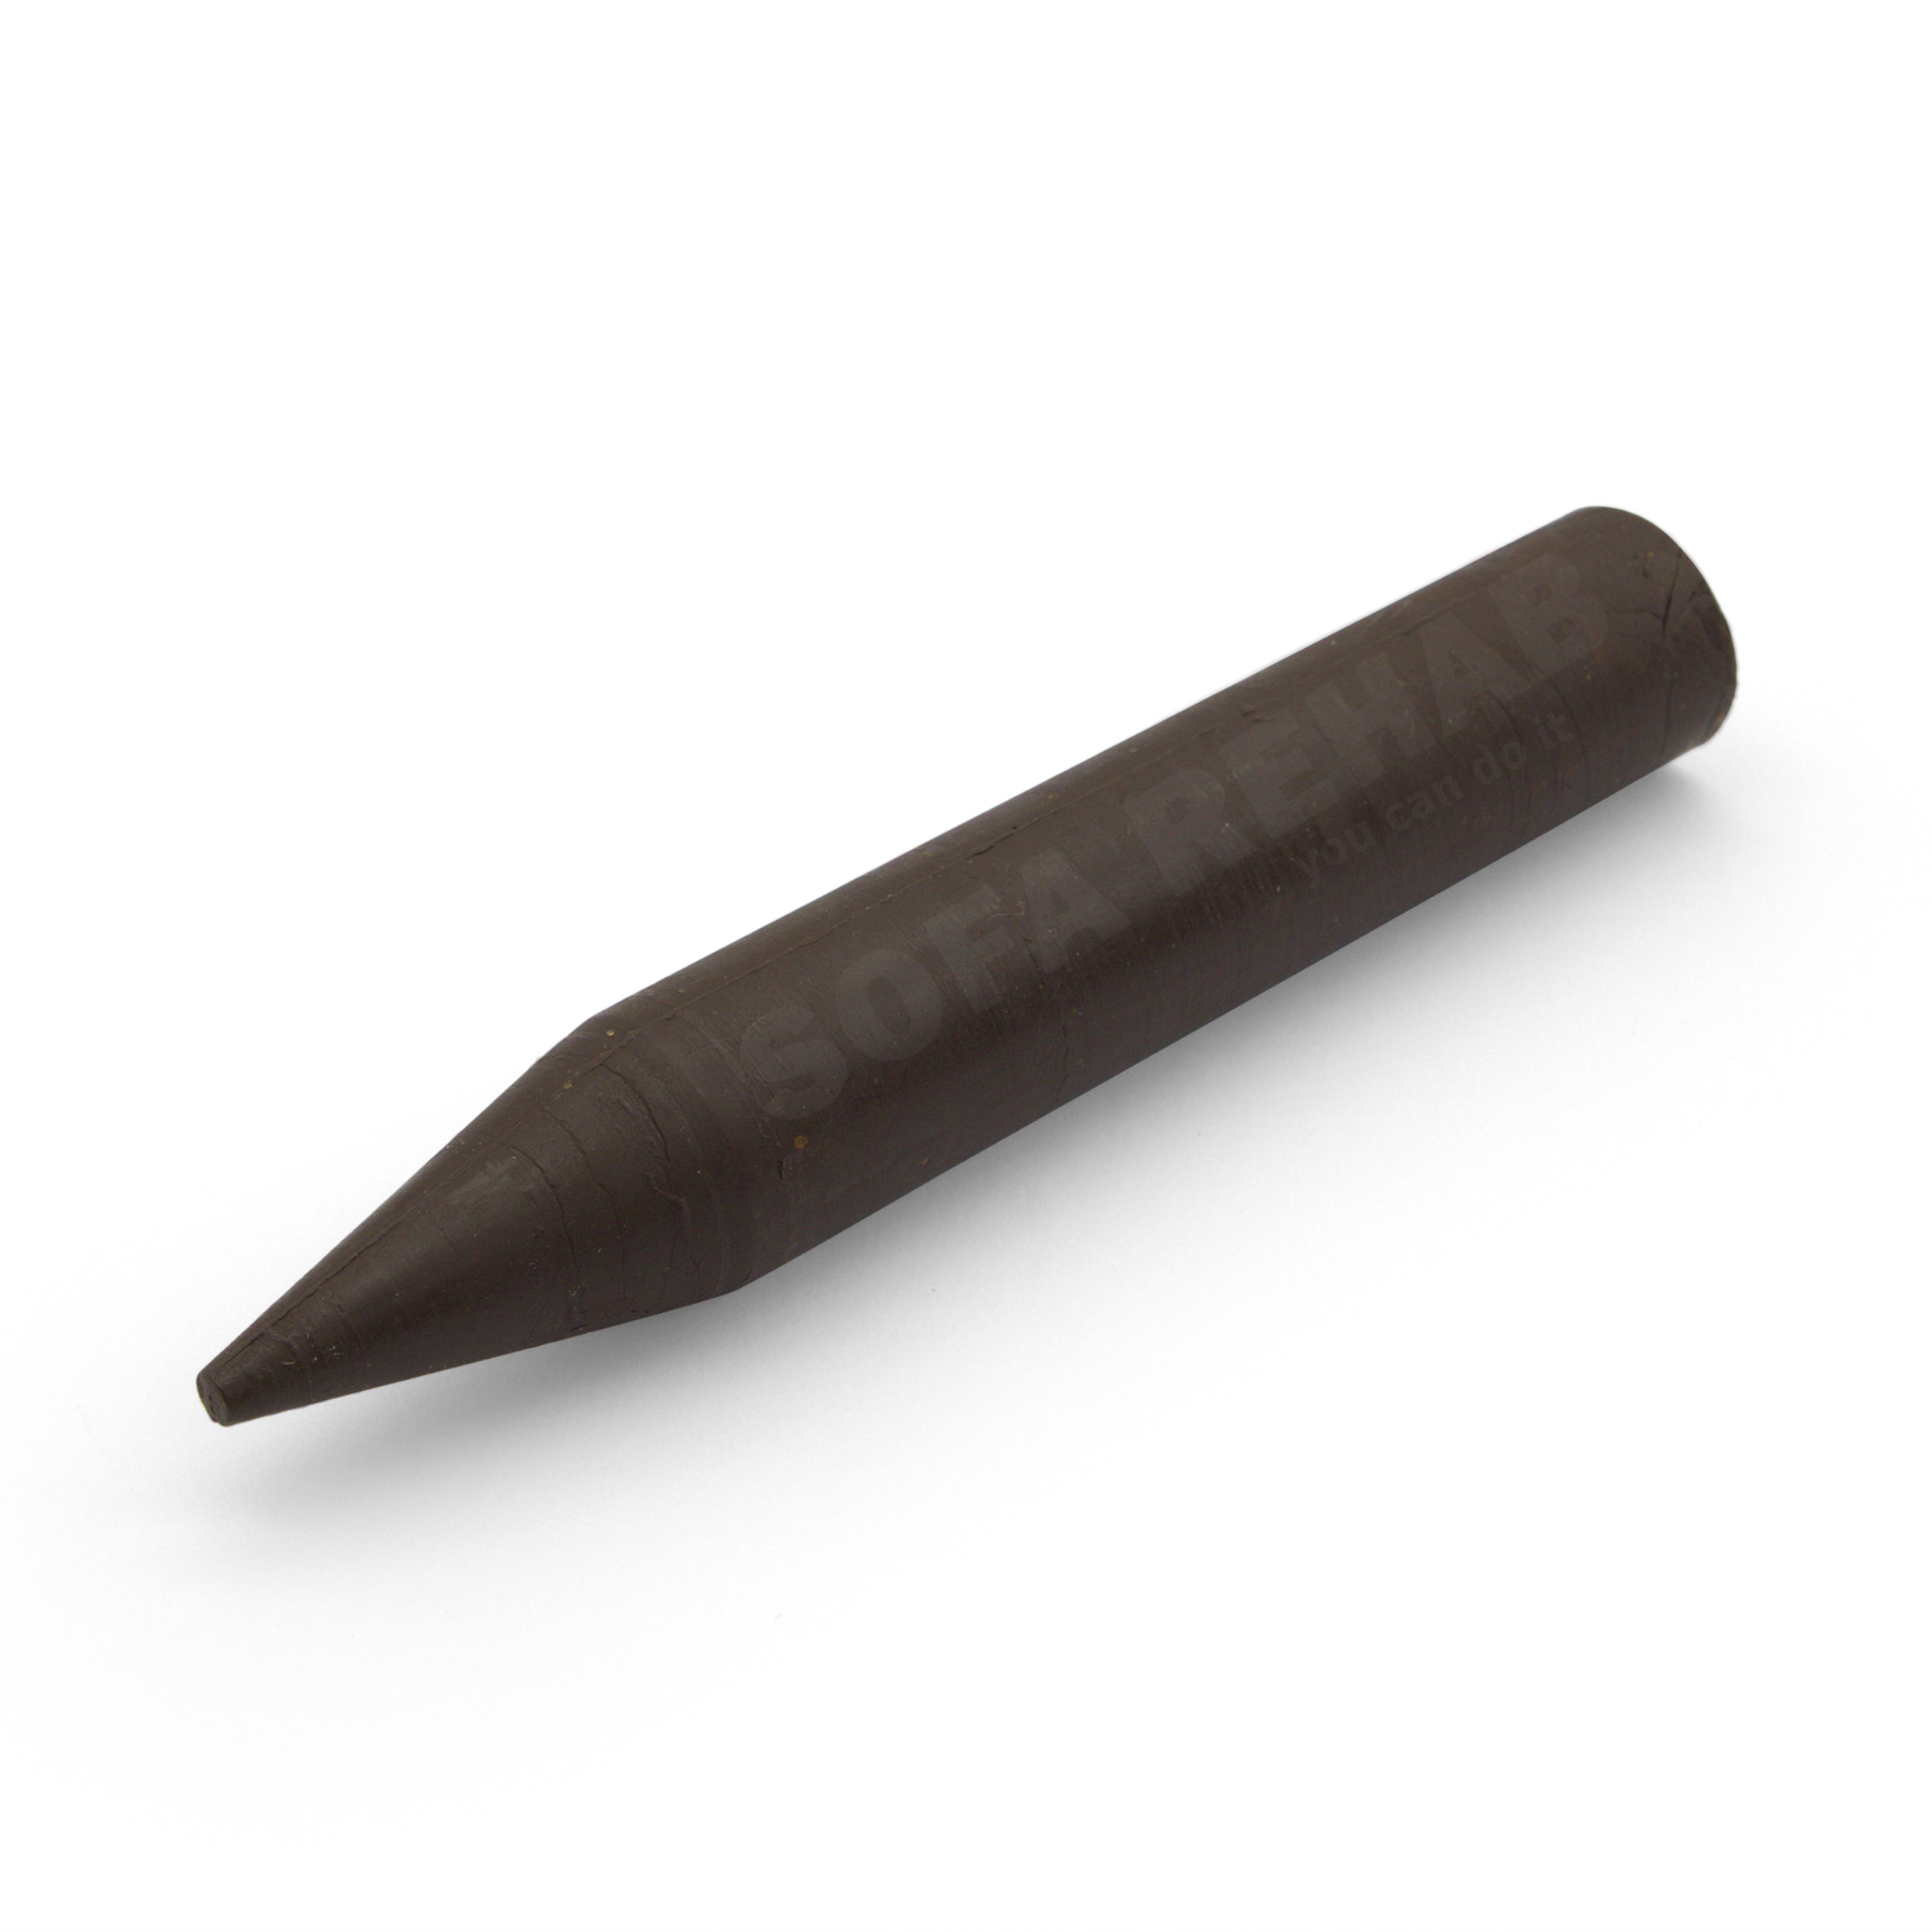
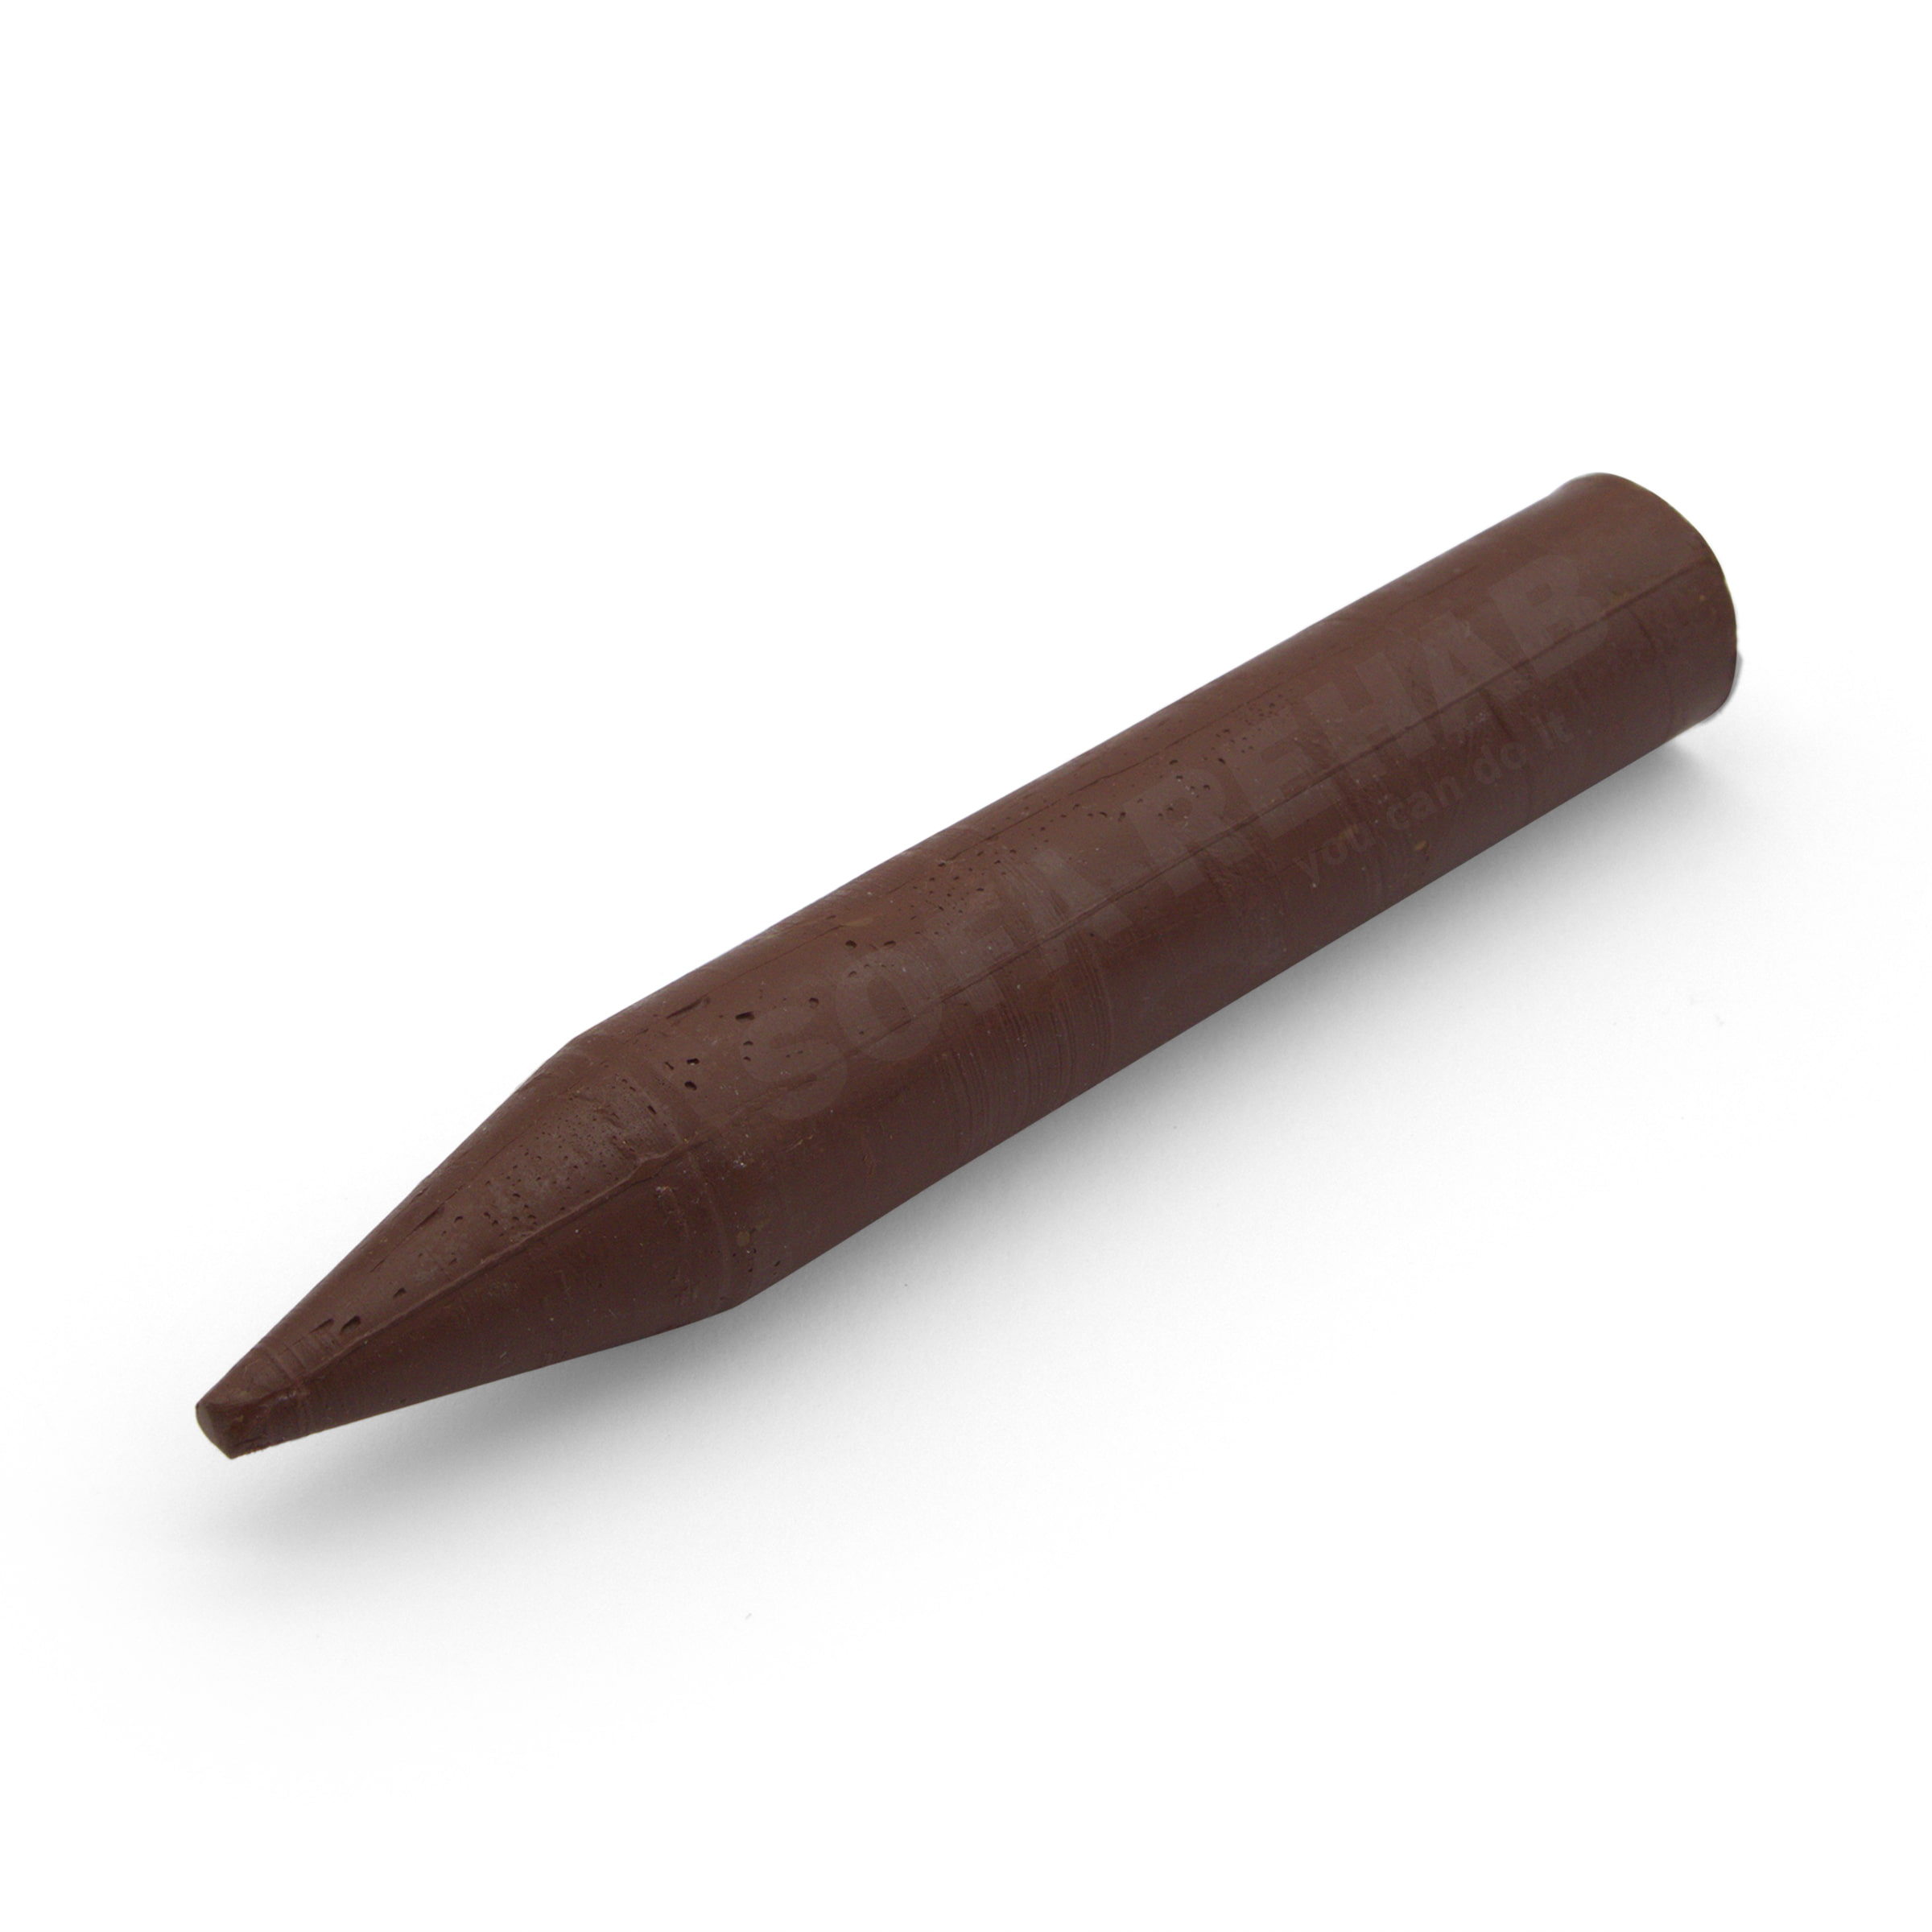
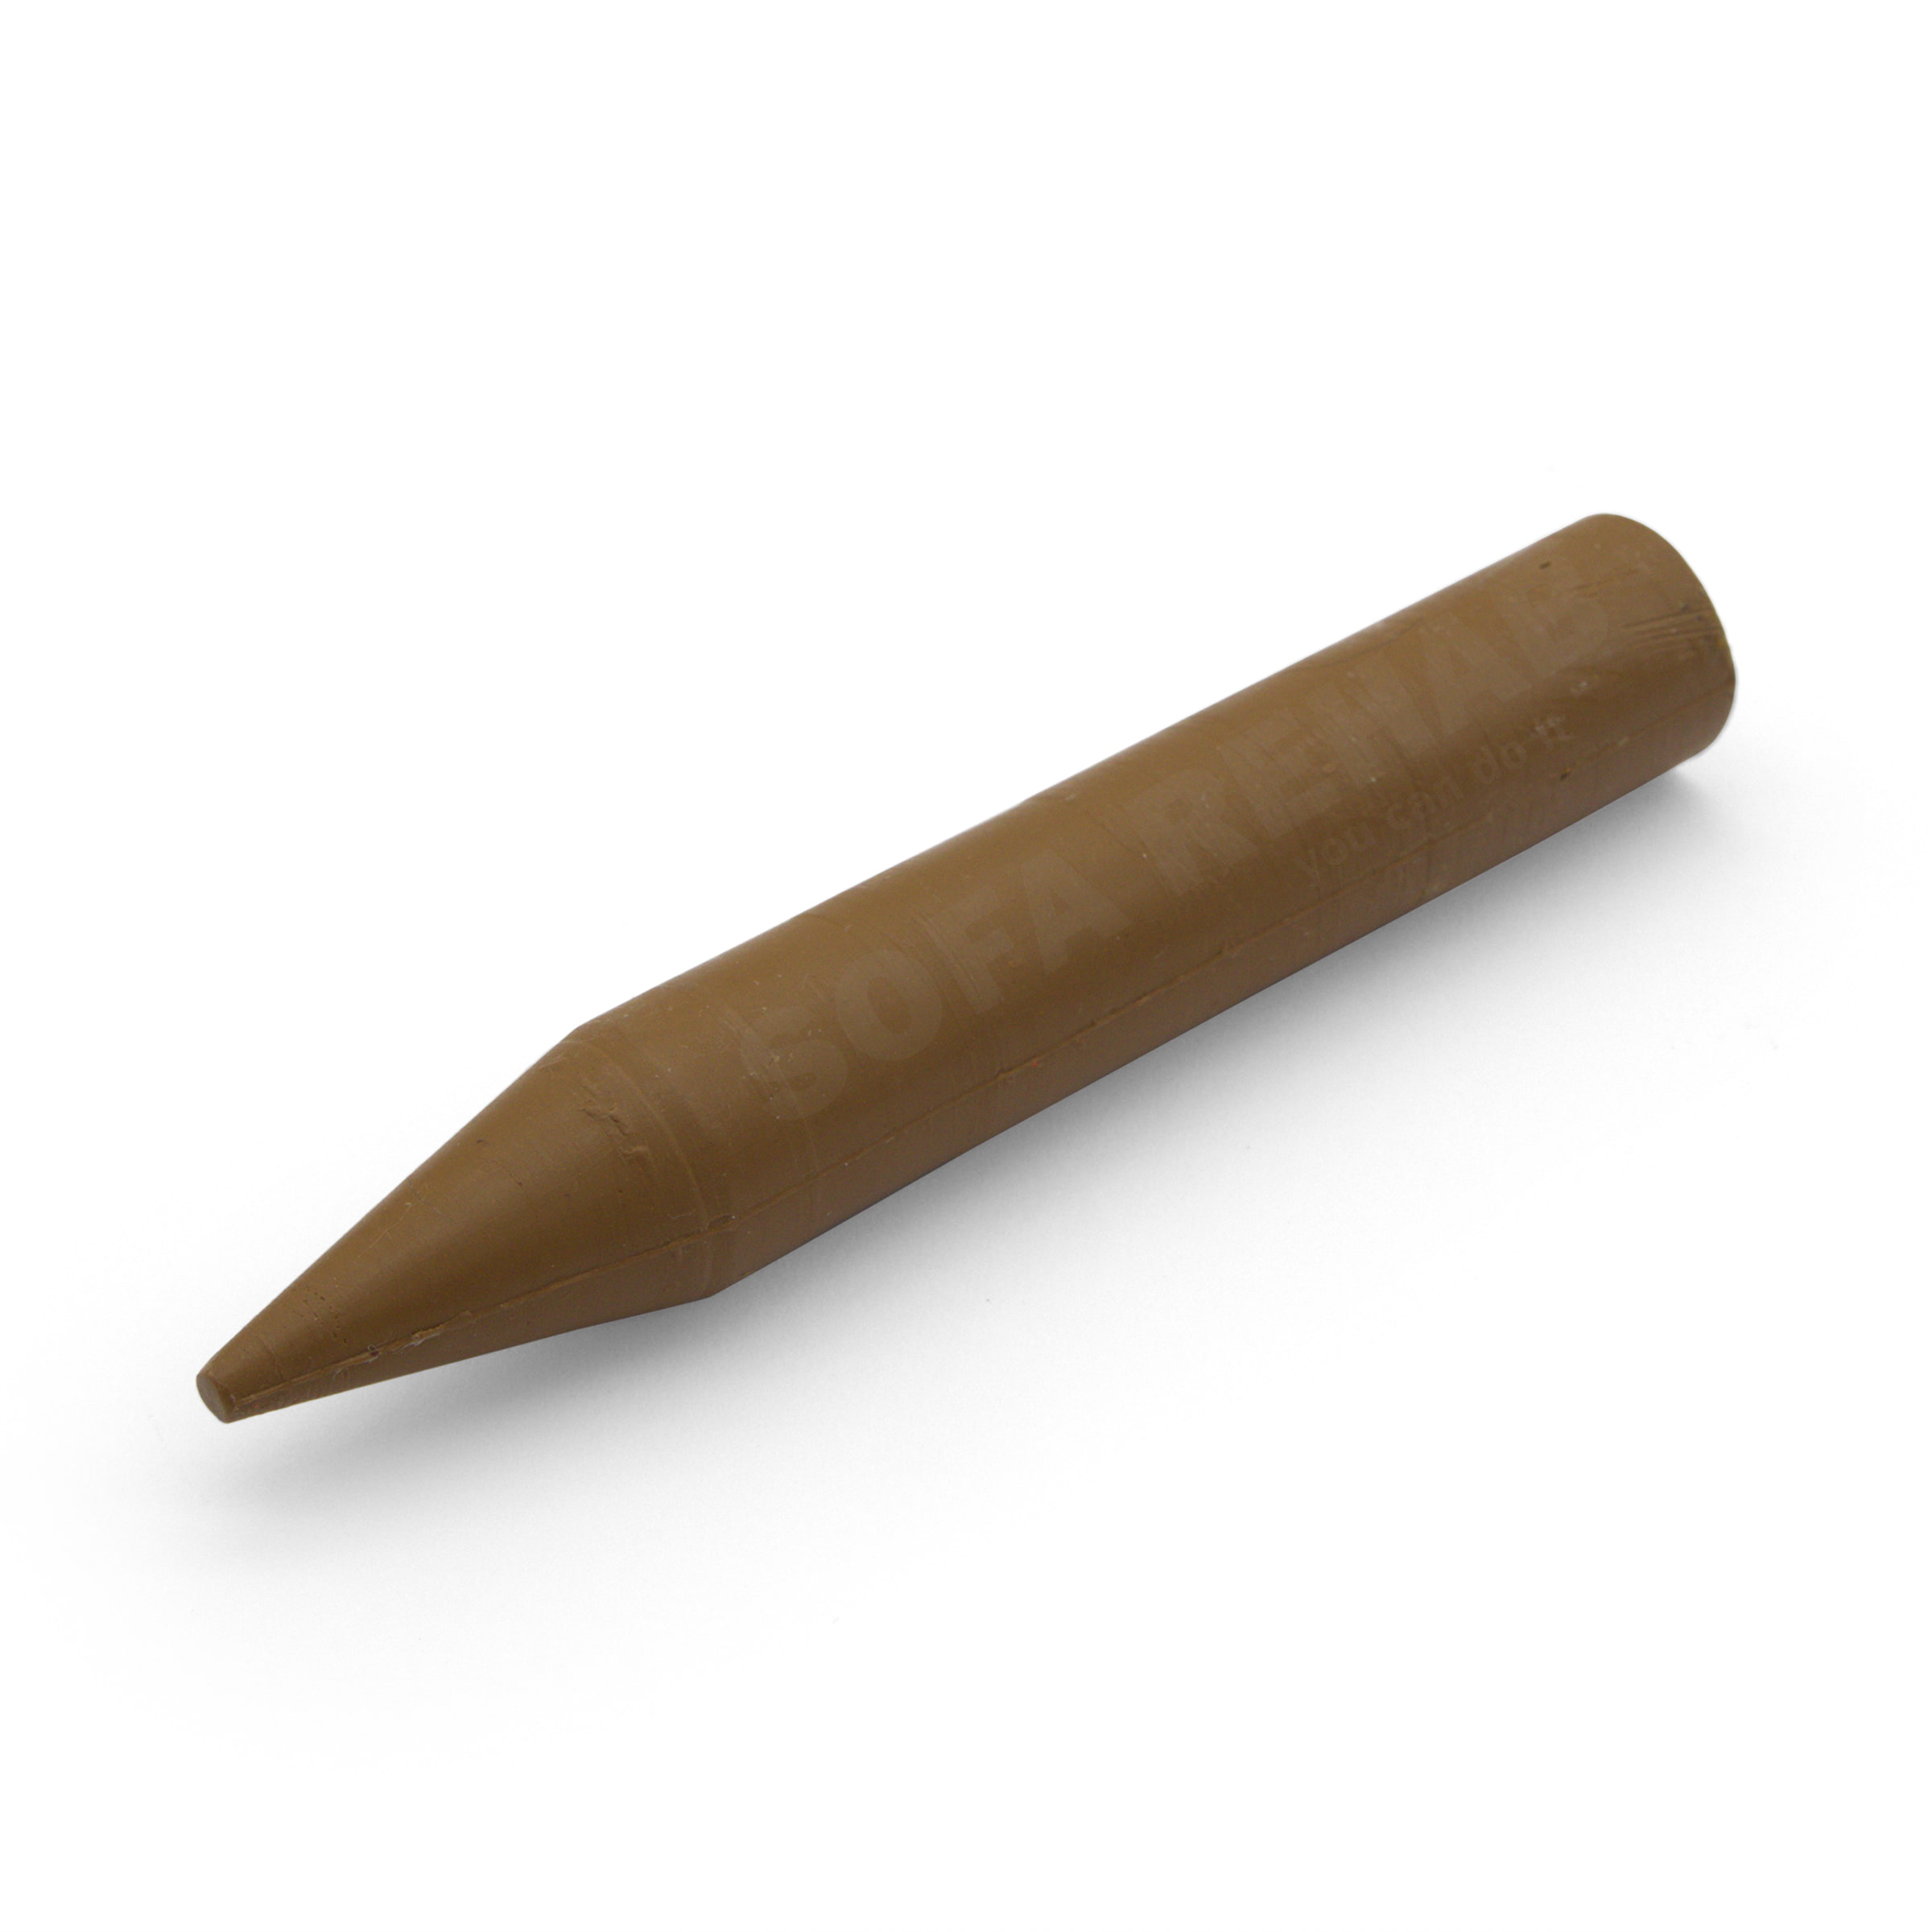
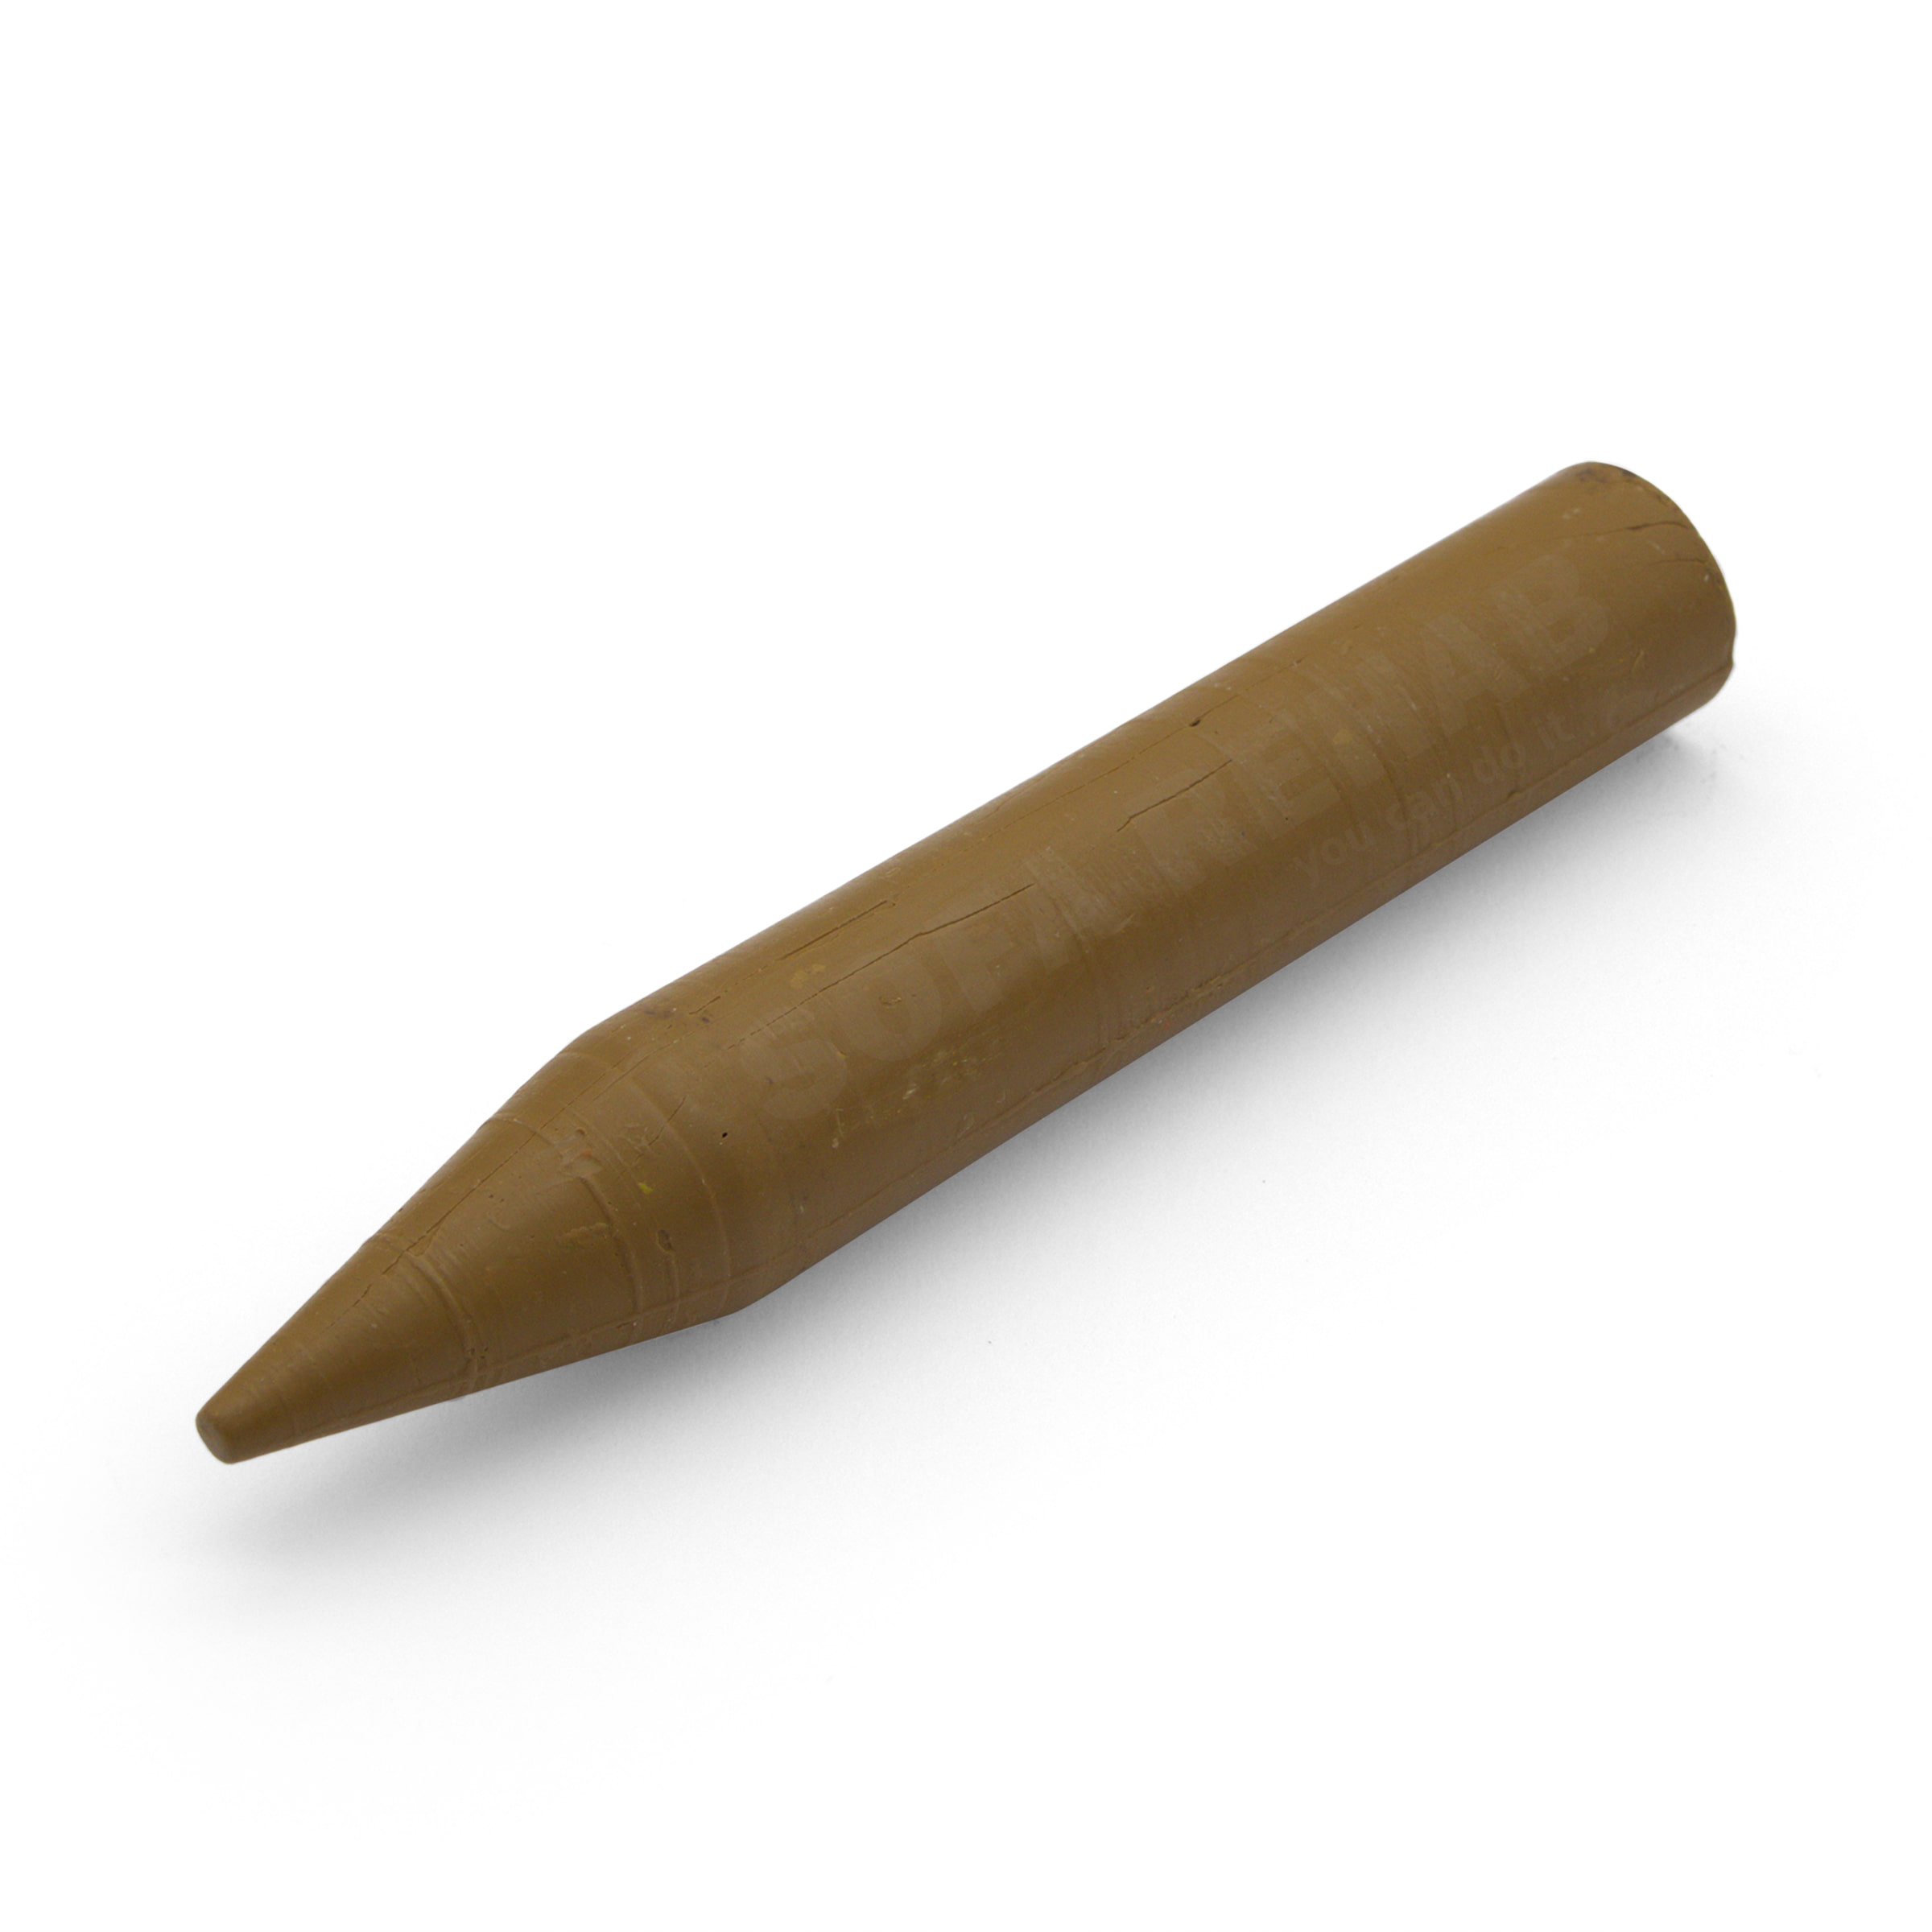
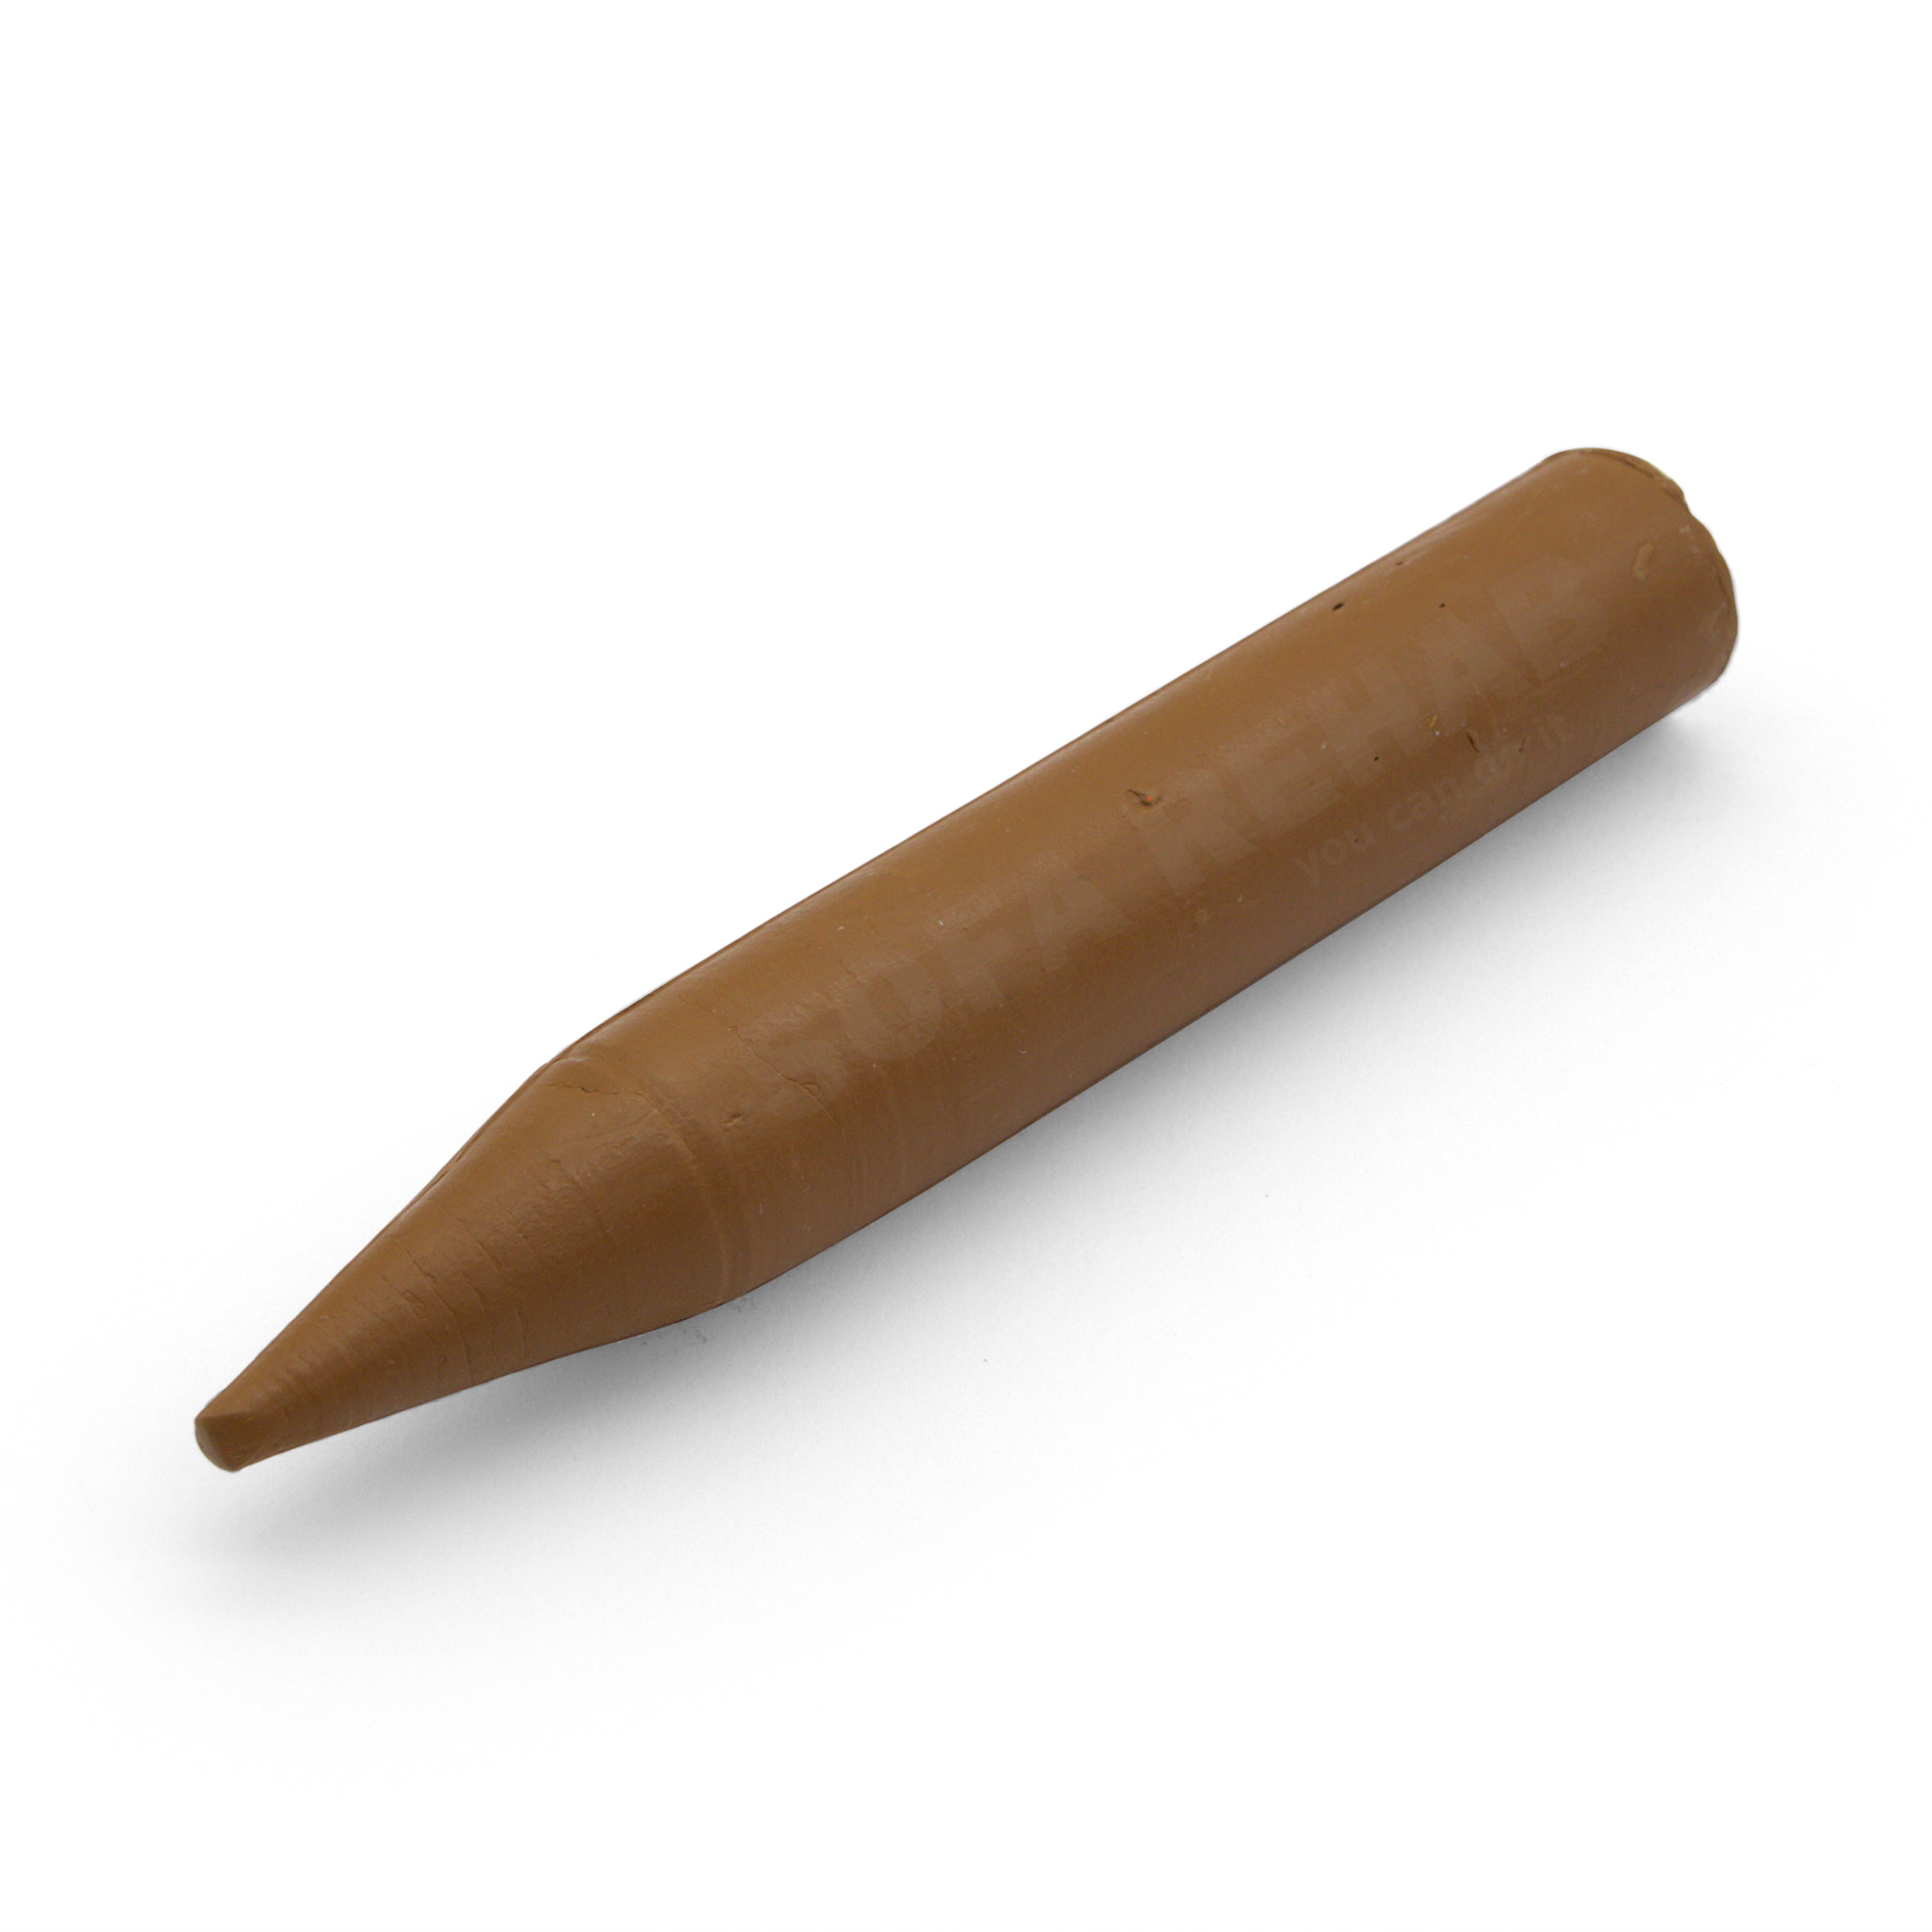
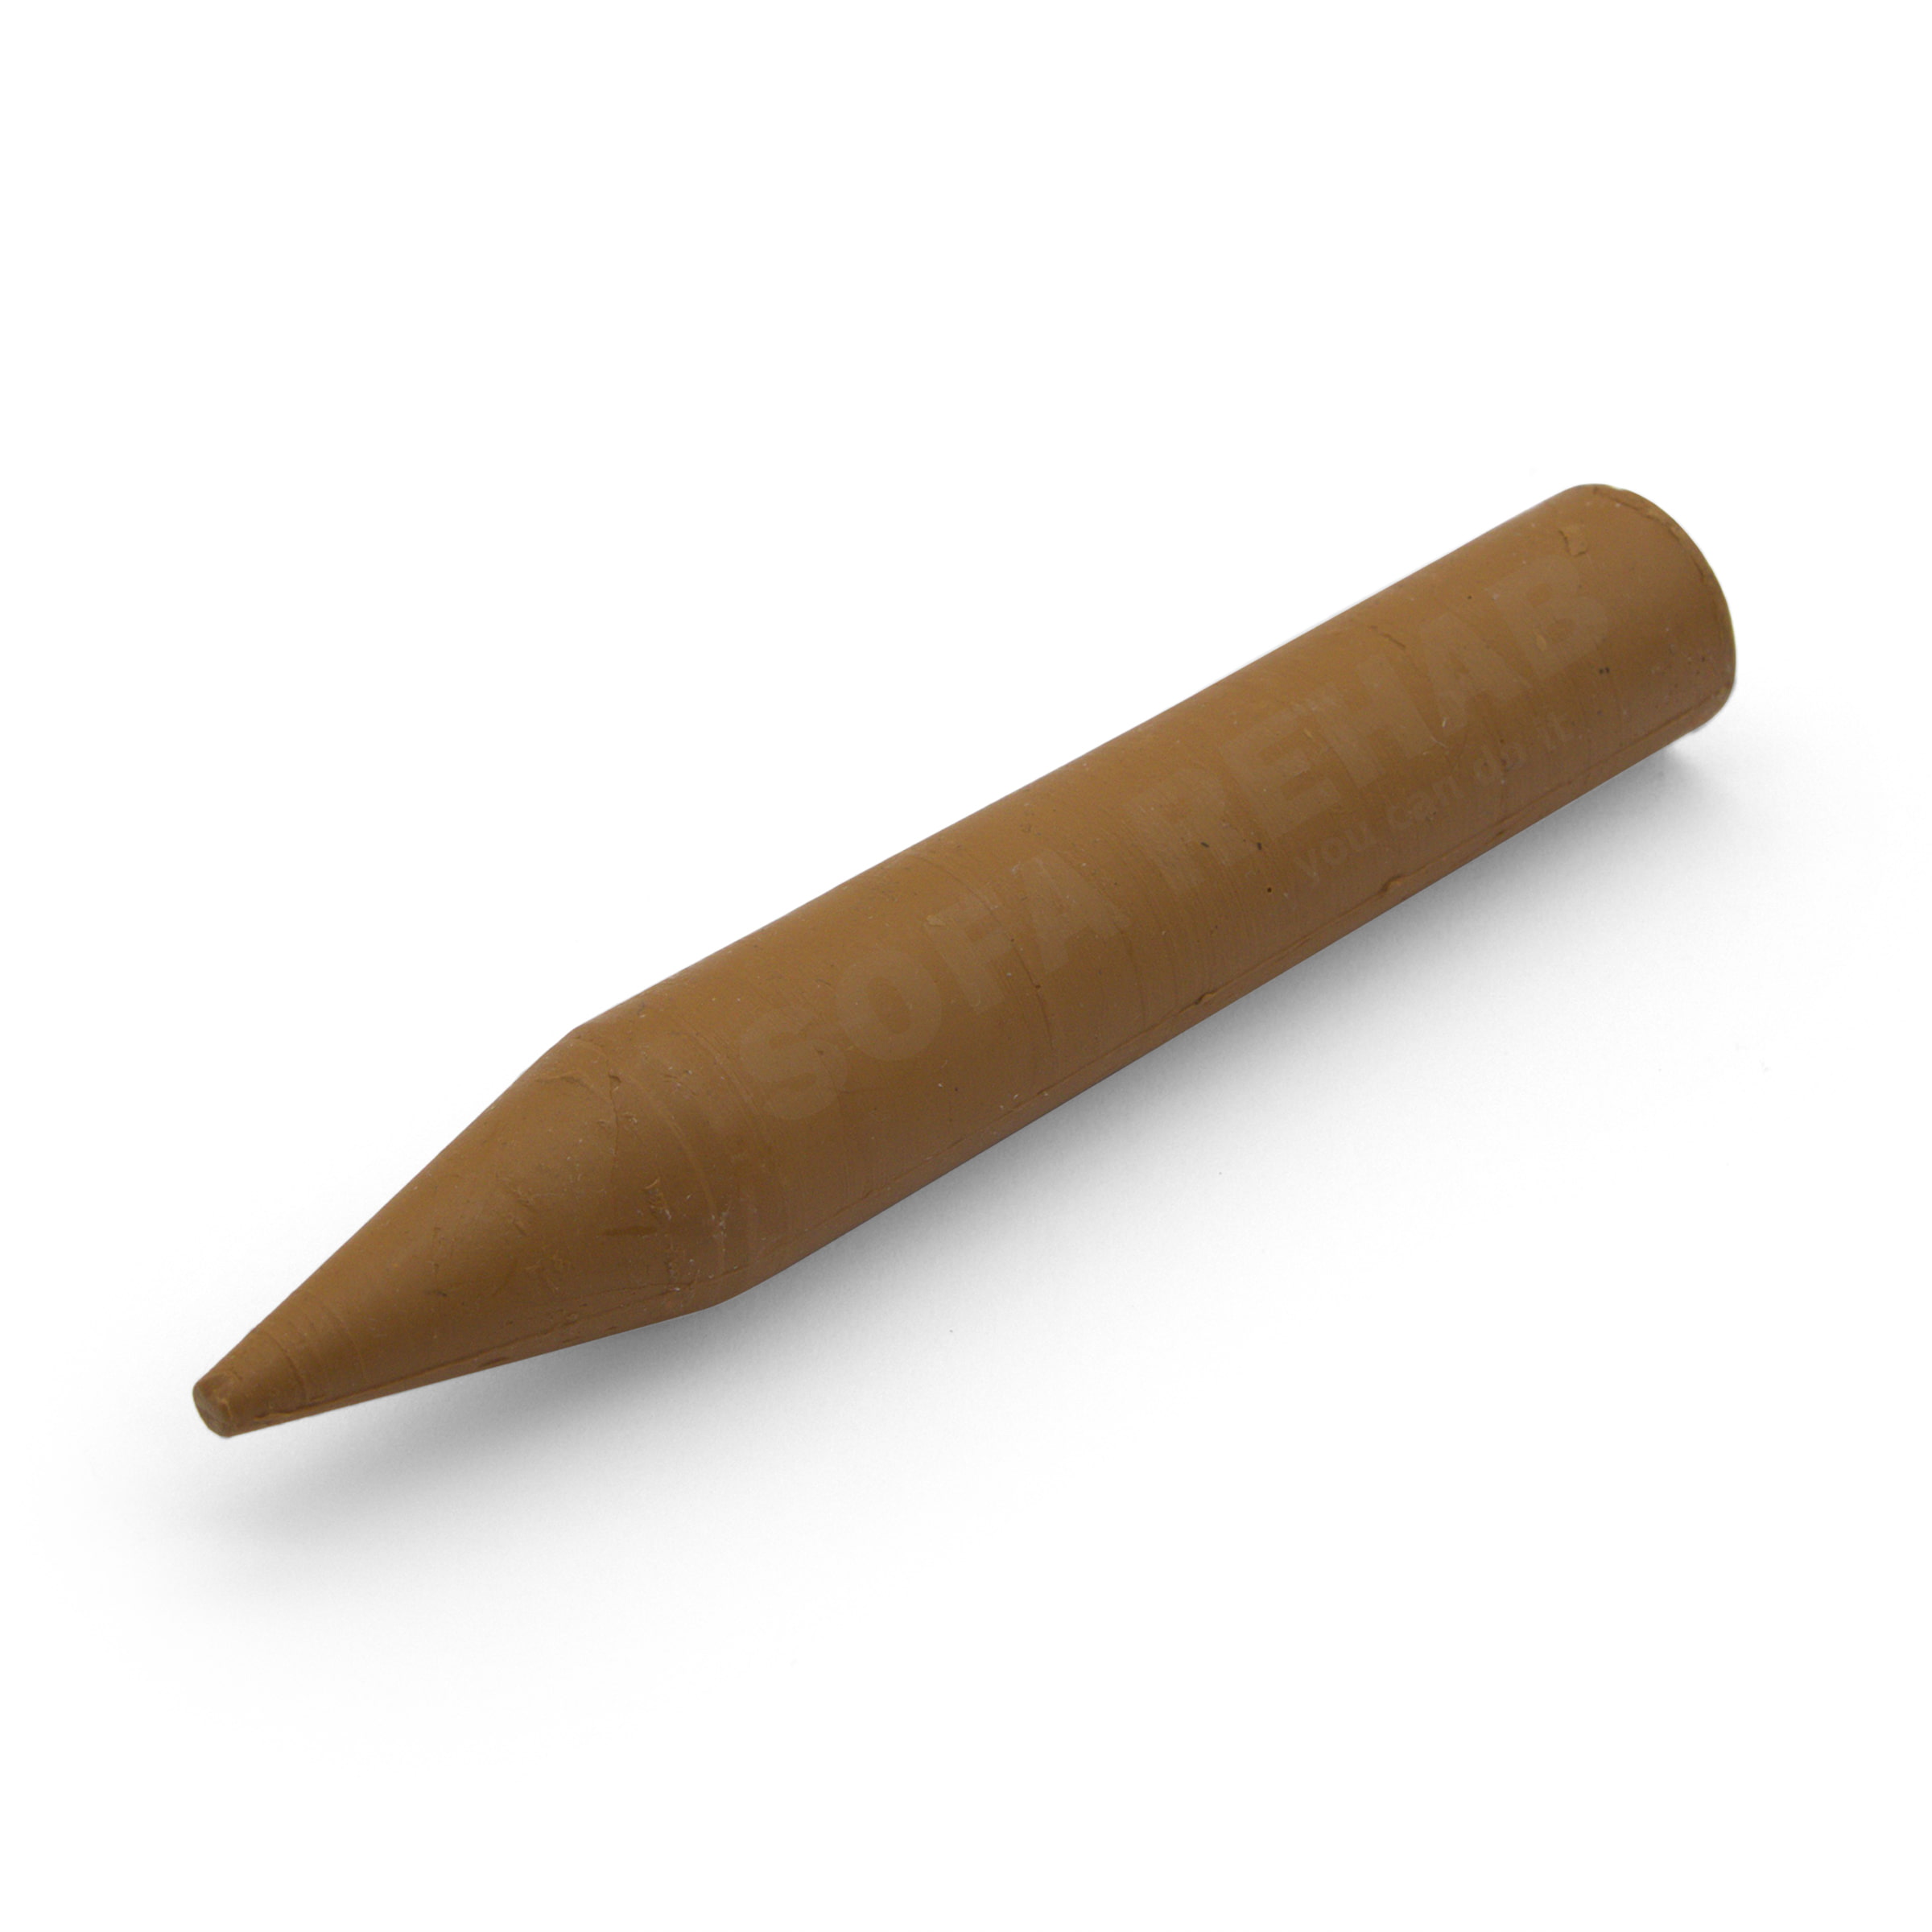
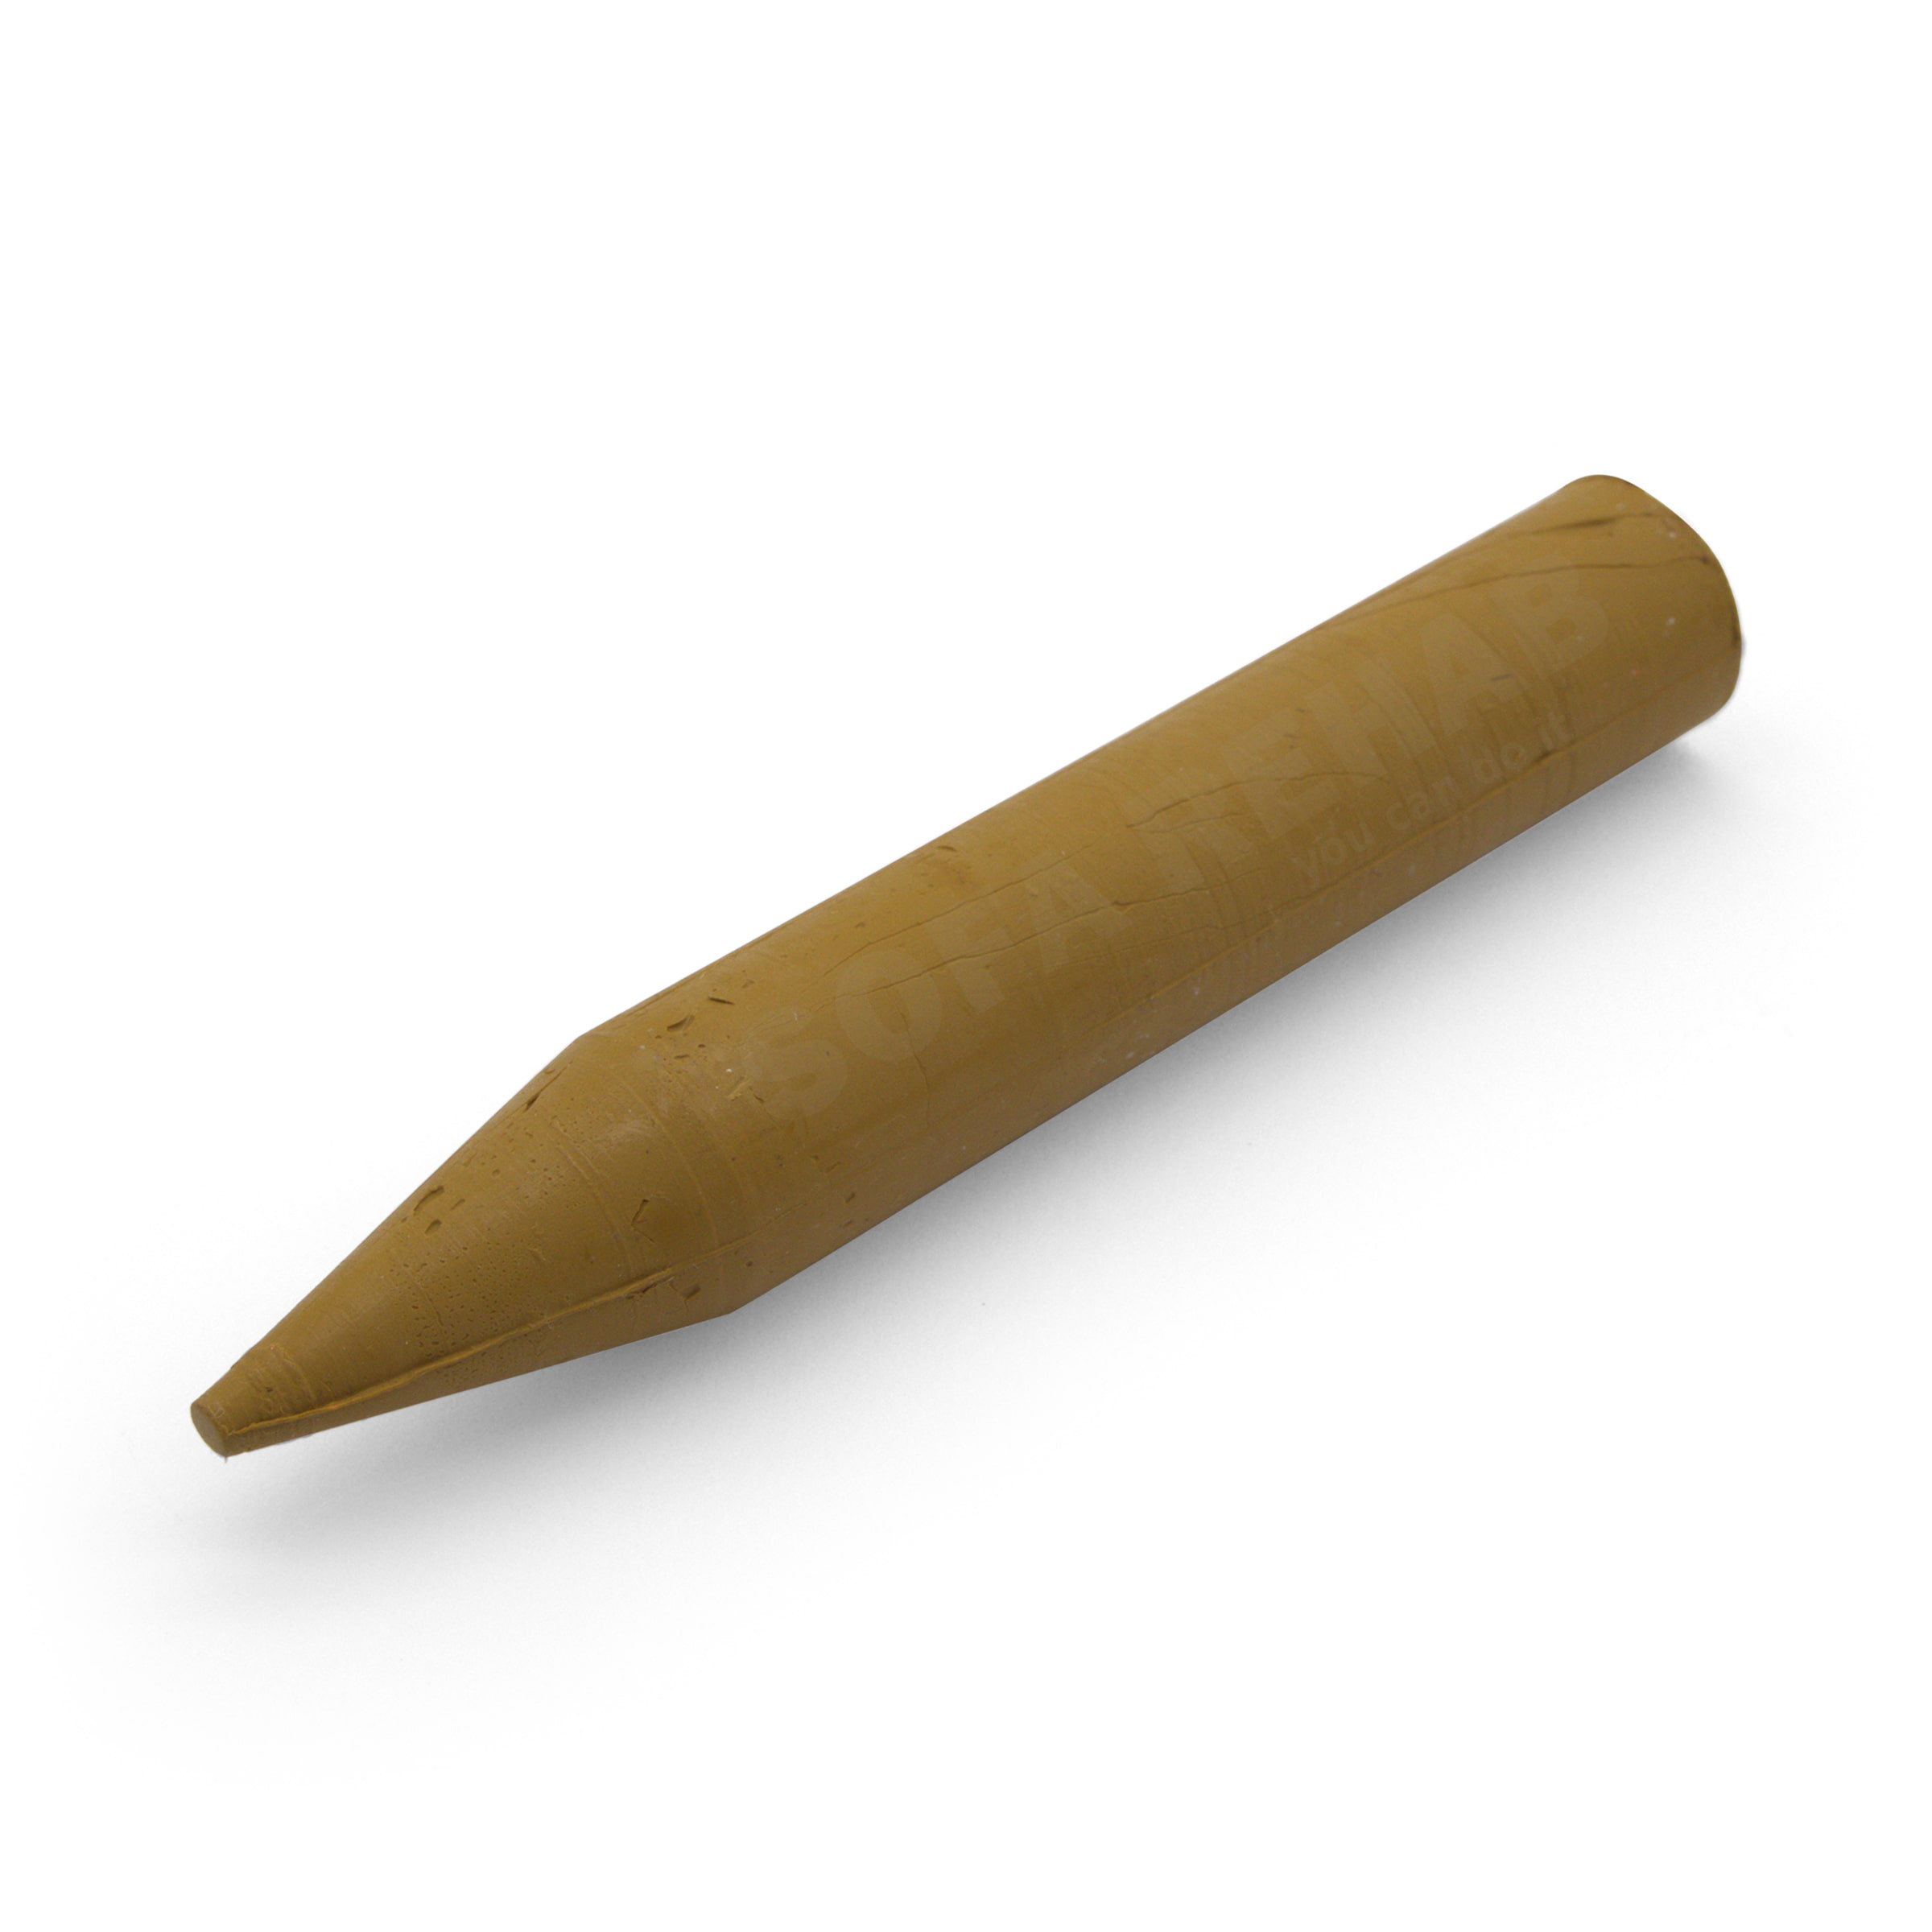
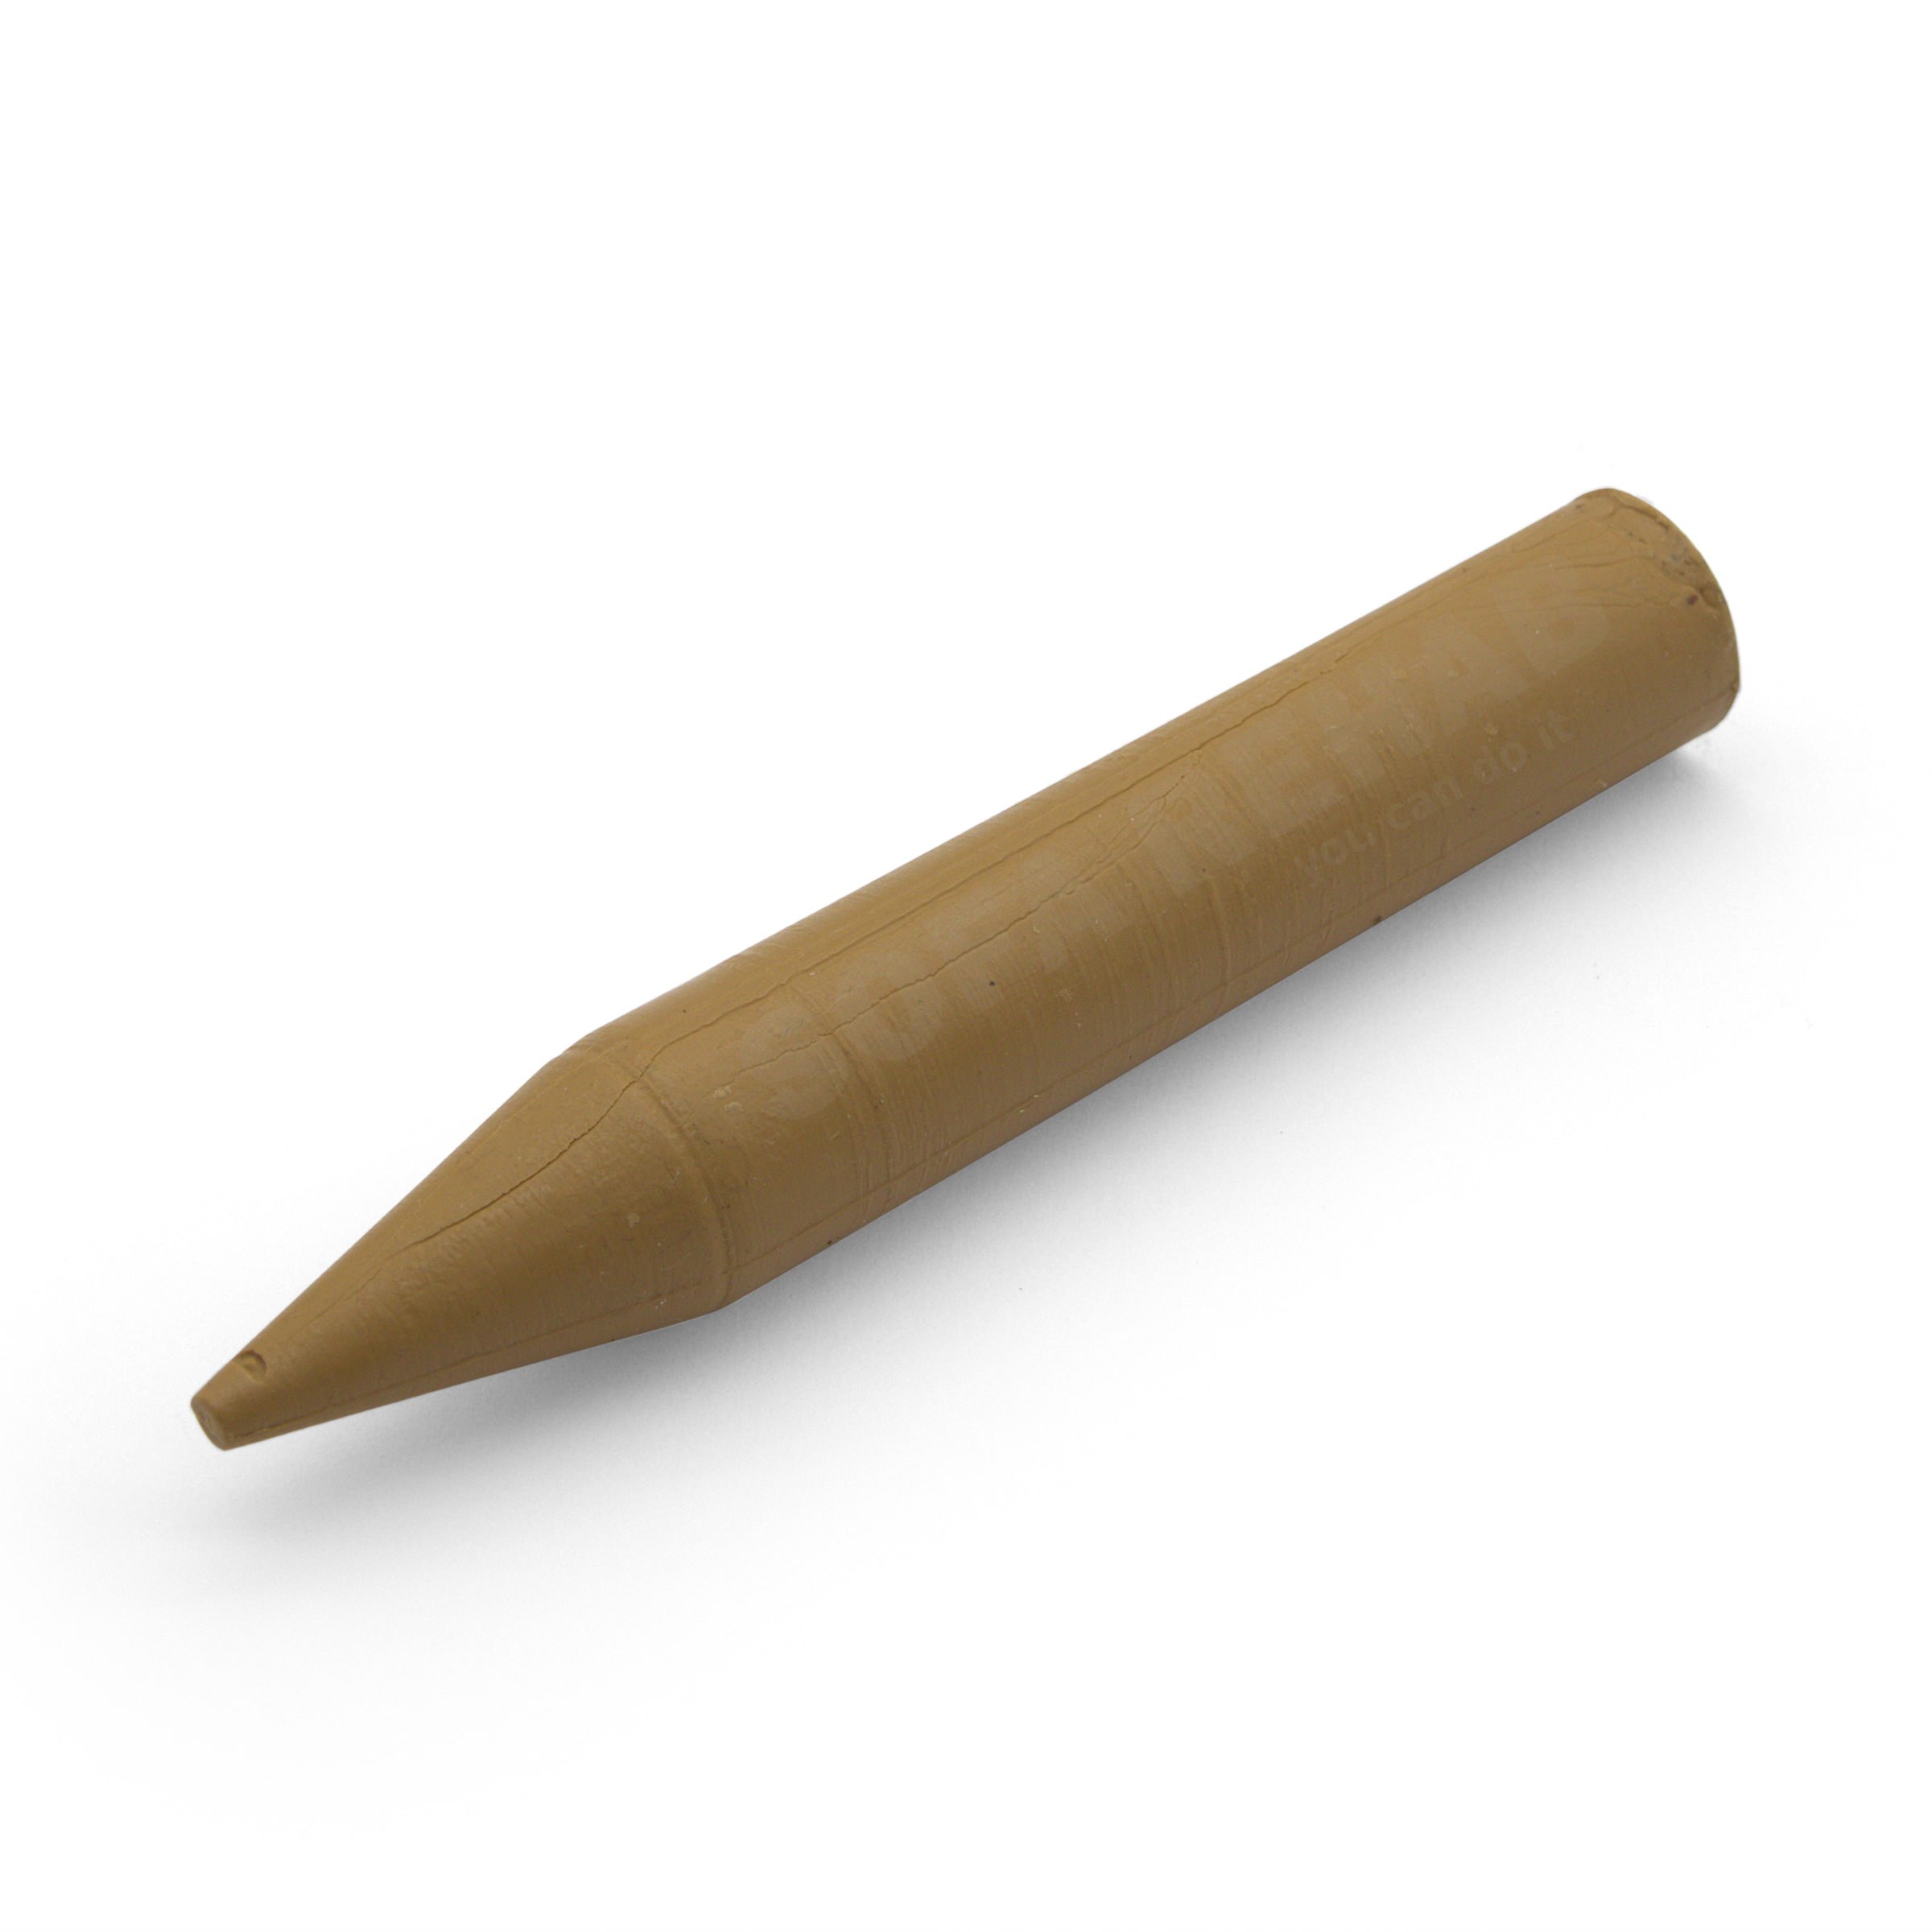
Sofa Rehab Beeswax Filler Sticks are firm, coloured wax repair sticks used to fill and disguise minor cosmetic damage in timber furniture, wooden surfaces and suitable timber floors. They are well suited to cracks, splits, holes, deeper scratches, gouges, crevices and small chips where more material is missing than a scratch touch-up pen can replace.
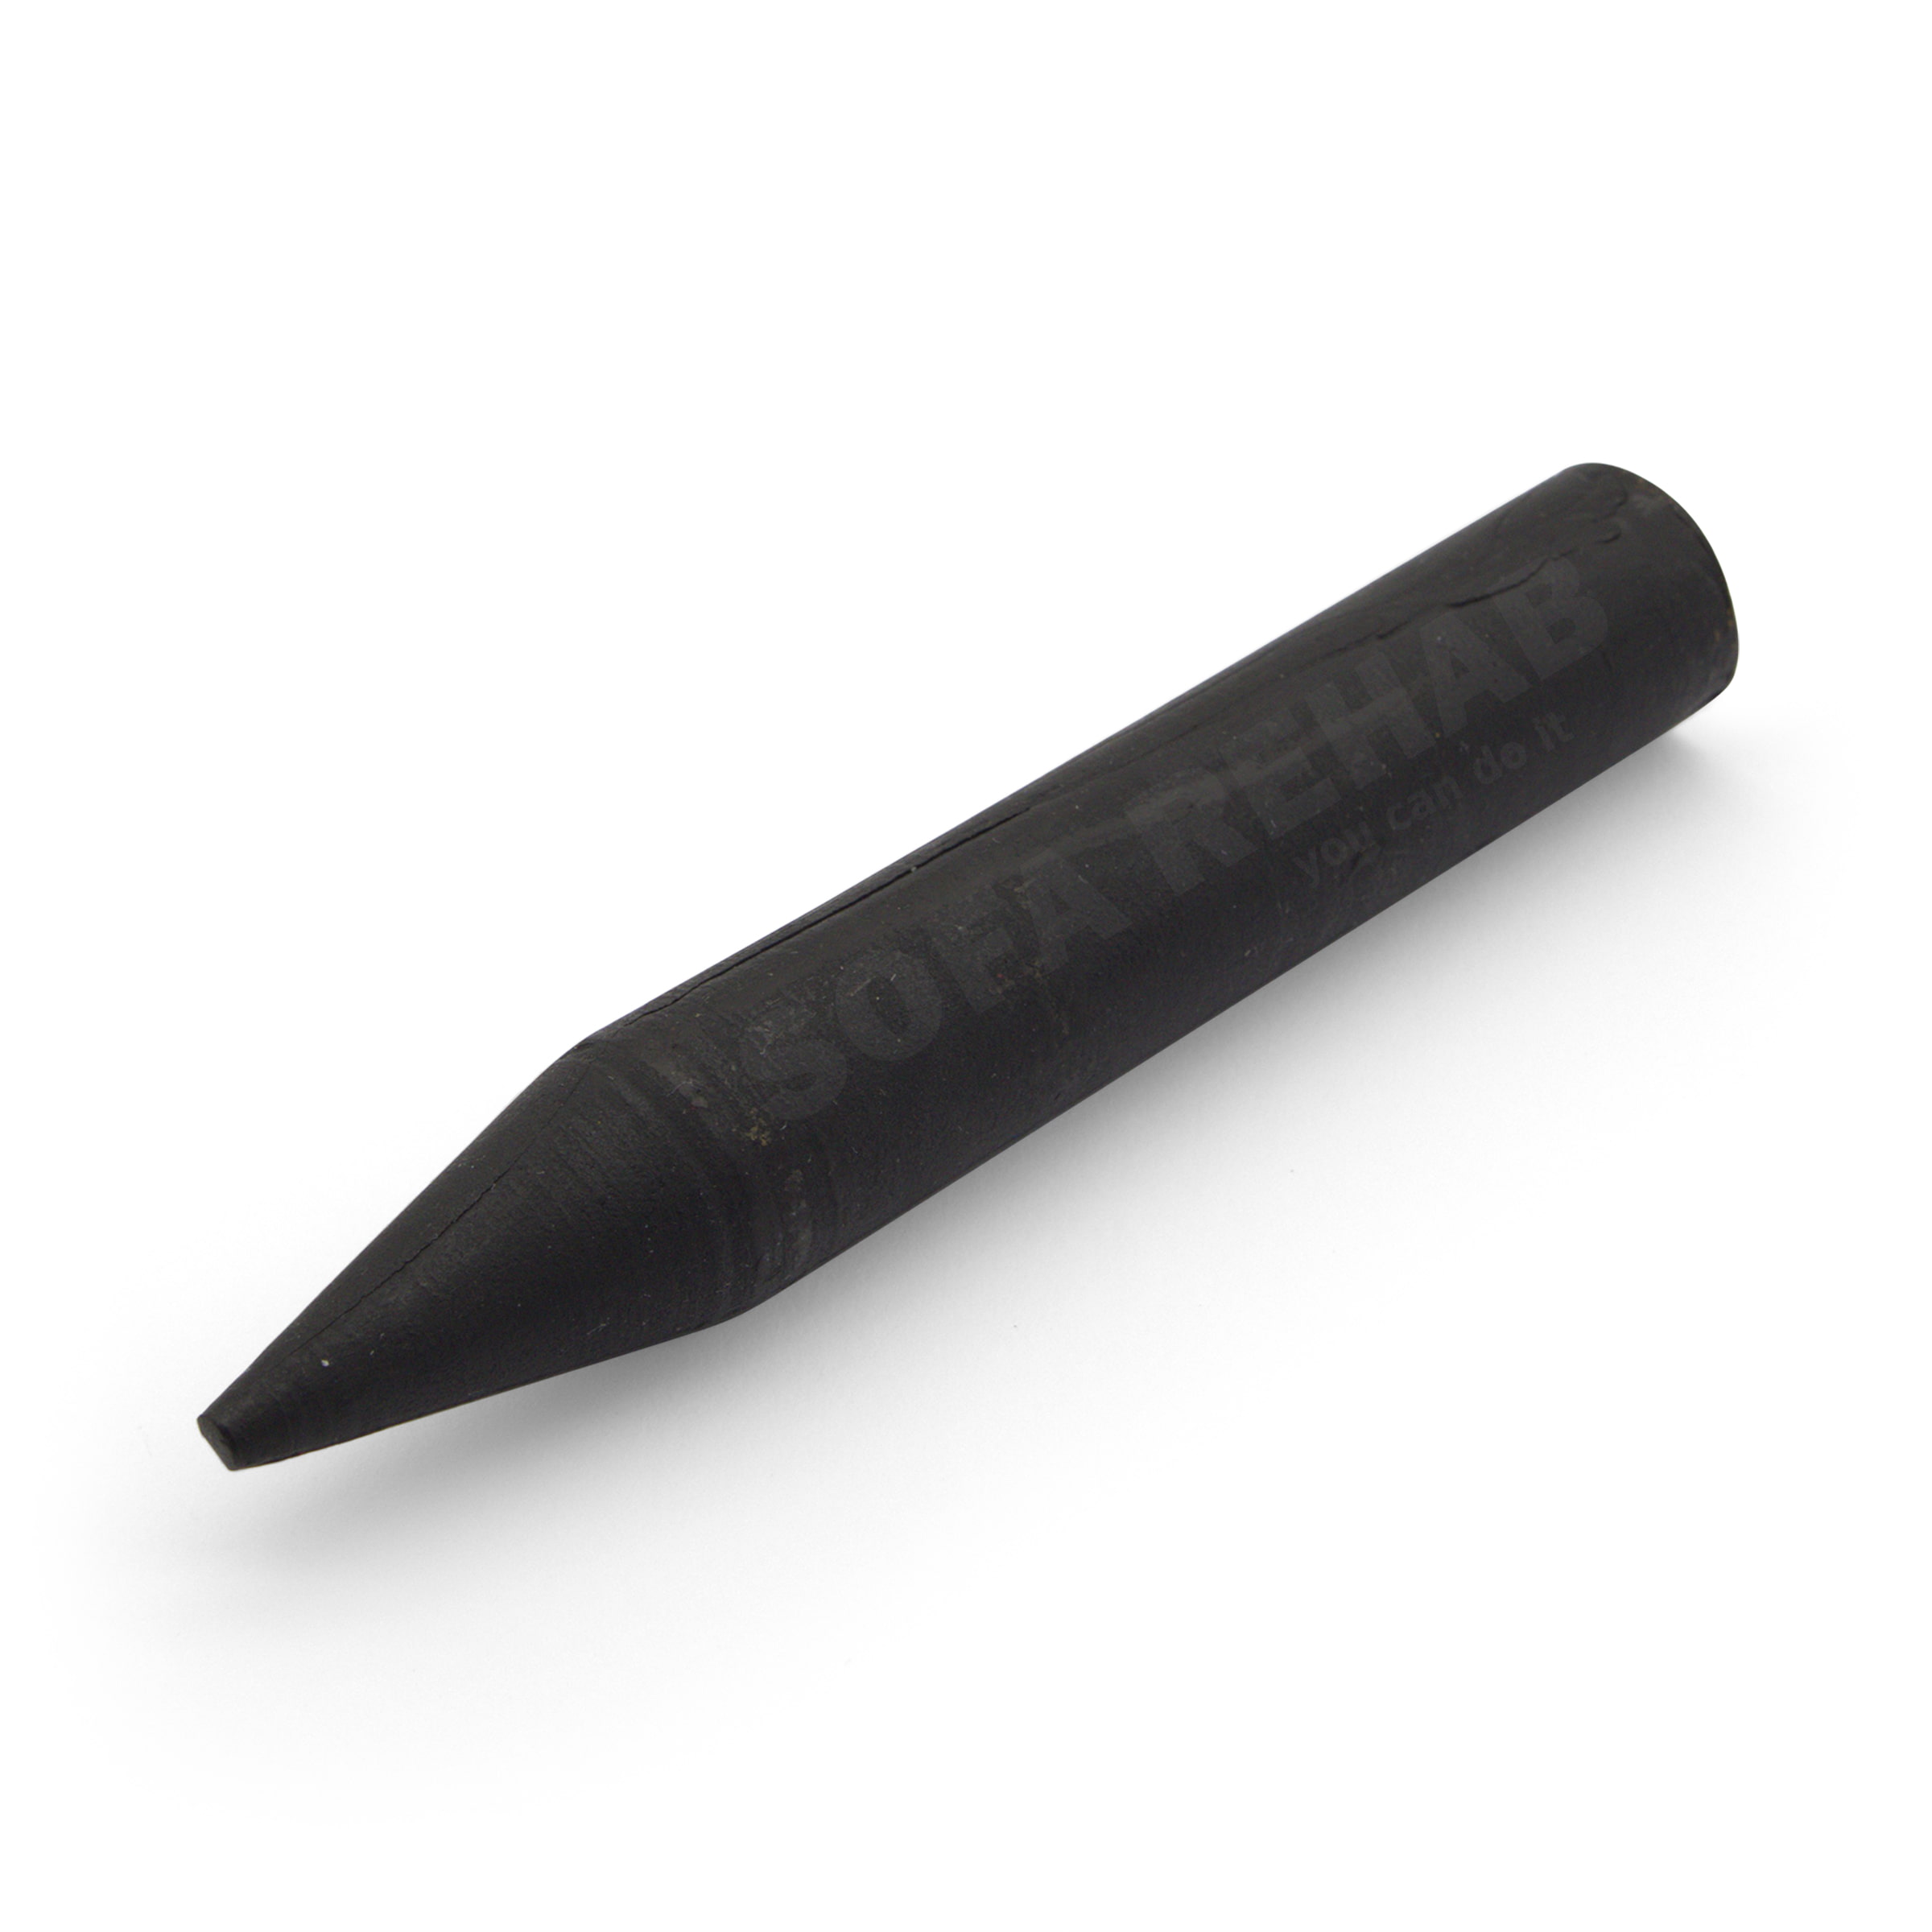
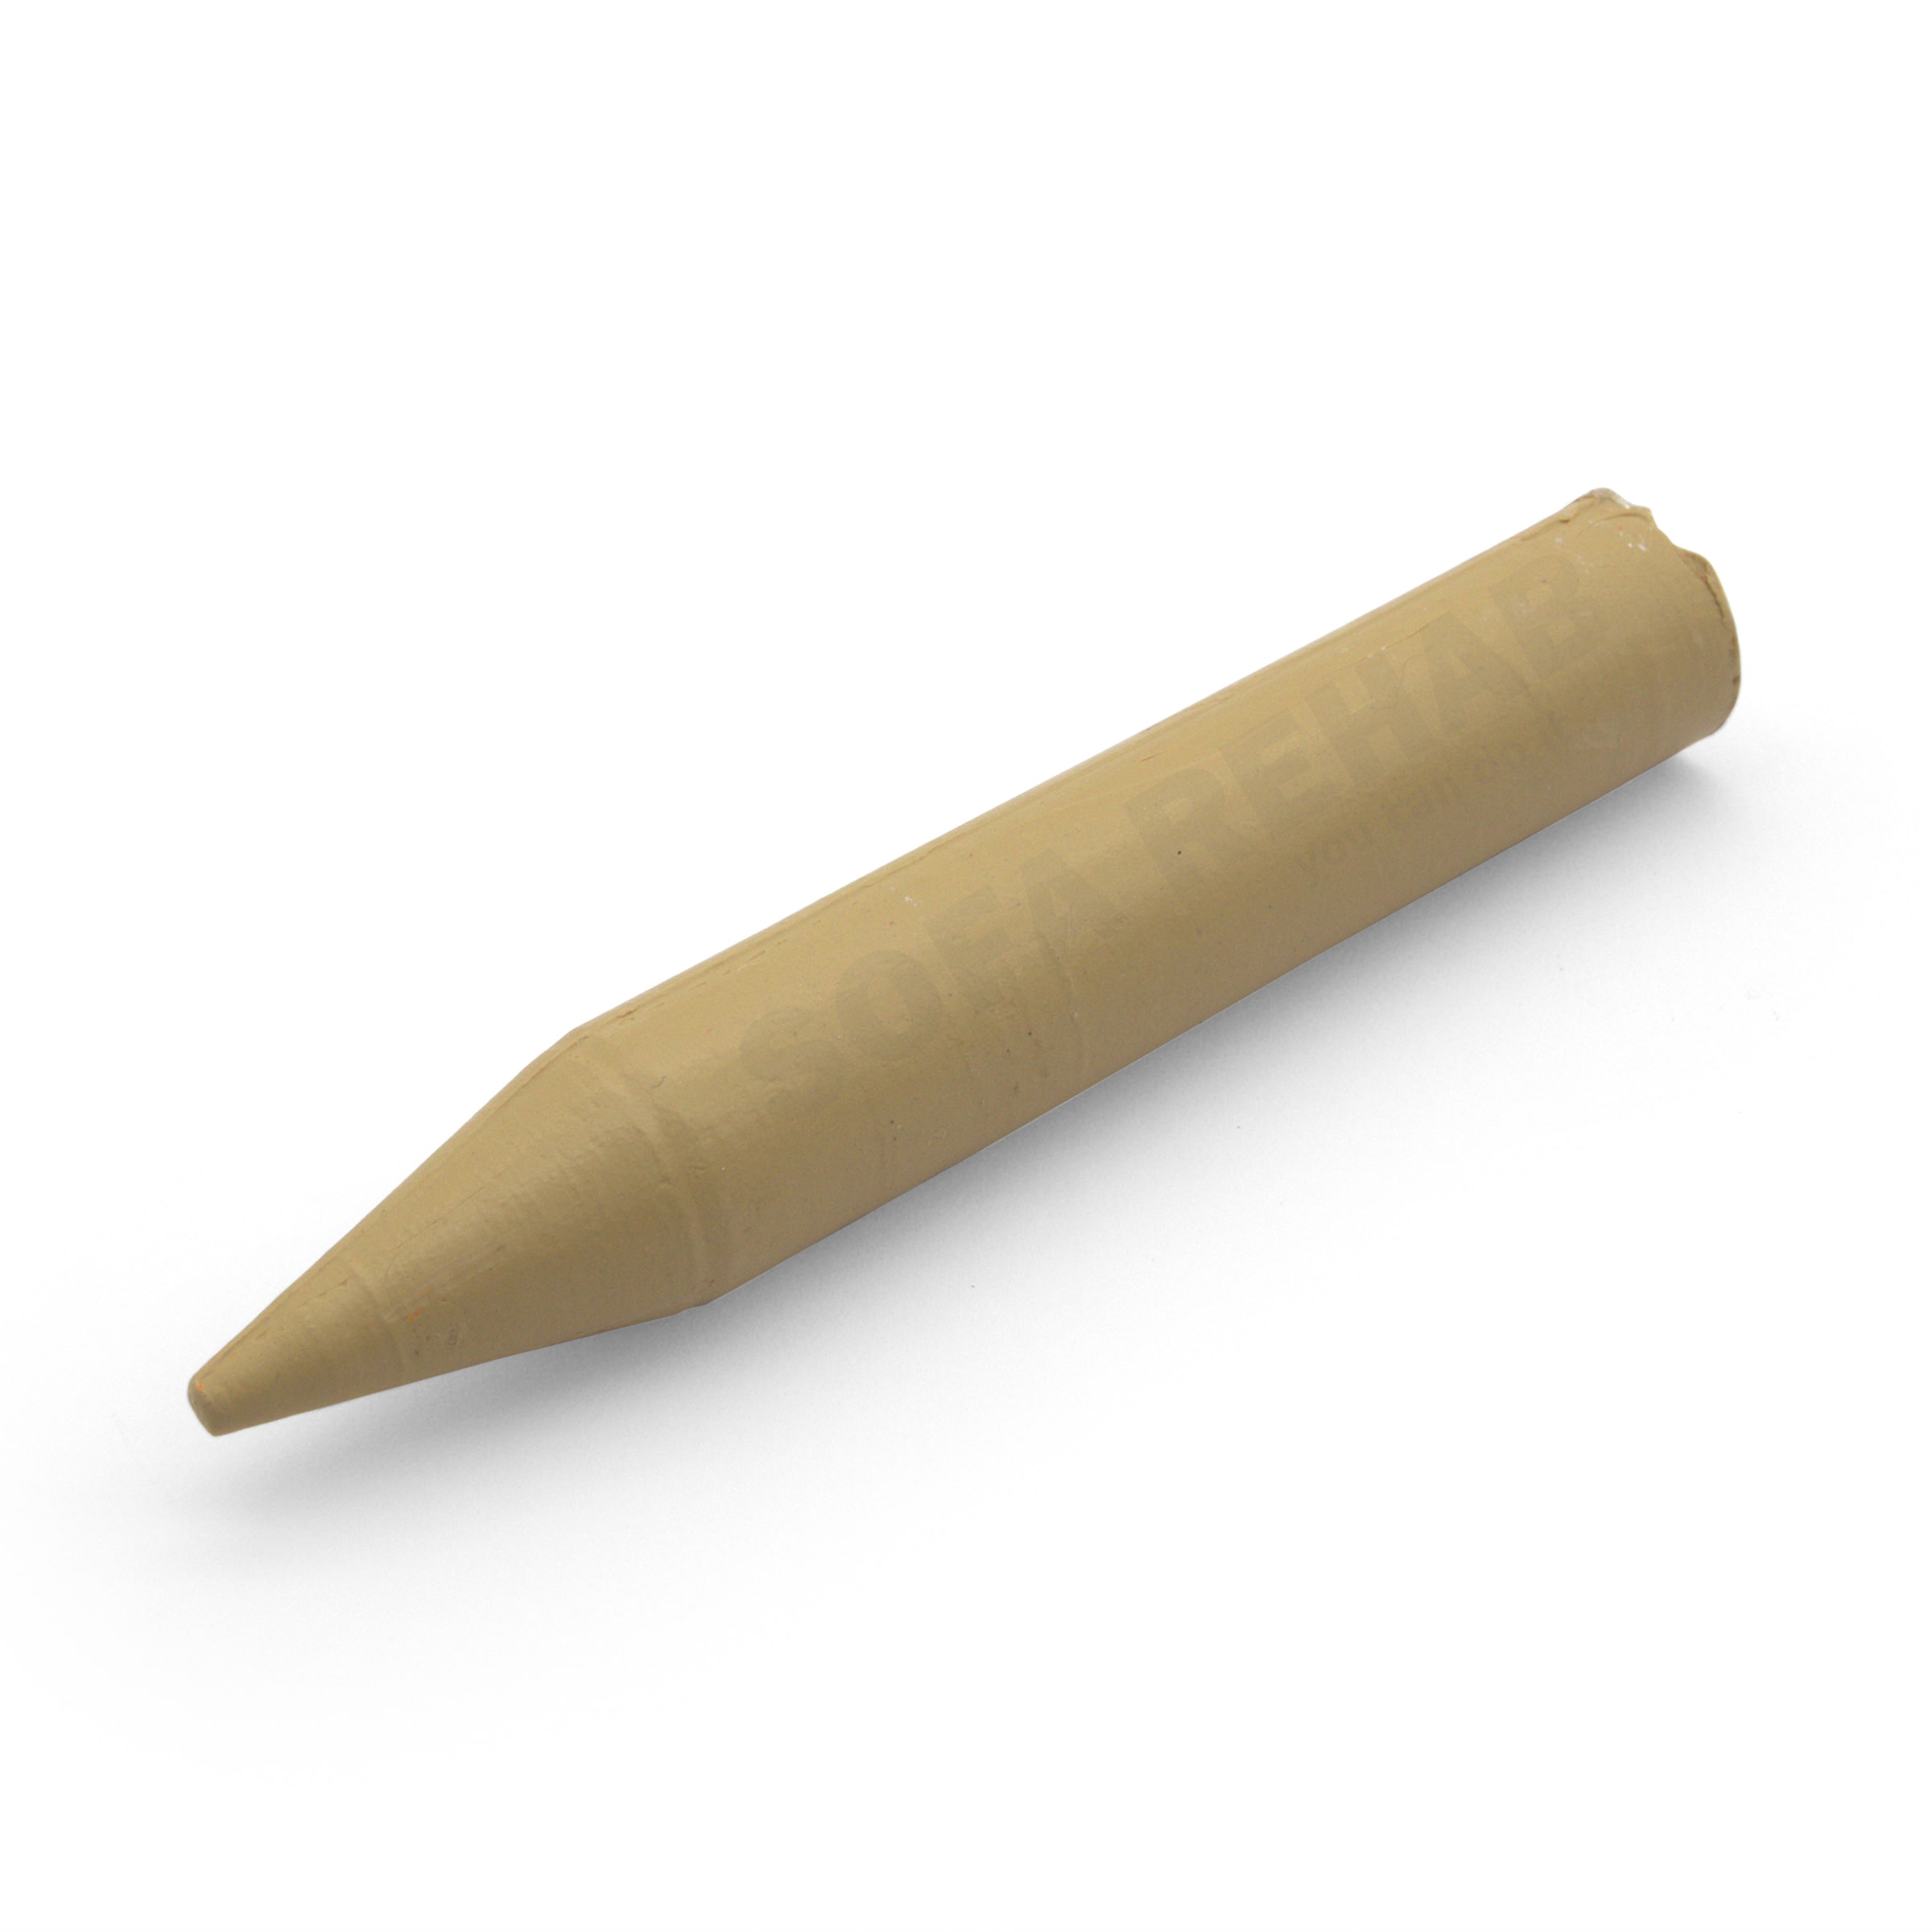
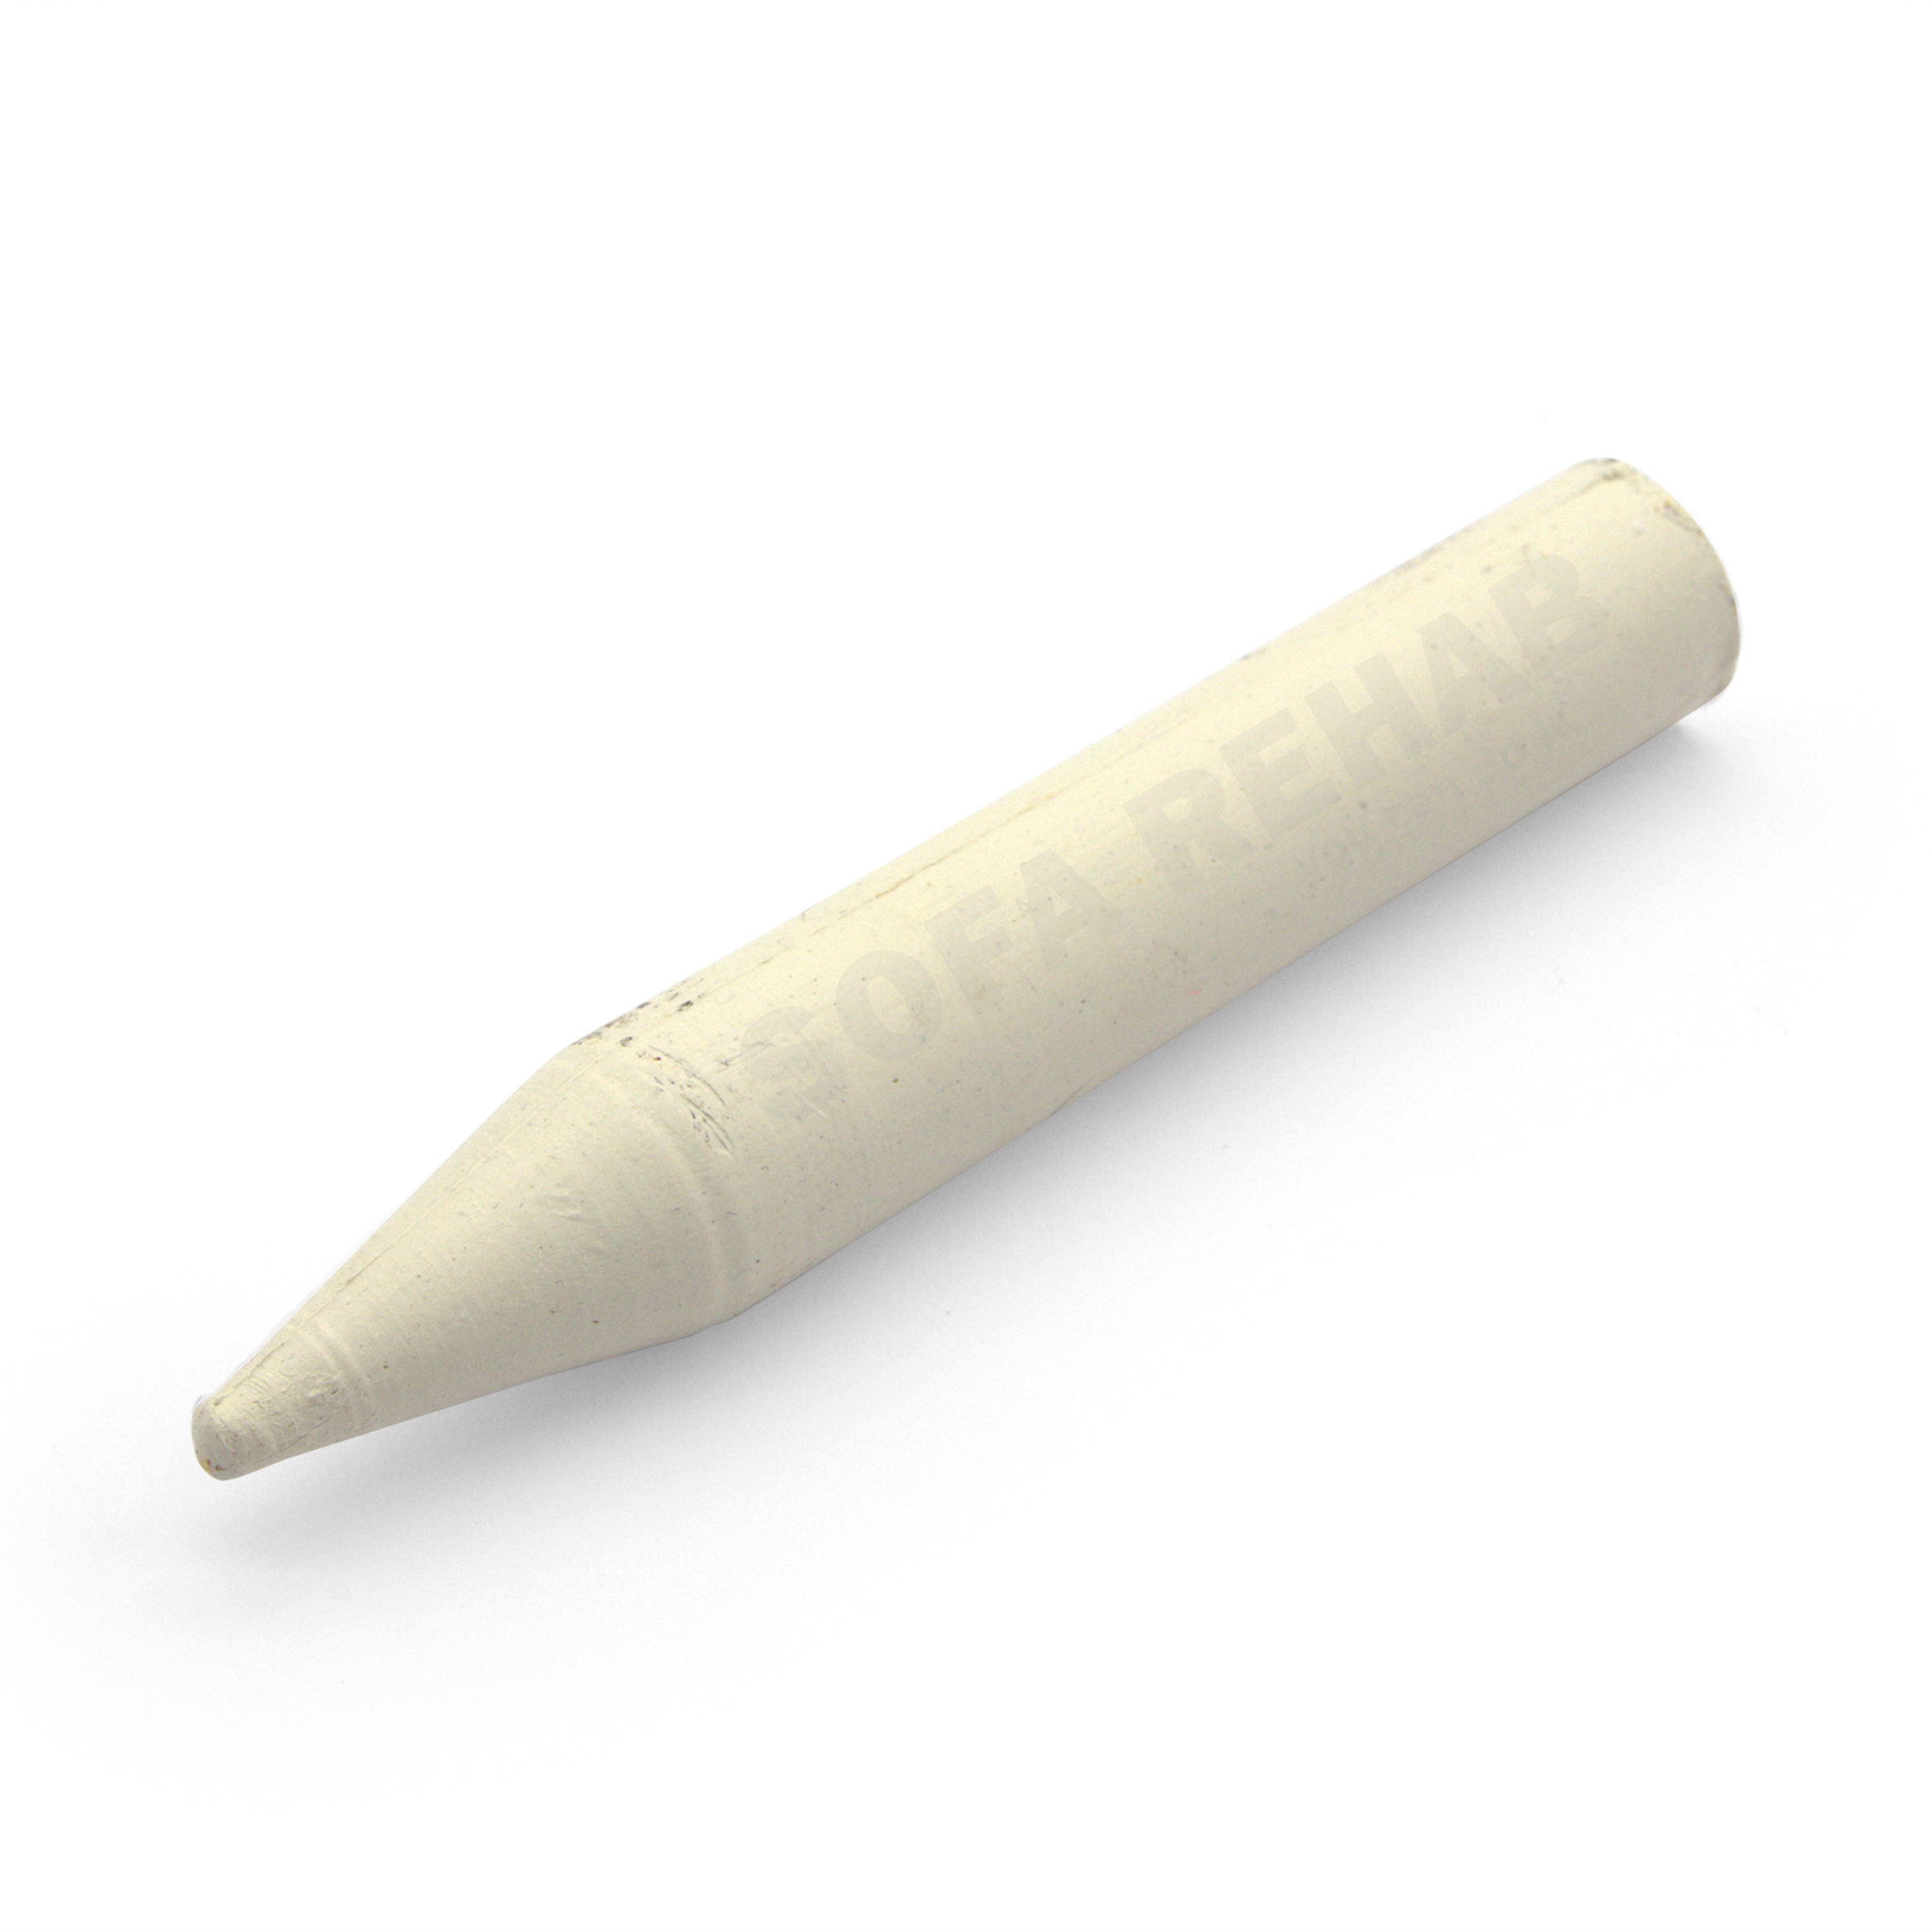
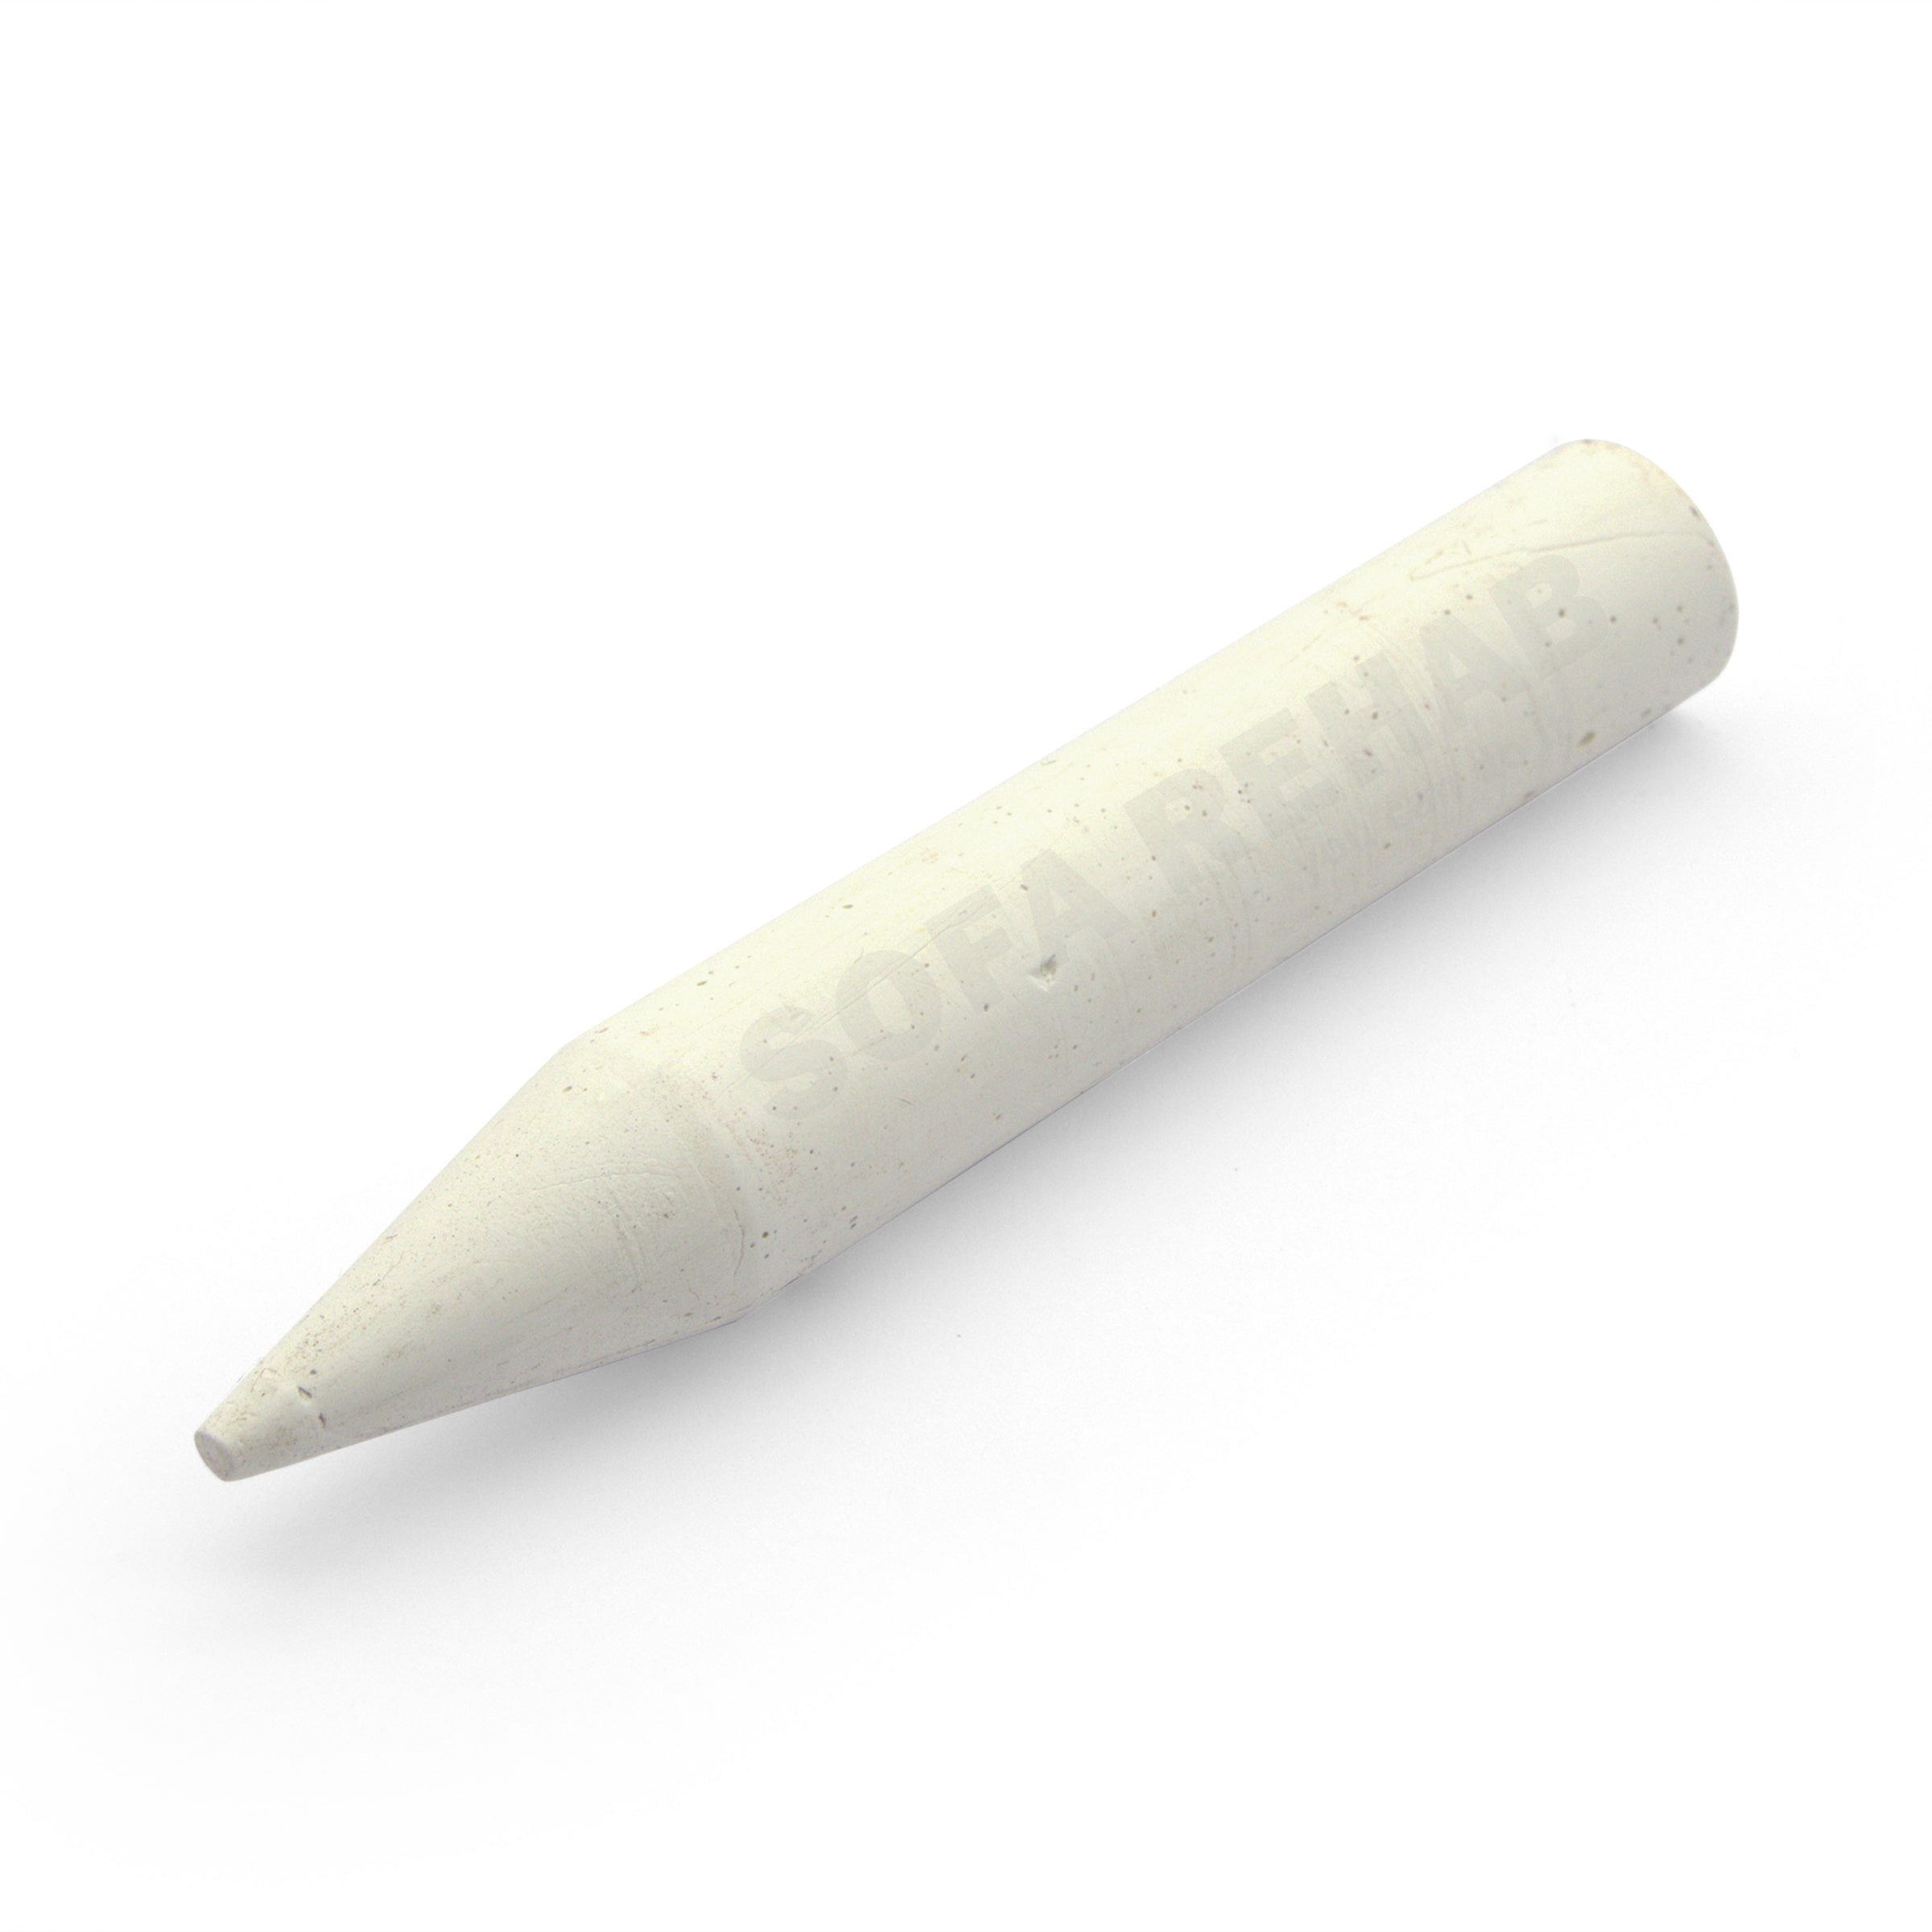
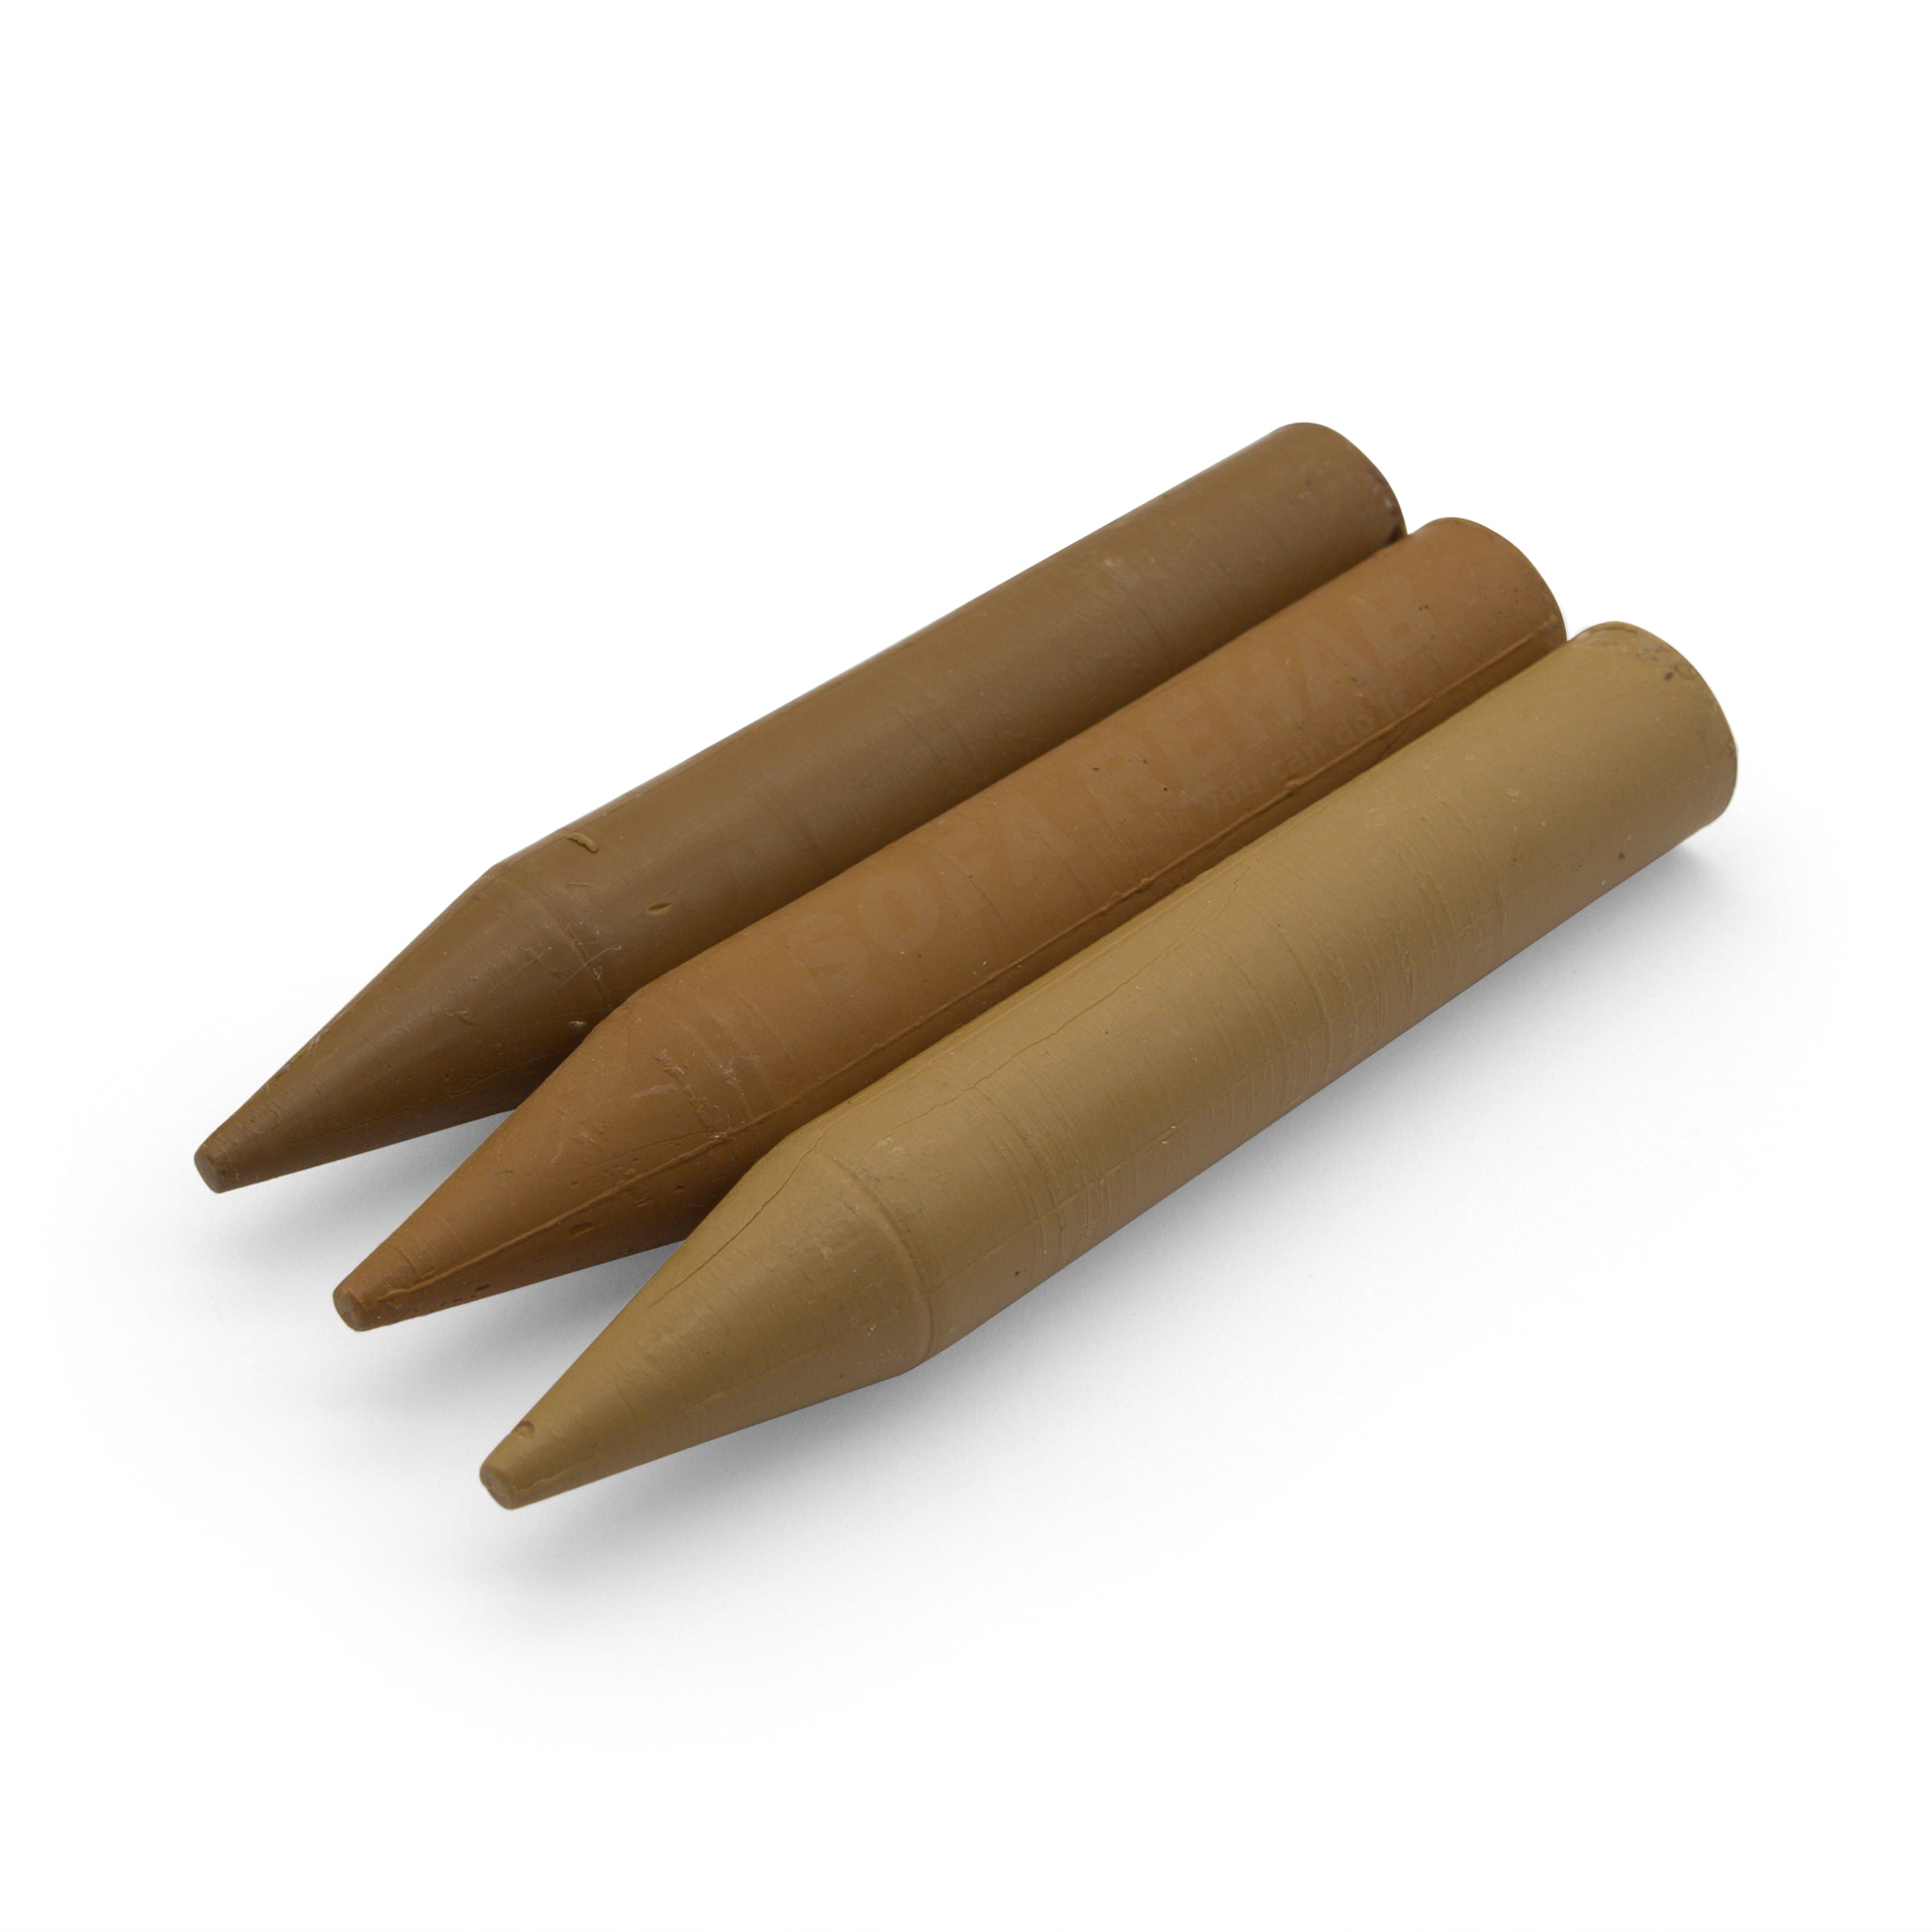
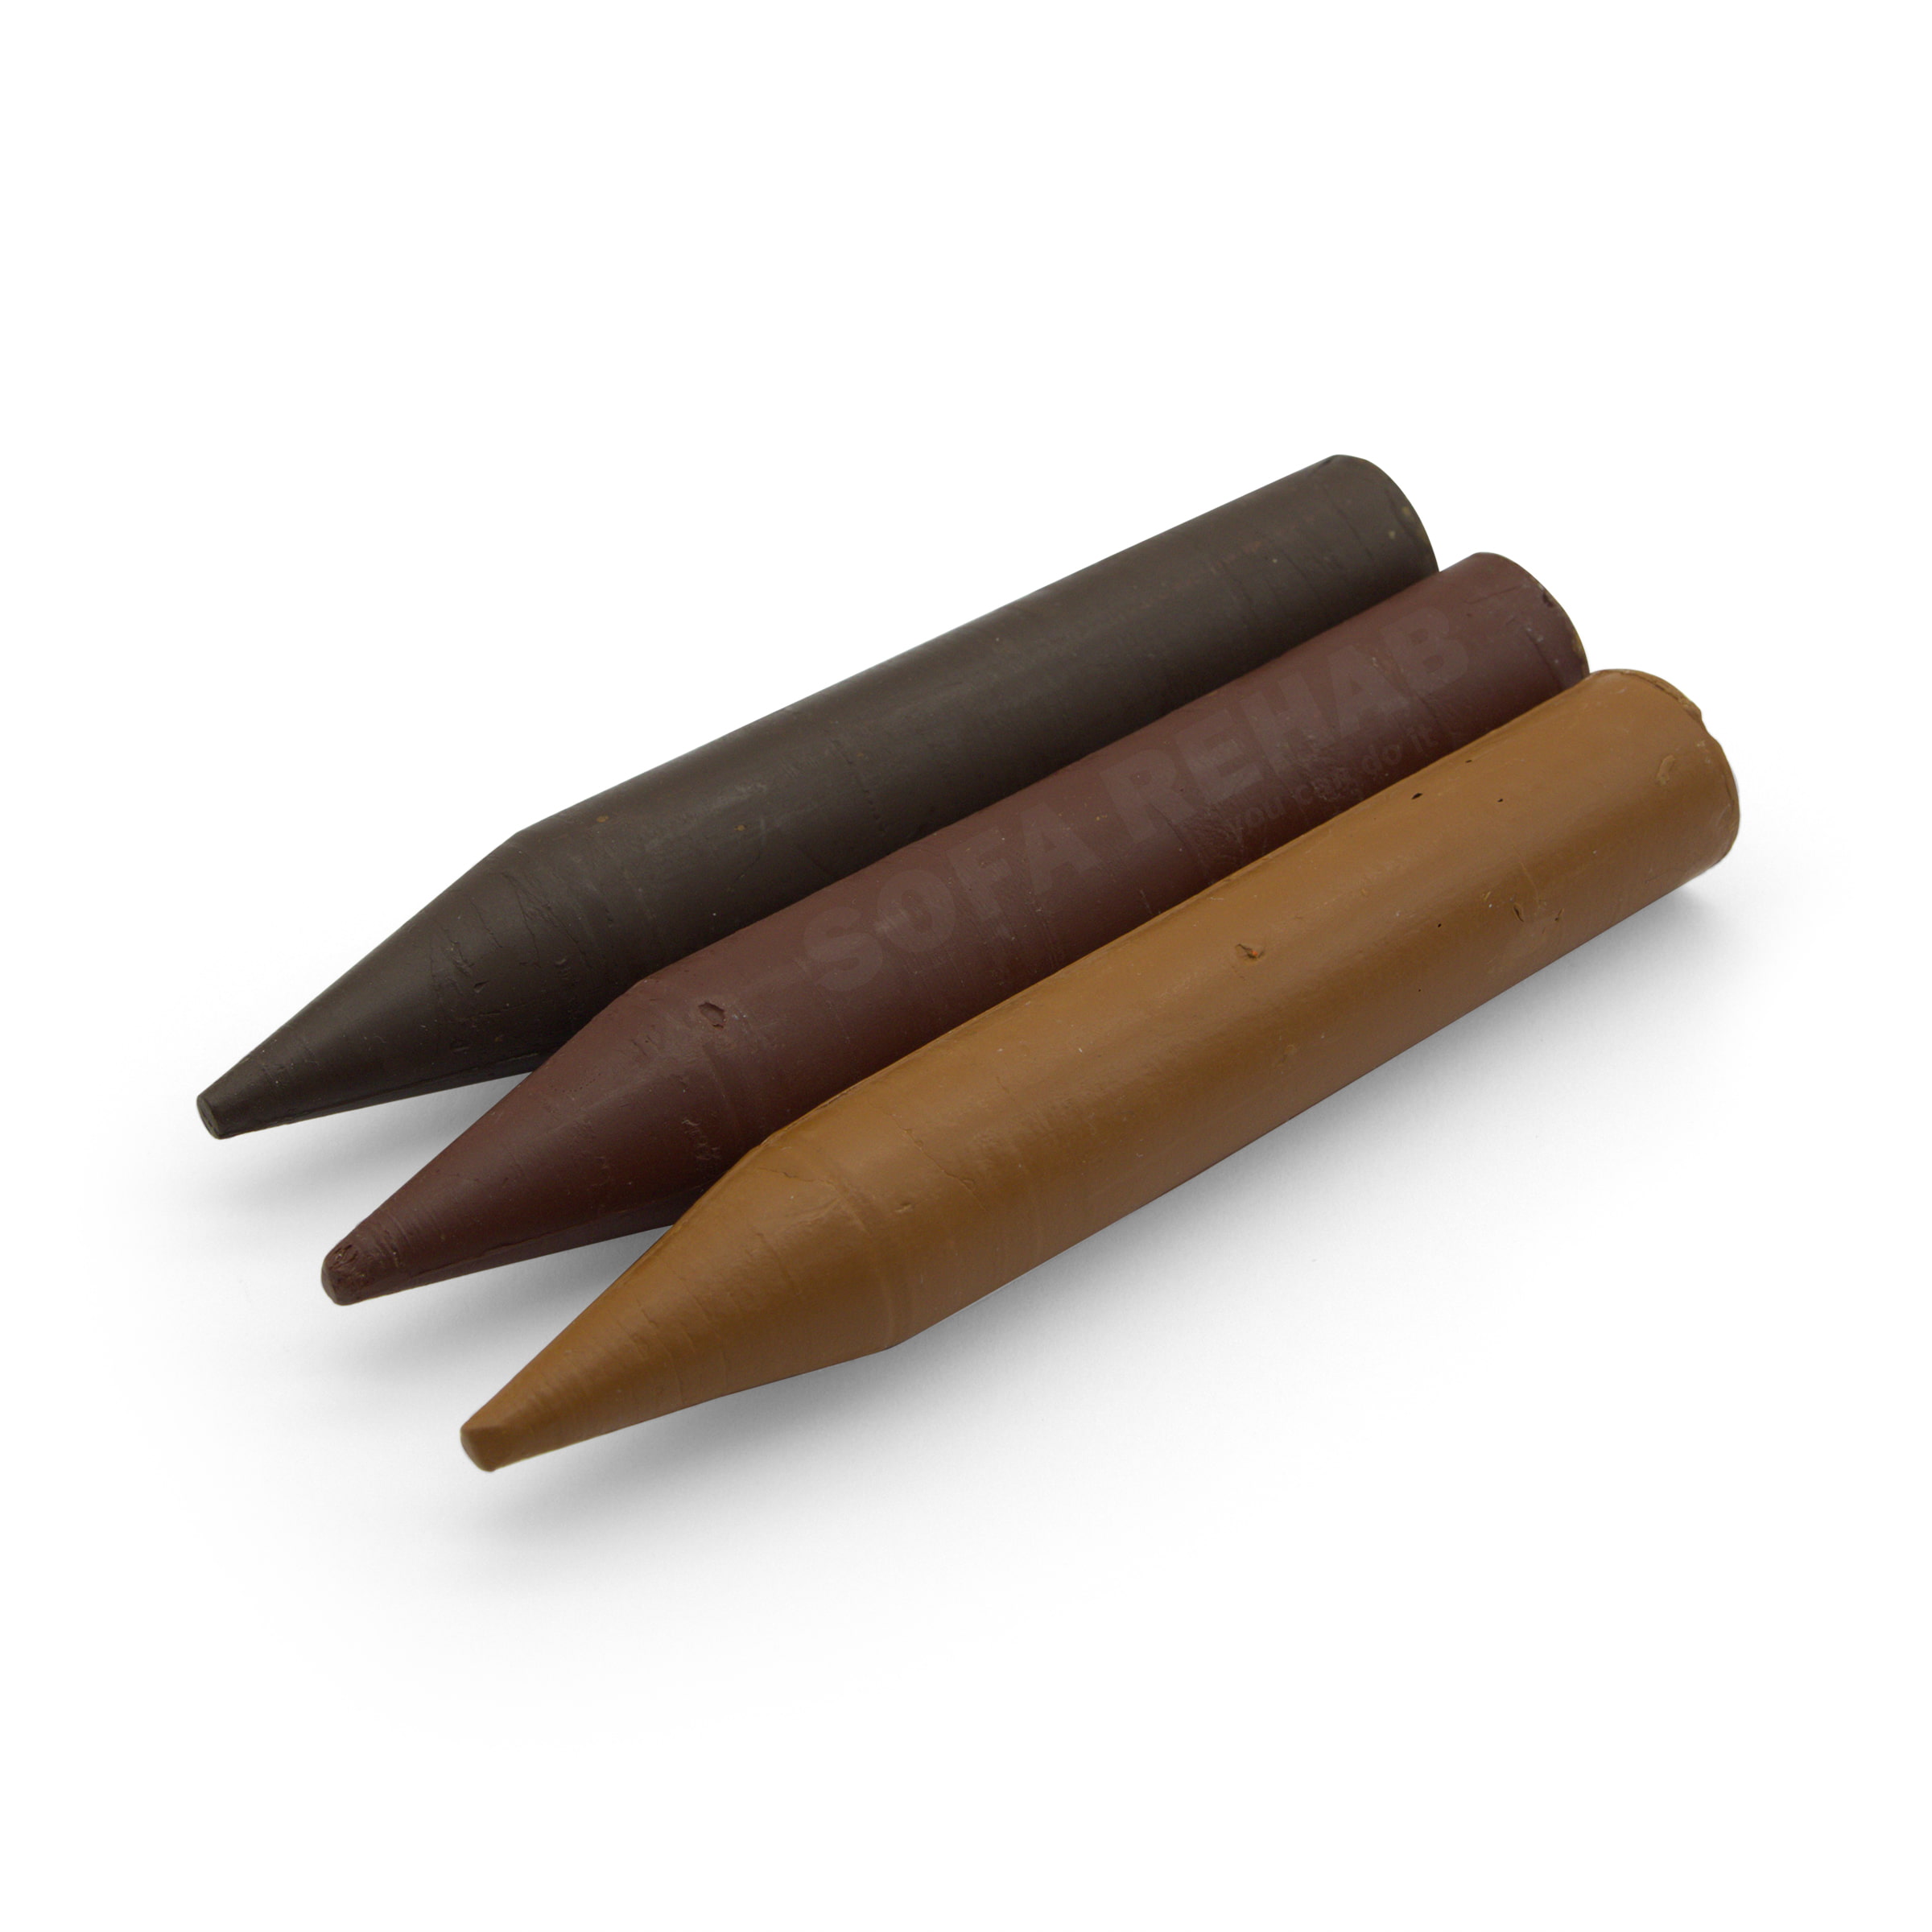
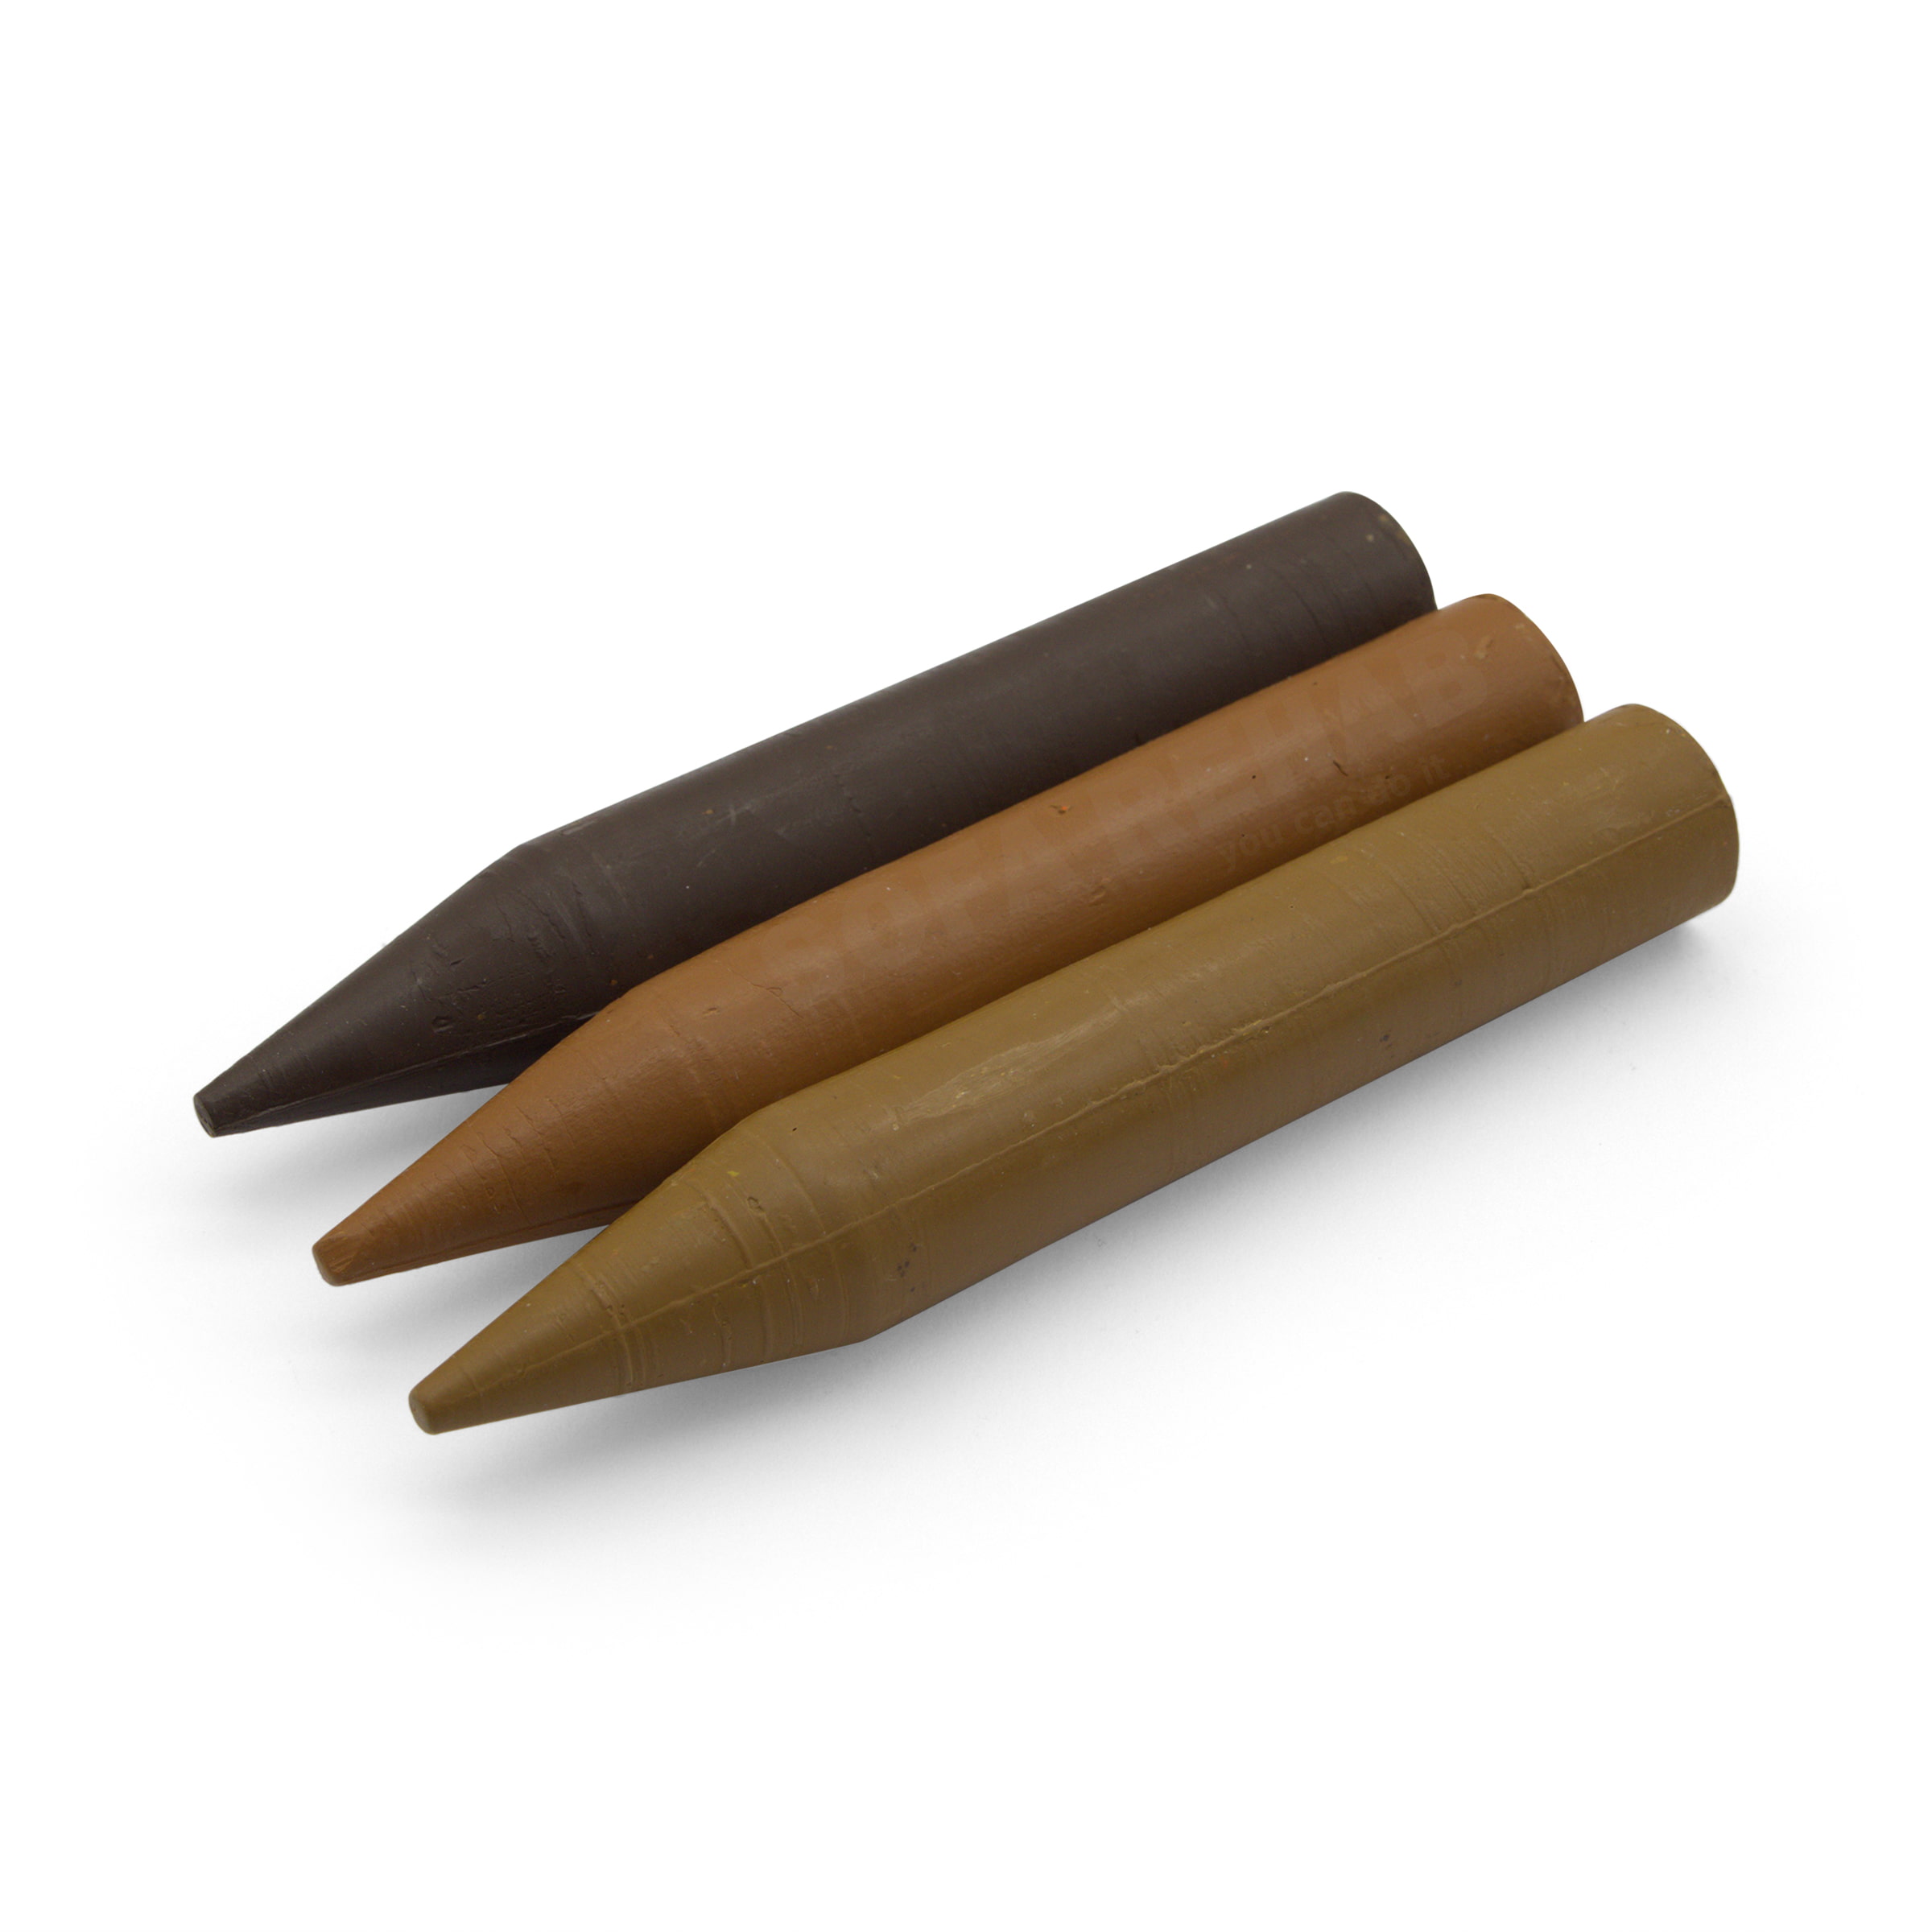
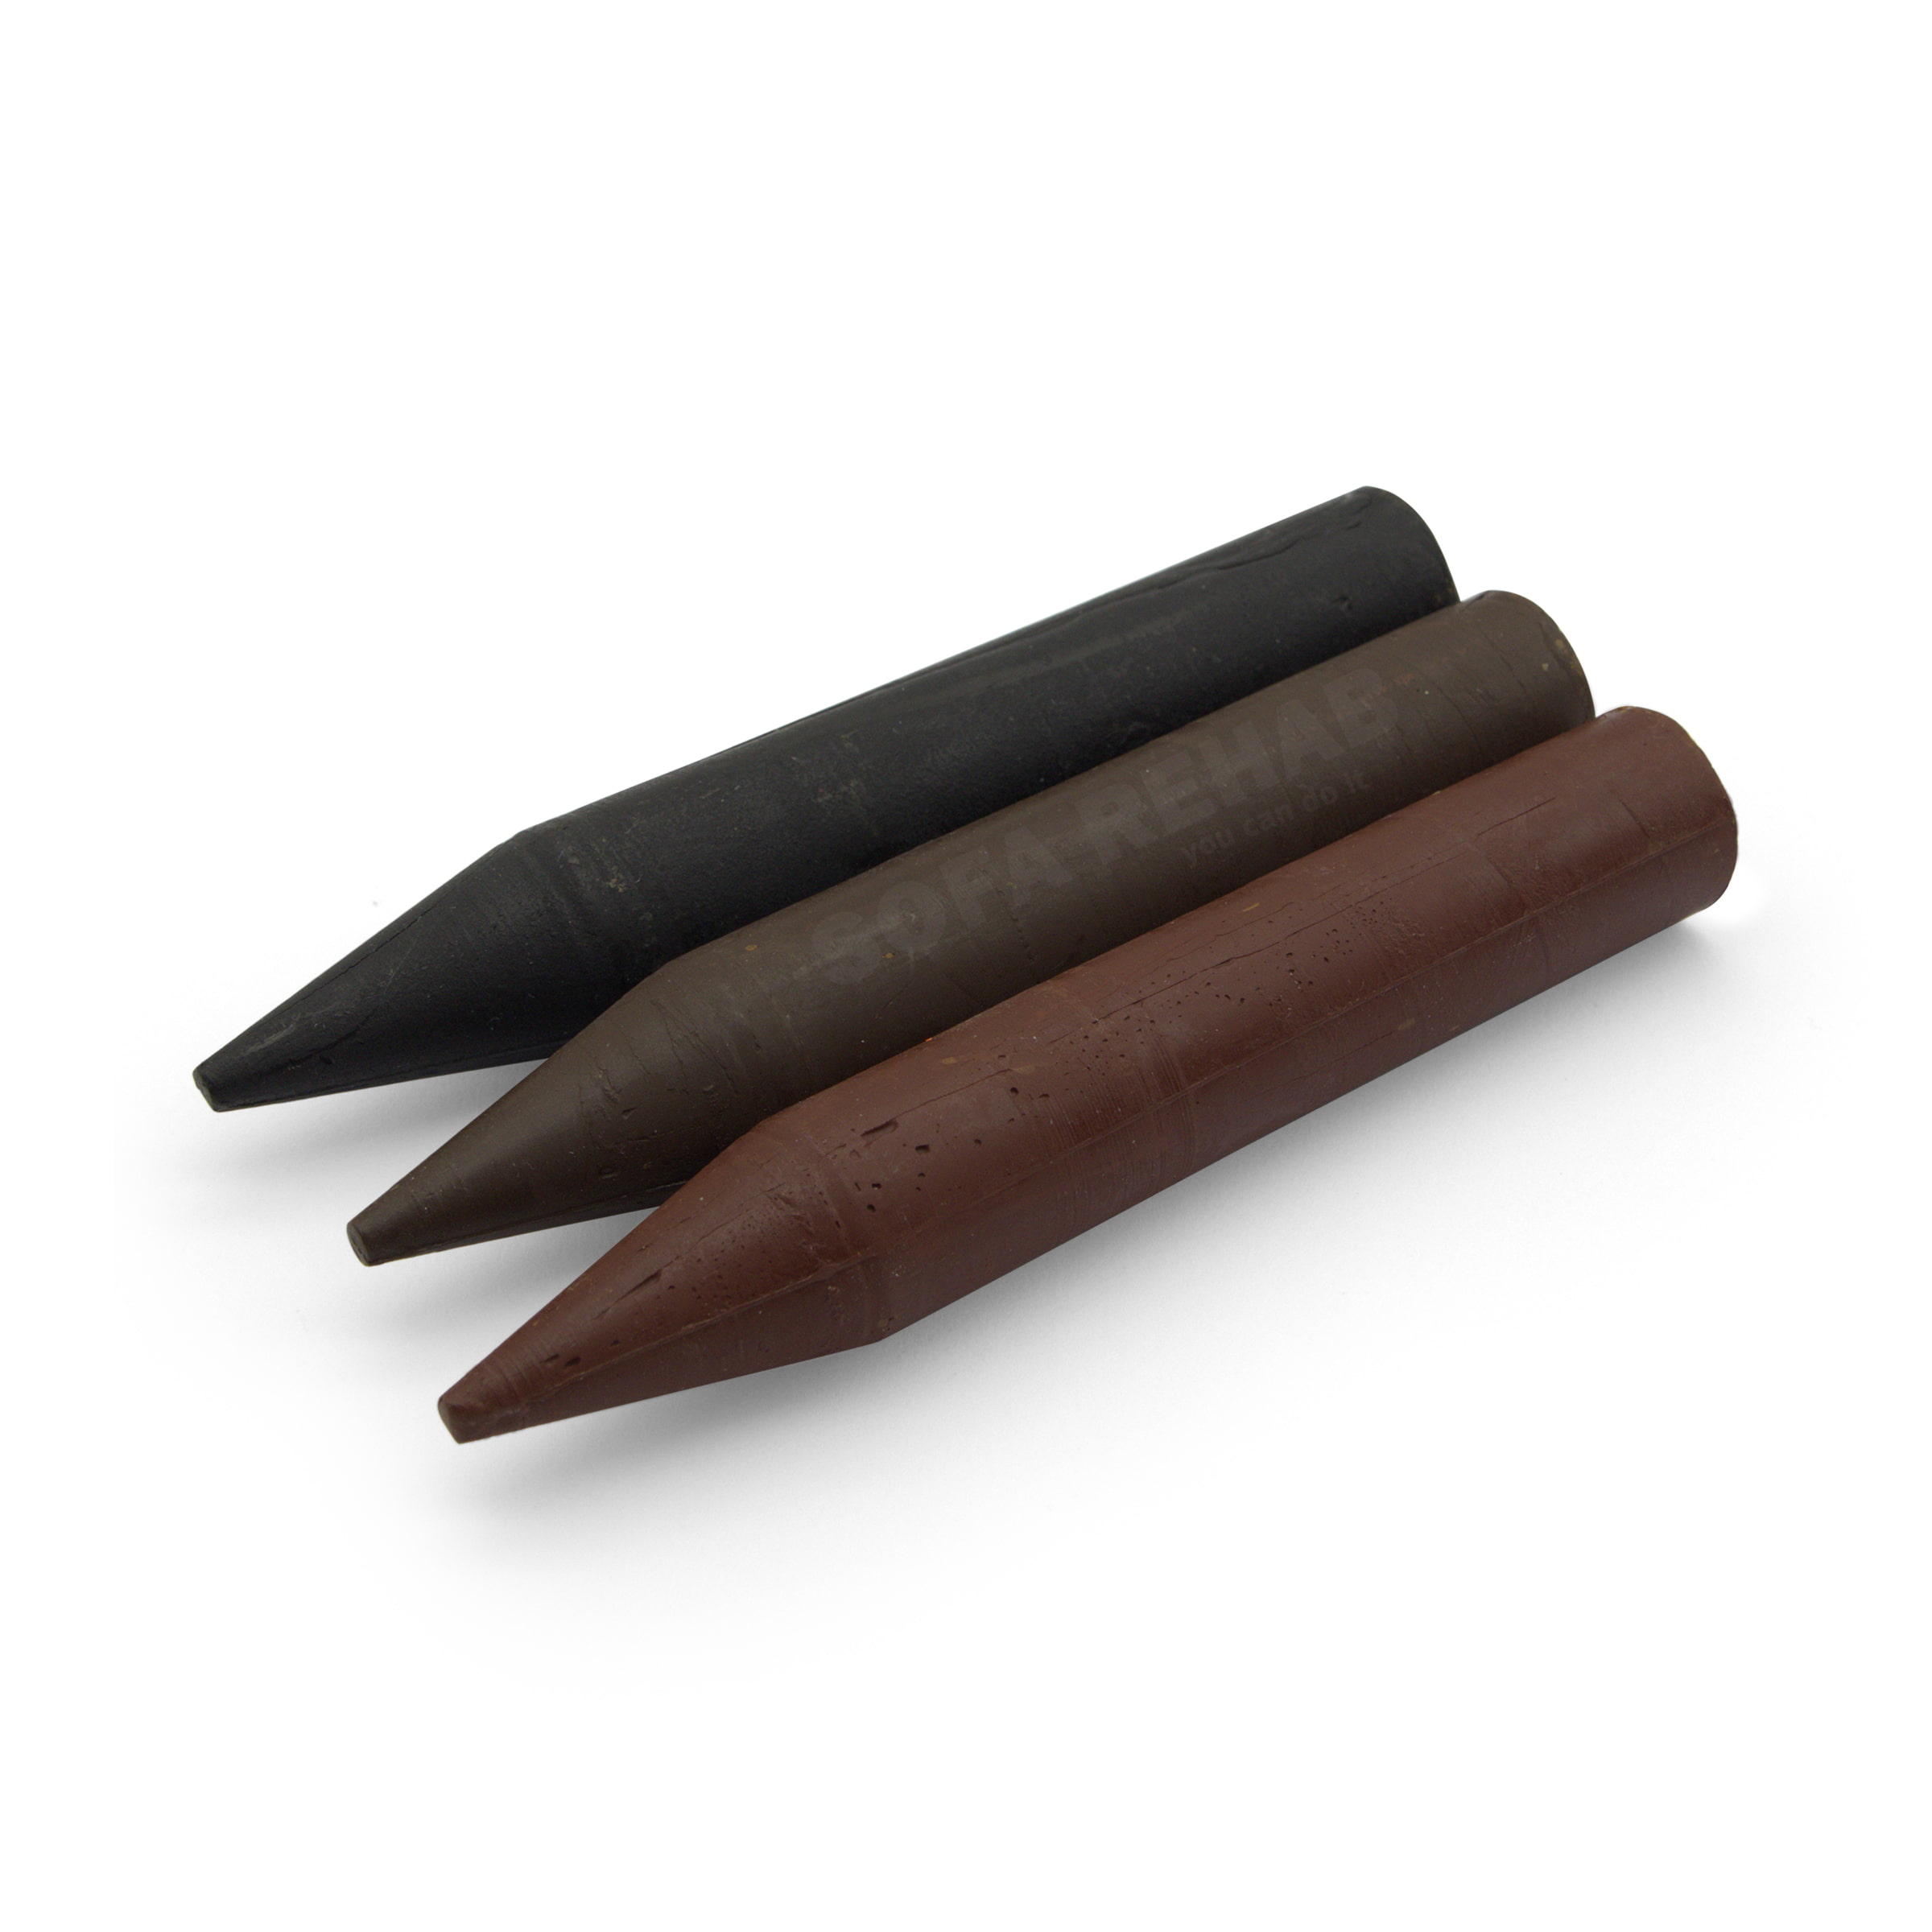
Each pencil-shaped stick weighs approximately 35g and measures approximately 117mm long by 18.5mm in diameter. The wax can be moulded and pressed into a defect, making it useful on flat surfaces as well as rounded corners, profiled edges, carvings, mouldings and other shaped details.
The filler can be used on suitable bare, stained and finished timber. Always test the colour and application method in an inconspicuous area before repairing a visible section.
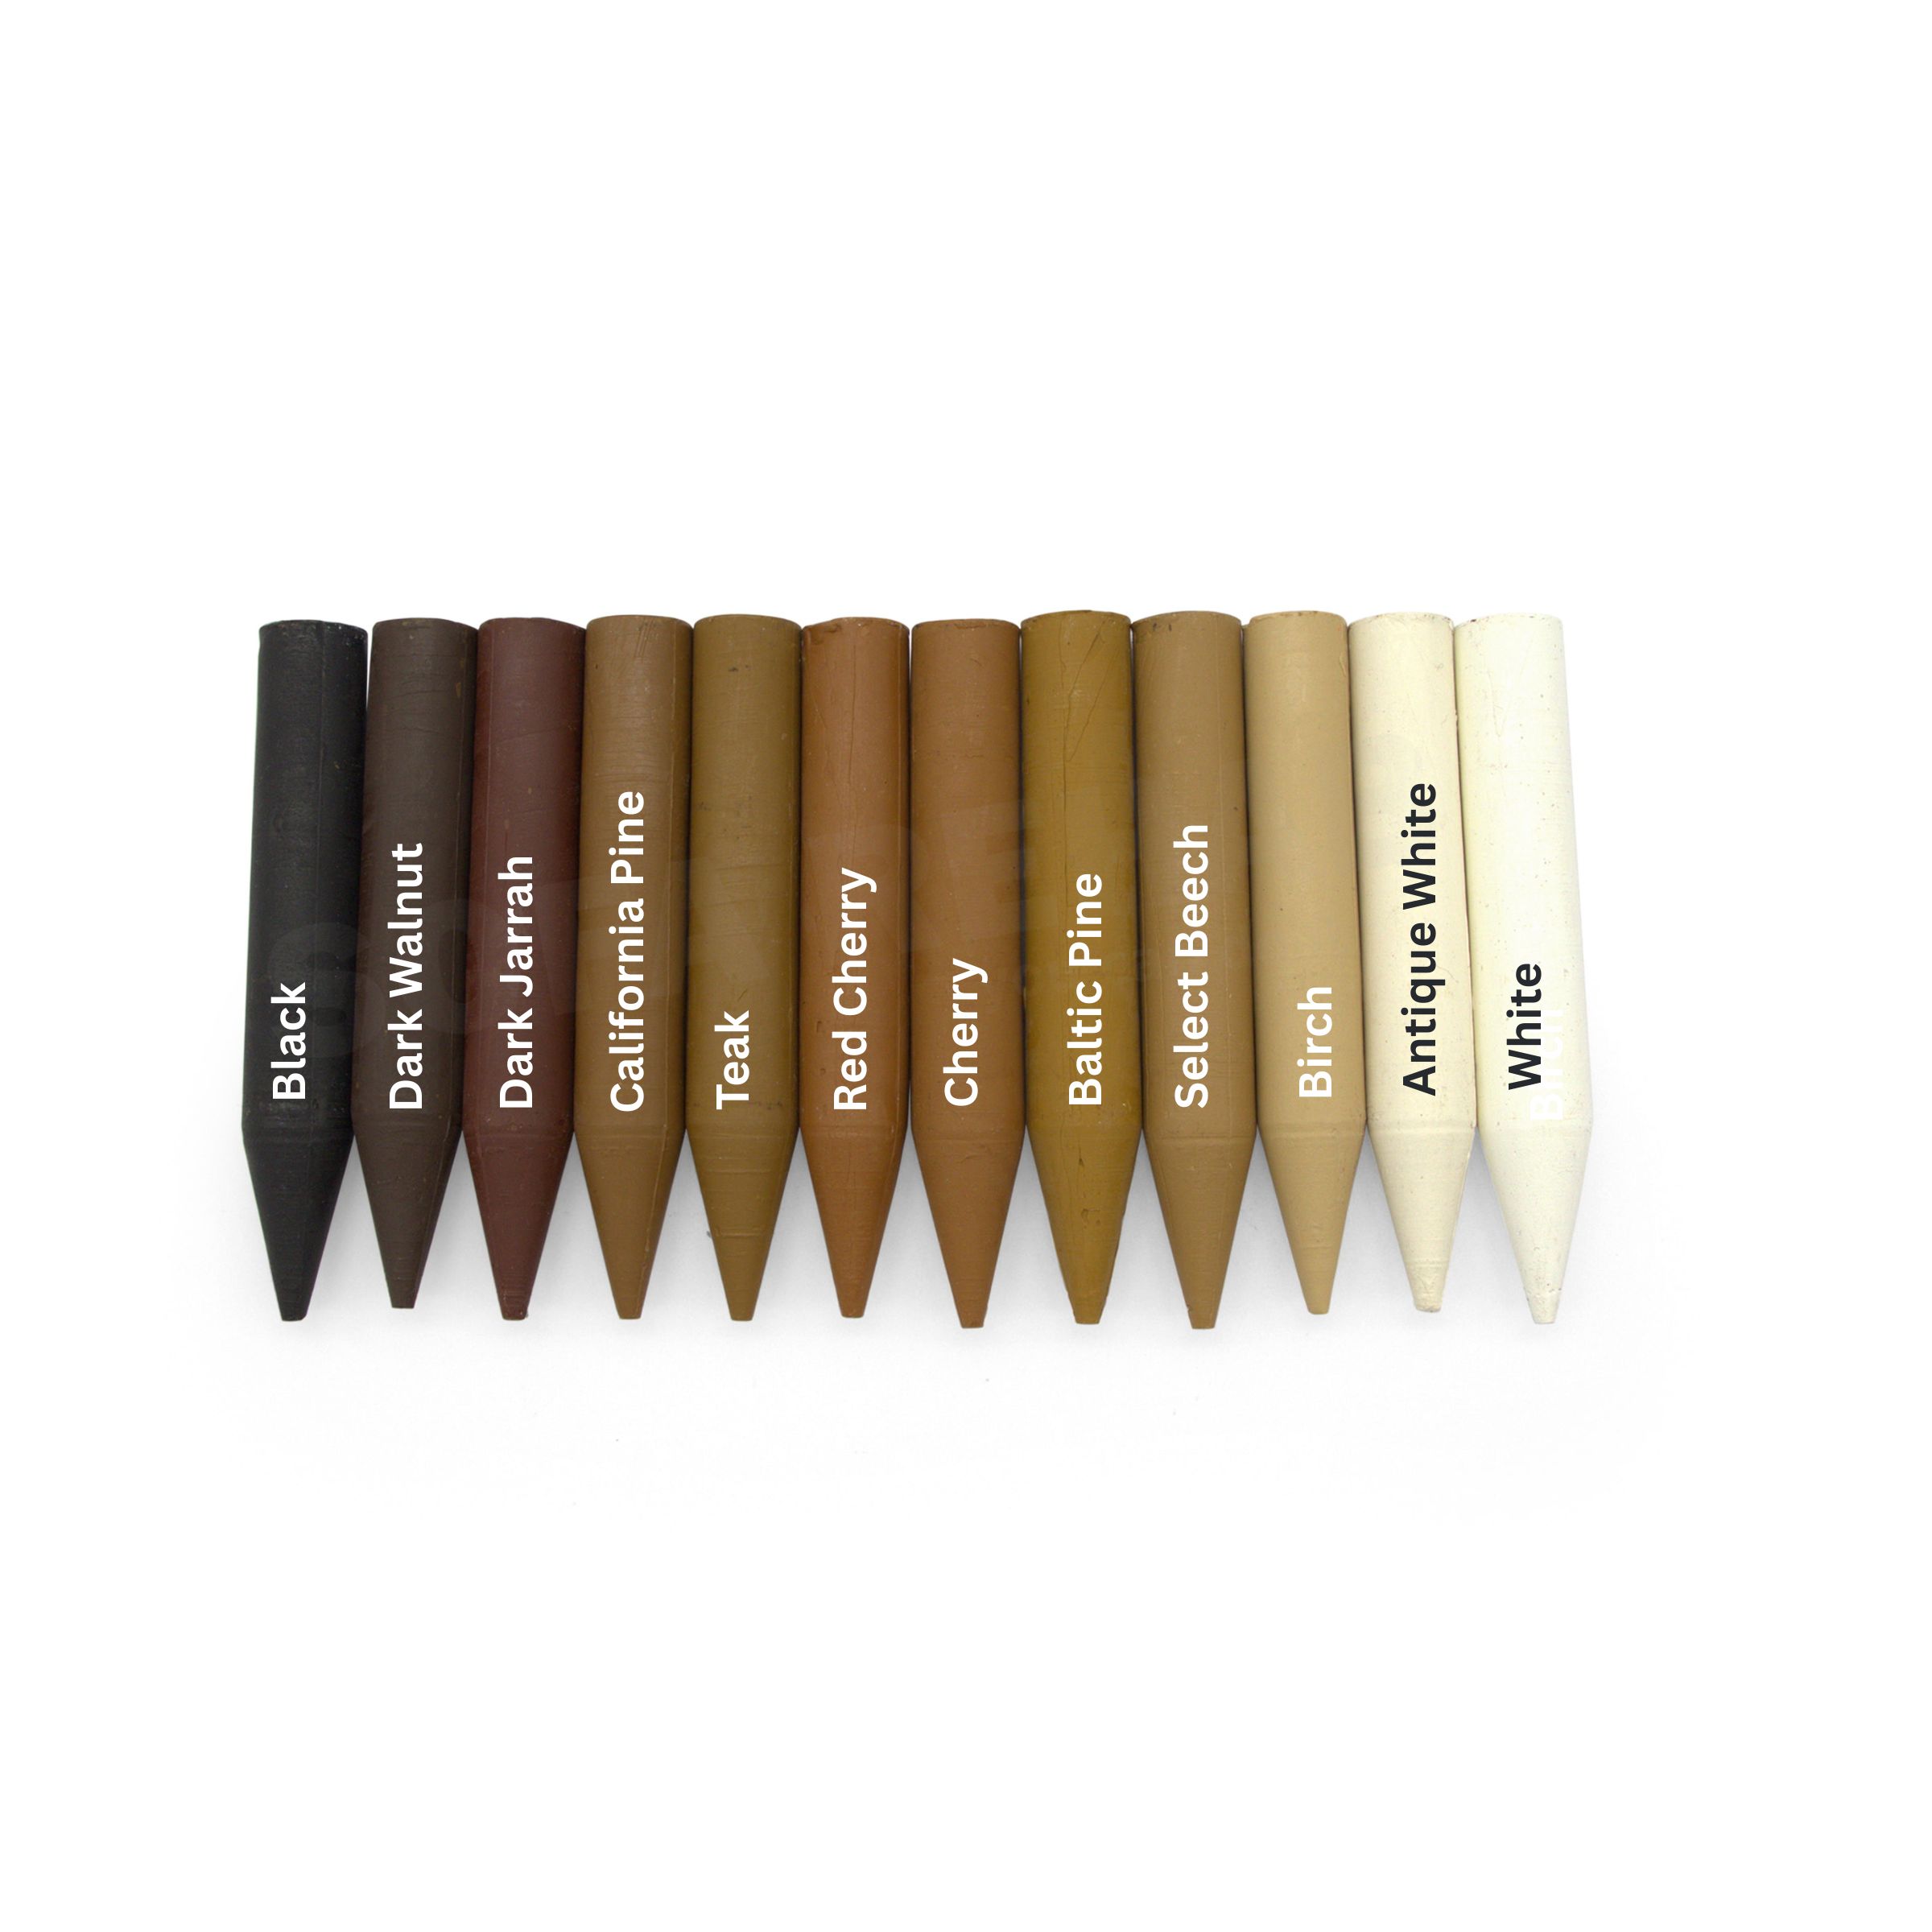
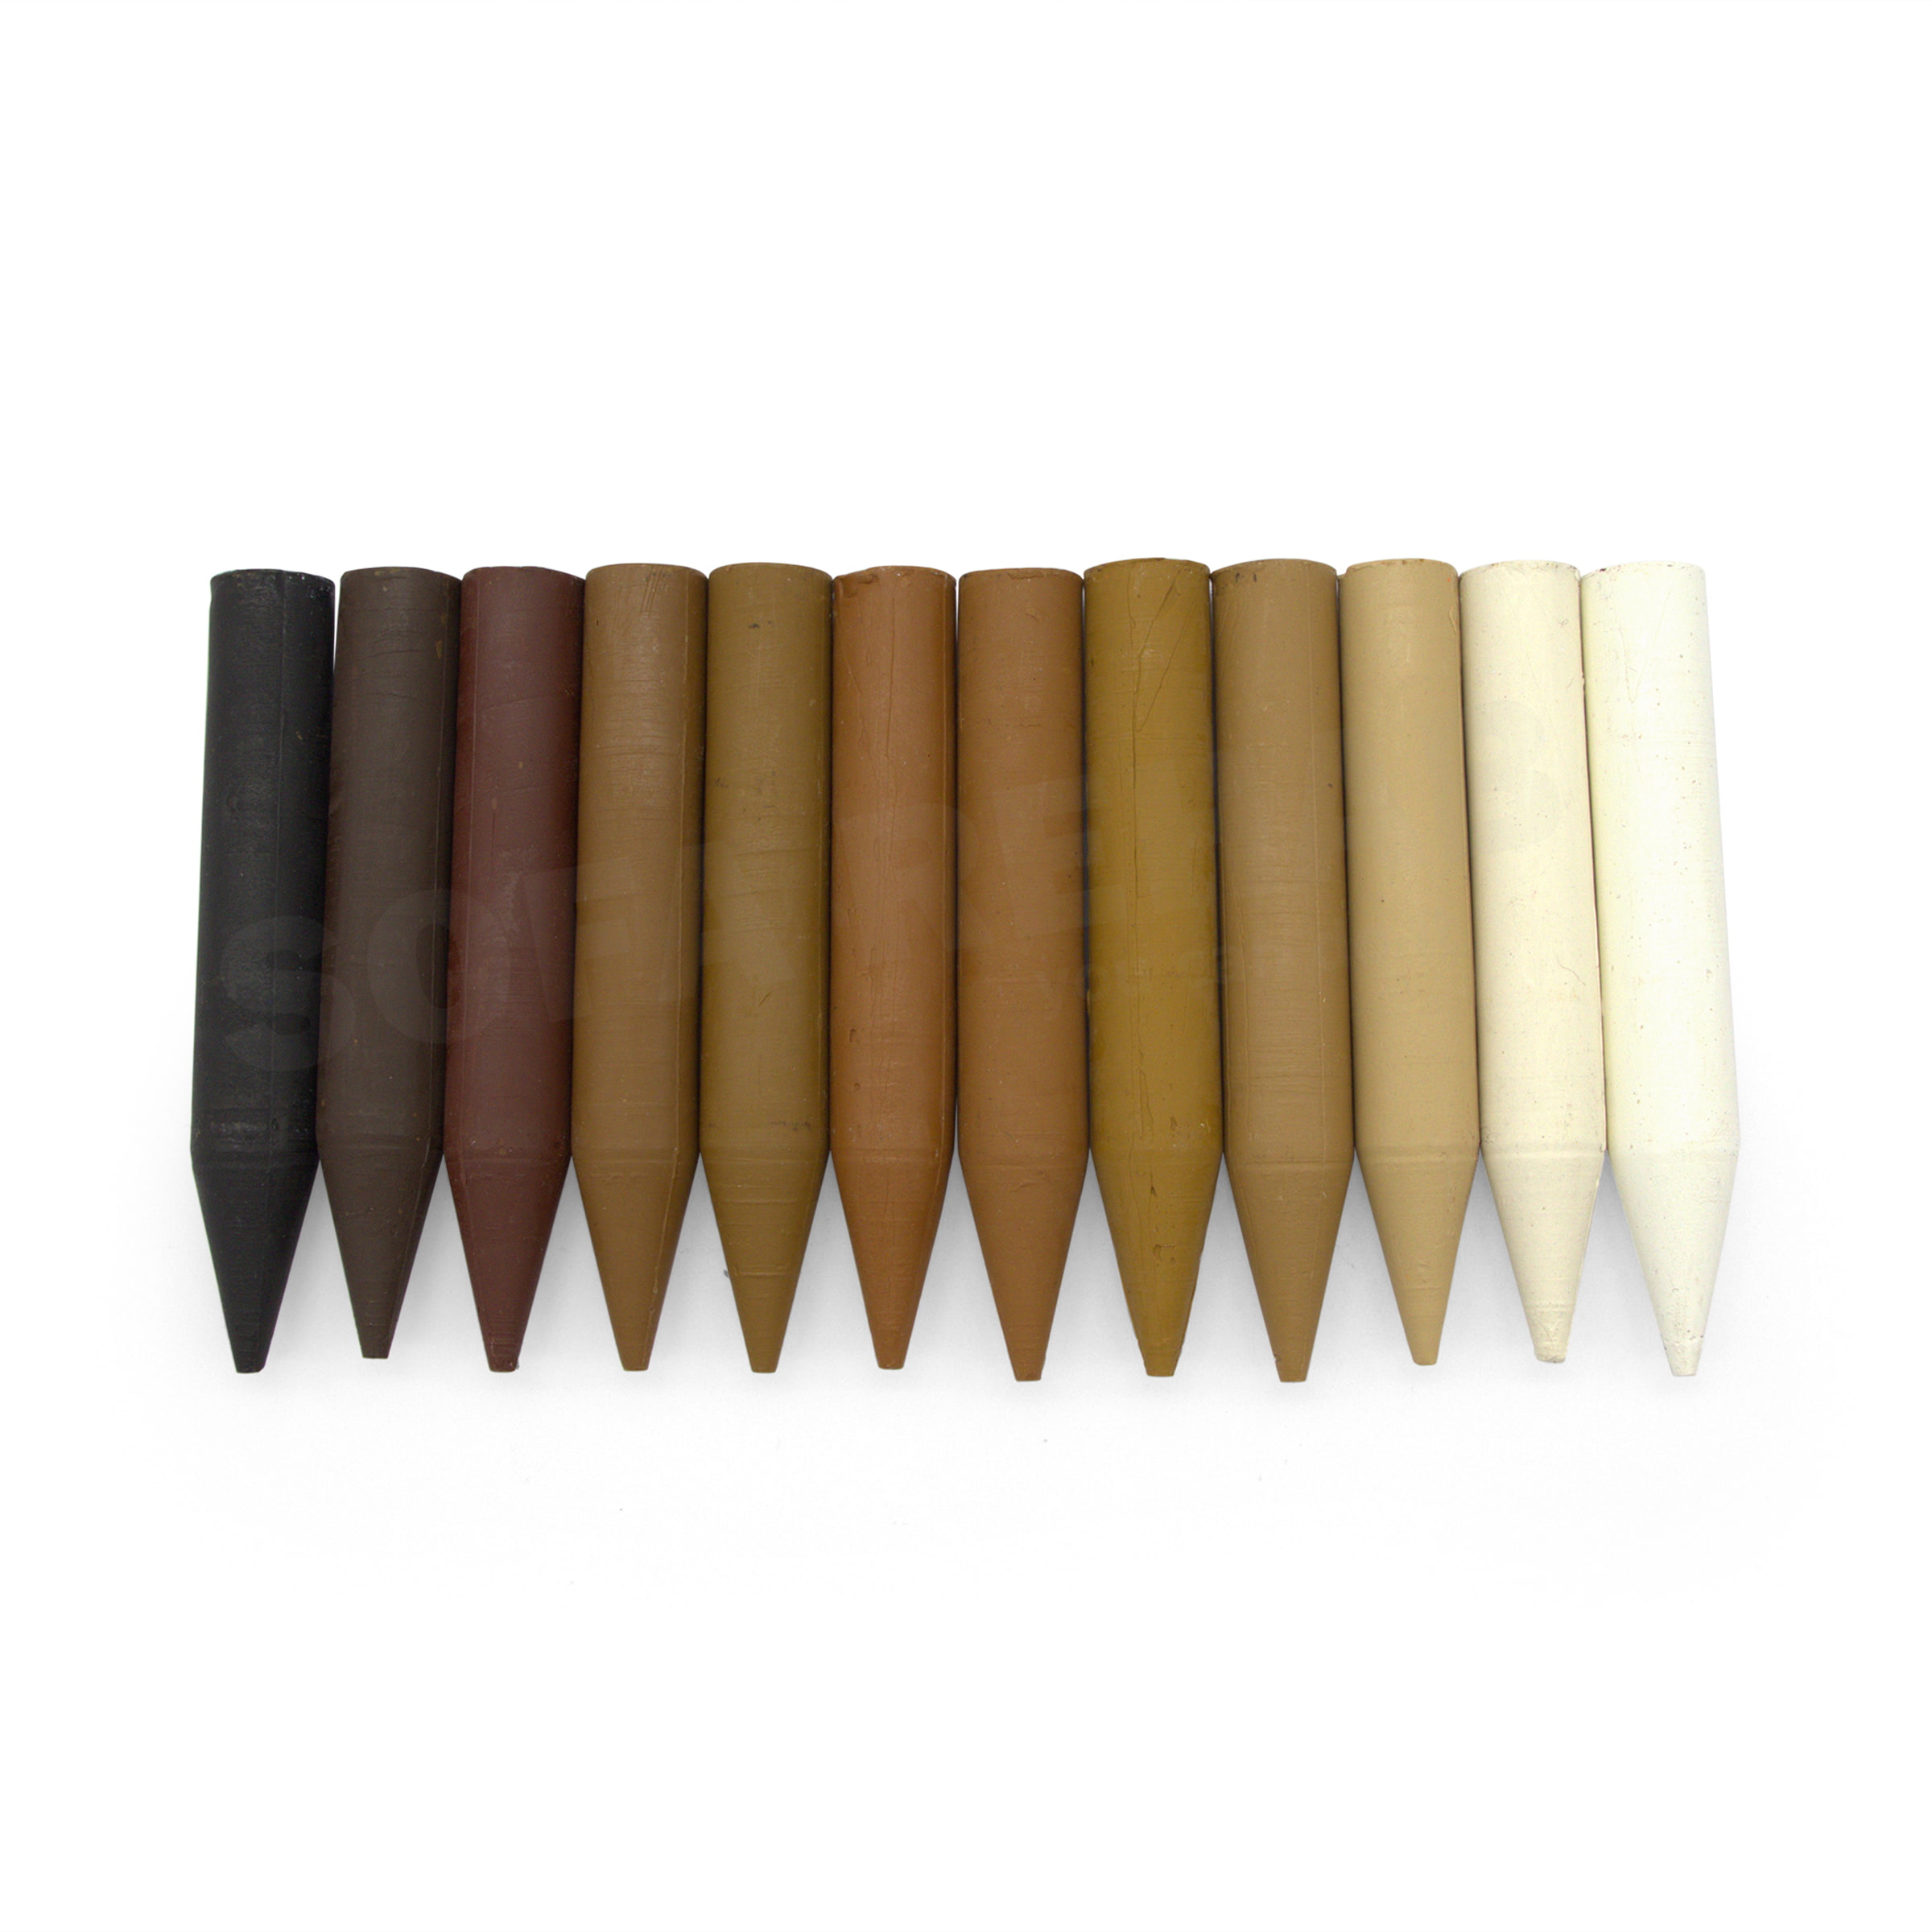
Choose from 12 Individual Colours or Preset 3 Packs
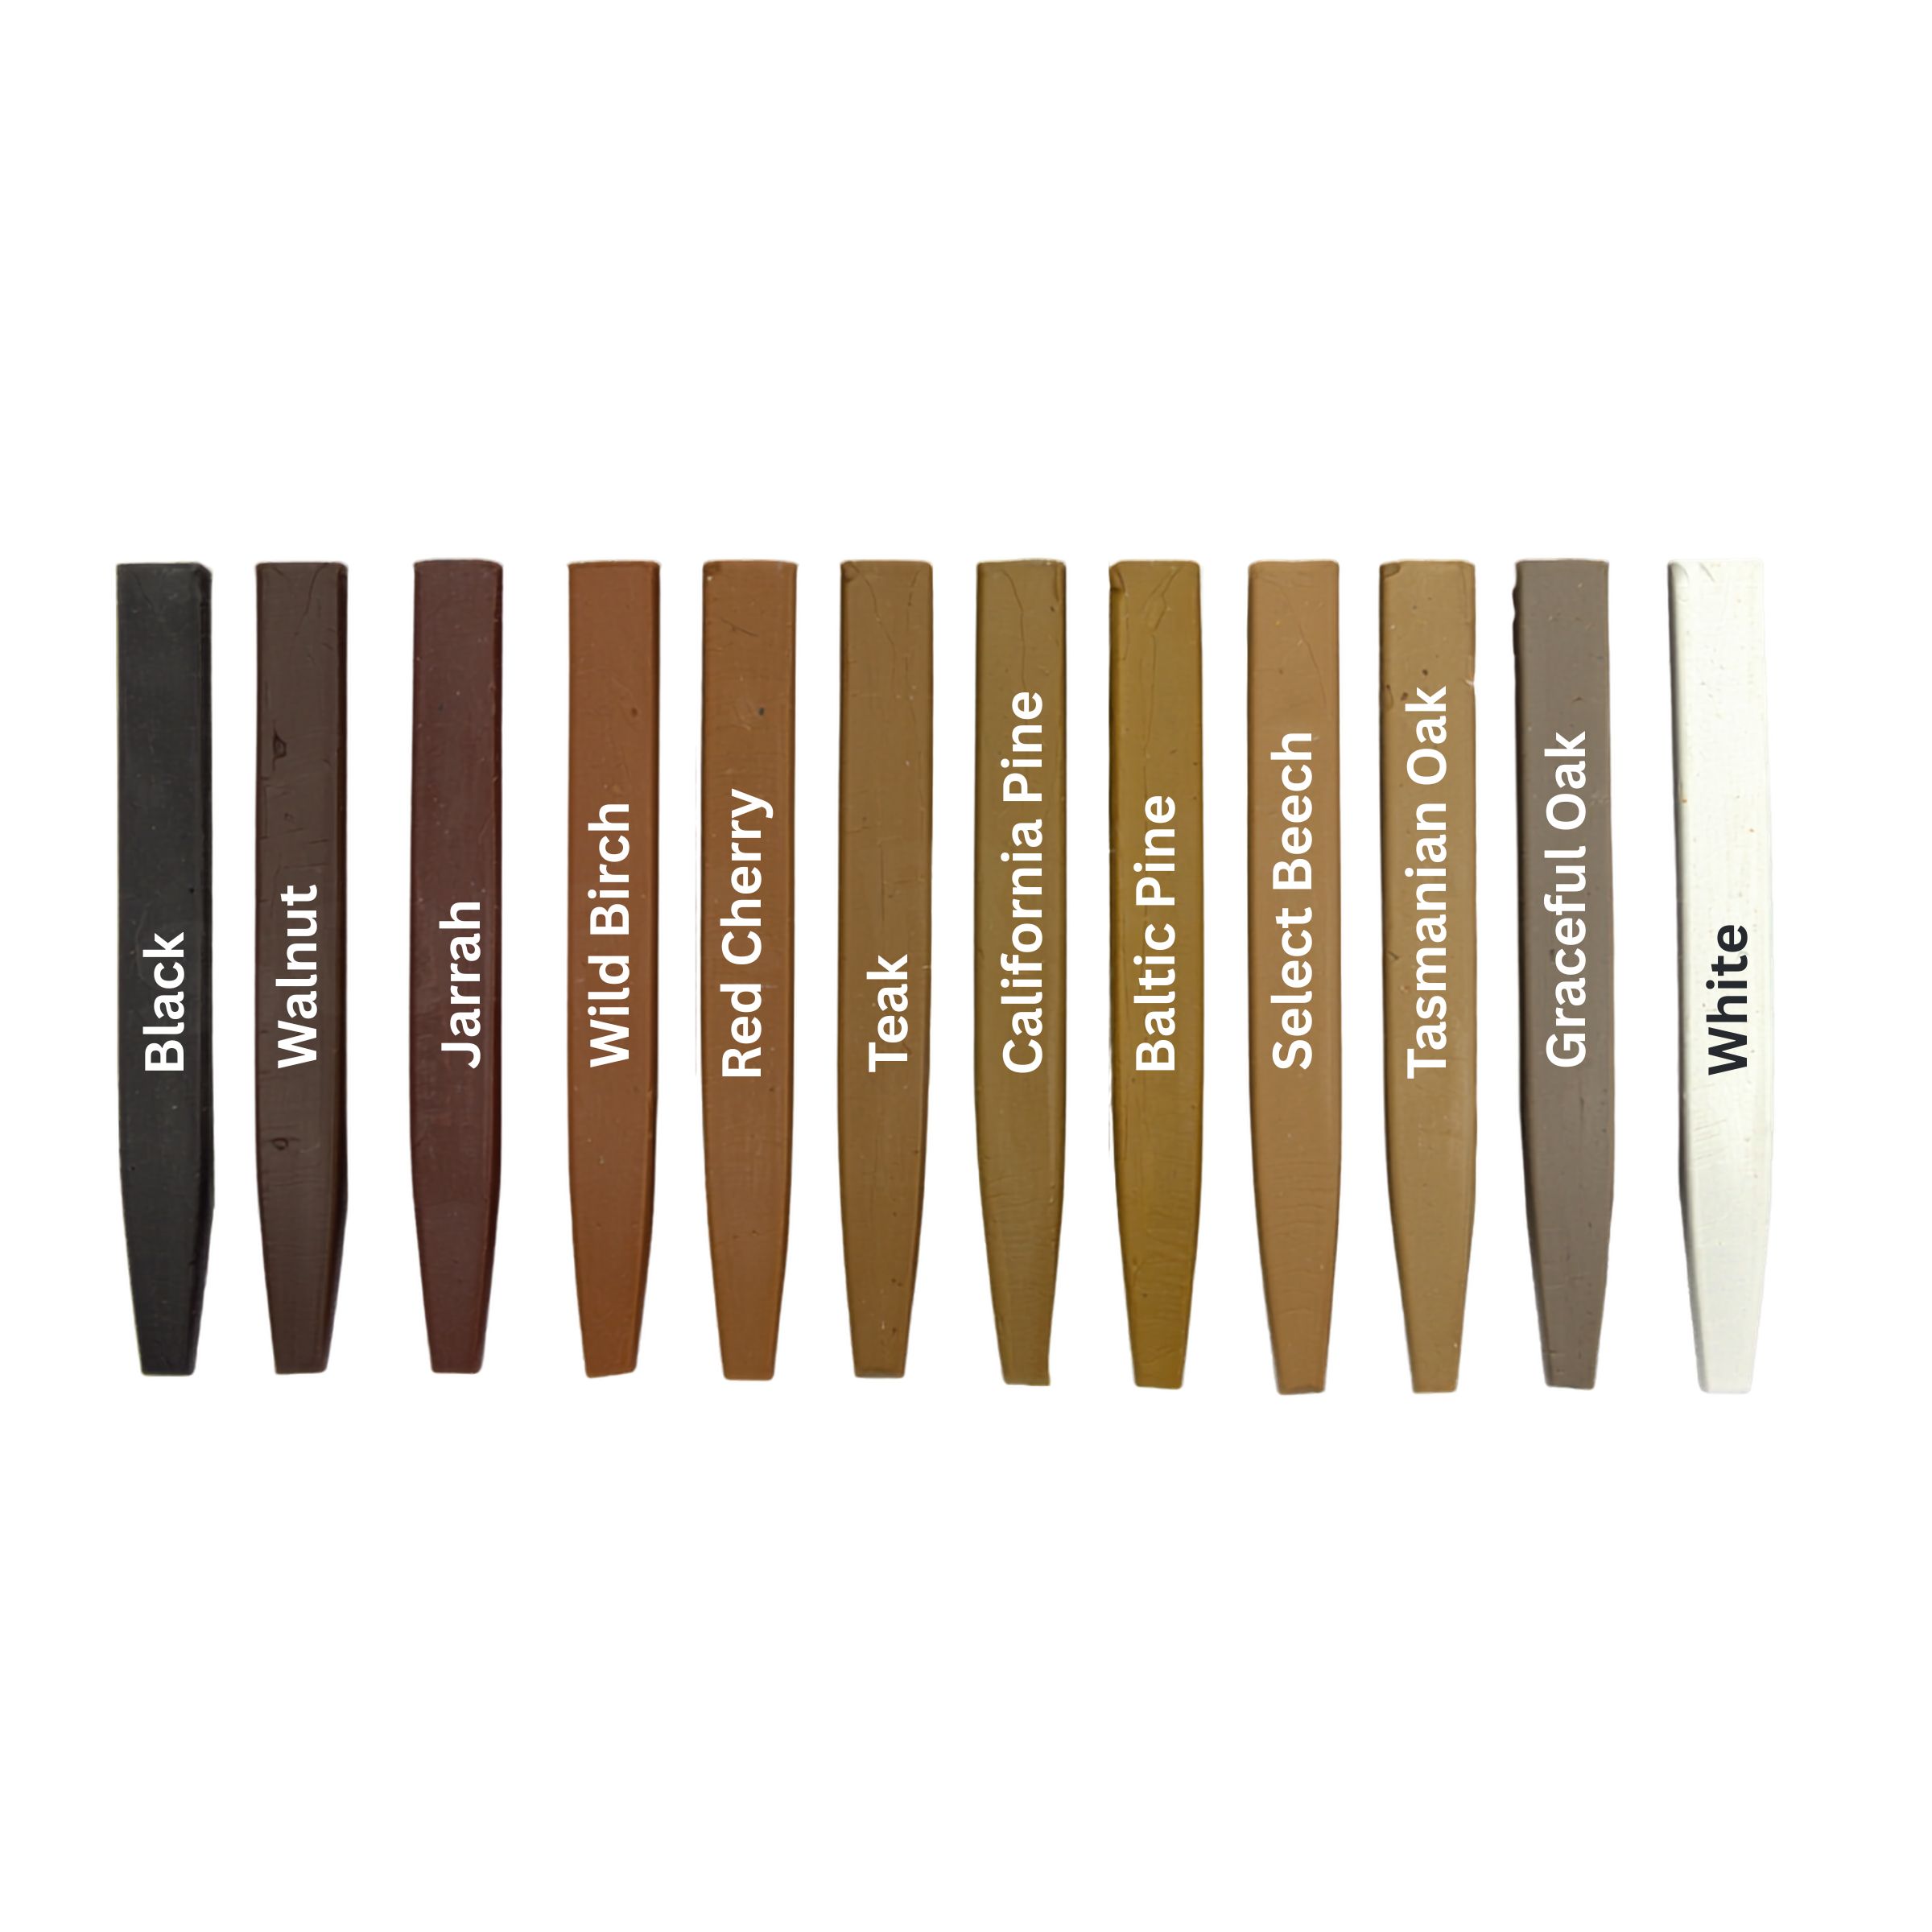
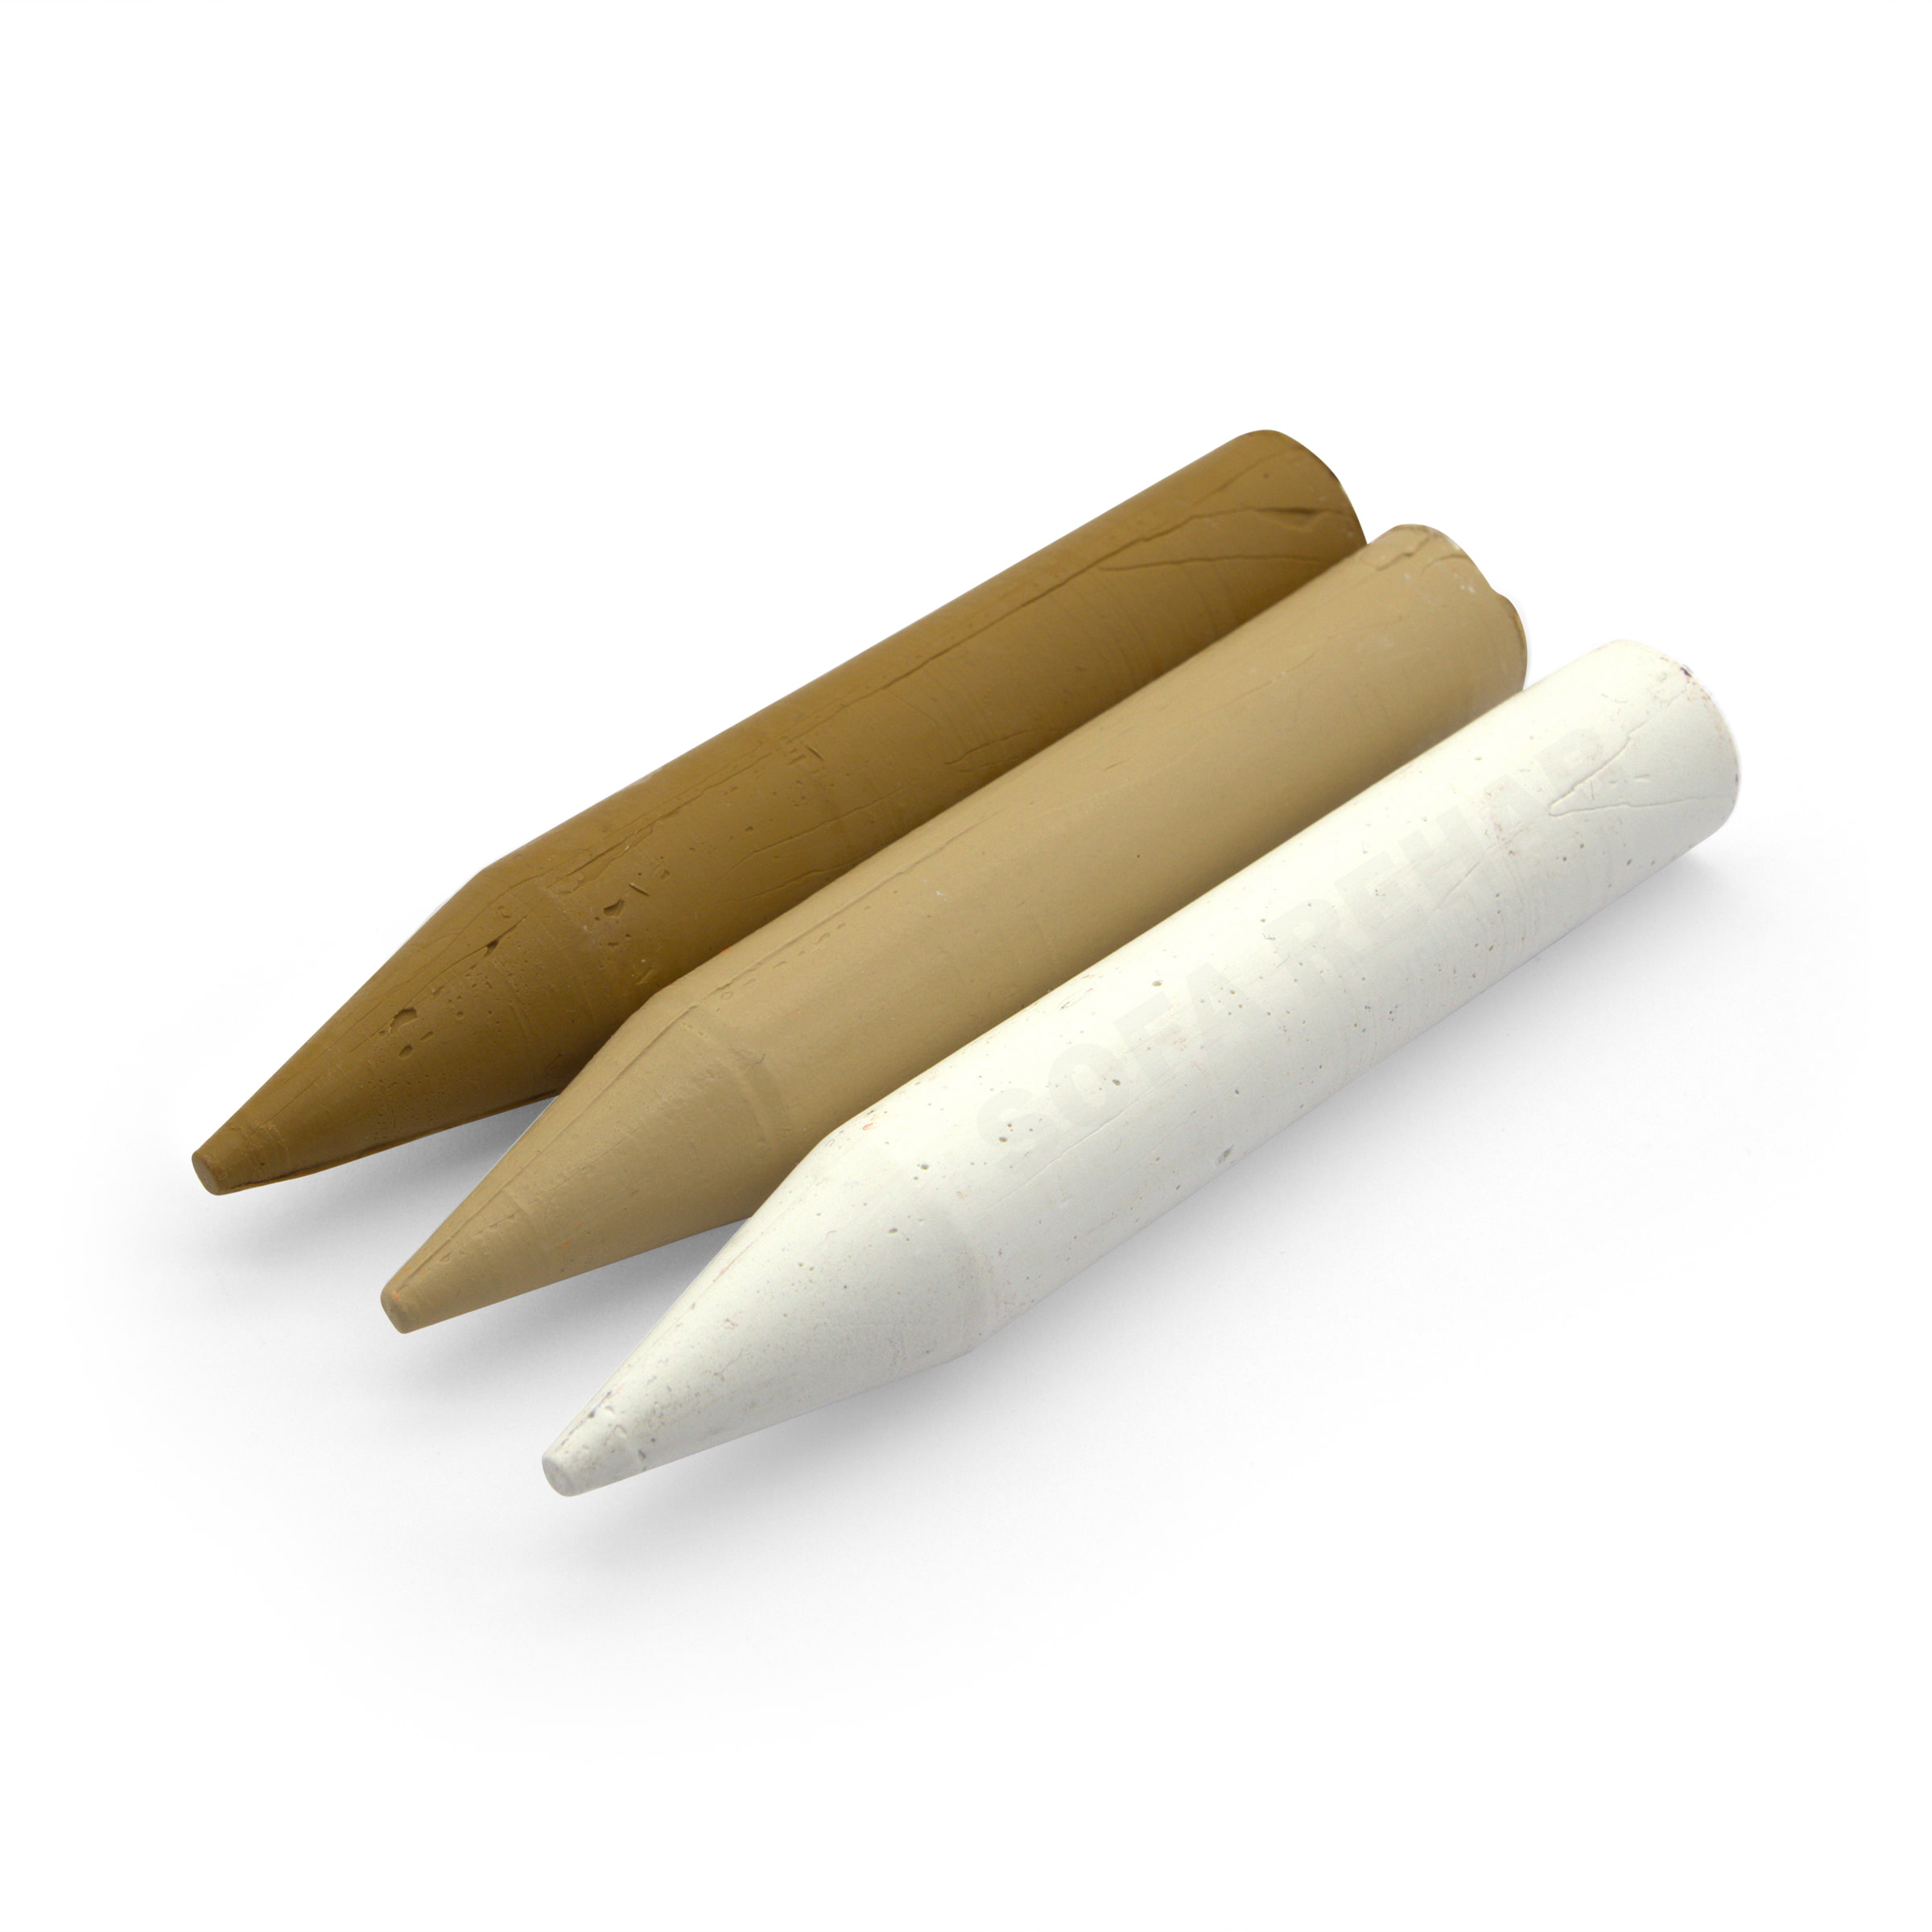
Choose from individual Beeswax Filler Sticks in Antique White, Baltic Pine, Birch, Black, California Pine, Cherry, Dark Jarrah, Dark Walnut, Red Cherry, Select Beech, Teak and White.
Preset 3 packs are also available:
Light Timber Tones: White, Birch and Baltic Pine
Natural Timber Tones: Select Beech, Cherry and California Pine
Red/Brown Timber Tones: Red Cherry, Dark Jarrah and Dark Walnut
Classic Brown Timber Tones: Dark Walnut, Red Cherry and Teak
Dark Timber Tones: Dark Jarrah, Dark Walnut and Black
The preset packs contain fixed colour combinations and cannot be customised. Order individual sticks to create a different selection.
Colour names are matching guides only. Timber finishes vary with stain, coating, age, grain, sheen and lighting, so always test in an inconspicuous area before repairing a visible section.
Is a Beeswax Filler Stick Right for Your Repair?
Beeswax Filler Sticks are firmer than our Timber Repair Crayons and are intended for damage that needs a deeper or more substantial cosmetic fill. Their harder consistency helps the wax retain its shape in small chips, cracks and detailed repairs.
They are not a structural timber filler, two-part repair compound or replacement for missing sections of wood. Loose joints, rot, major cracks, large broken corners, water damage or structural repairs will require another repair method.
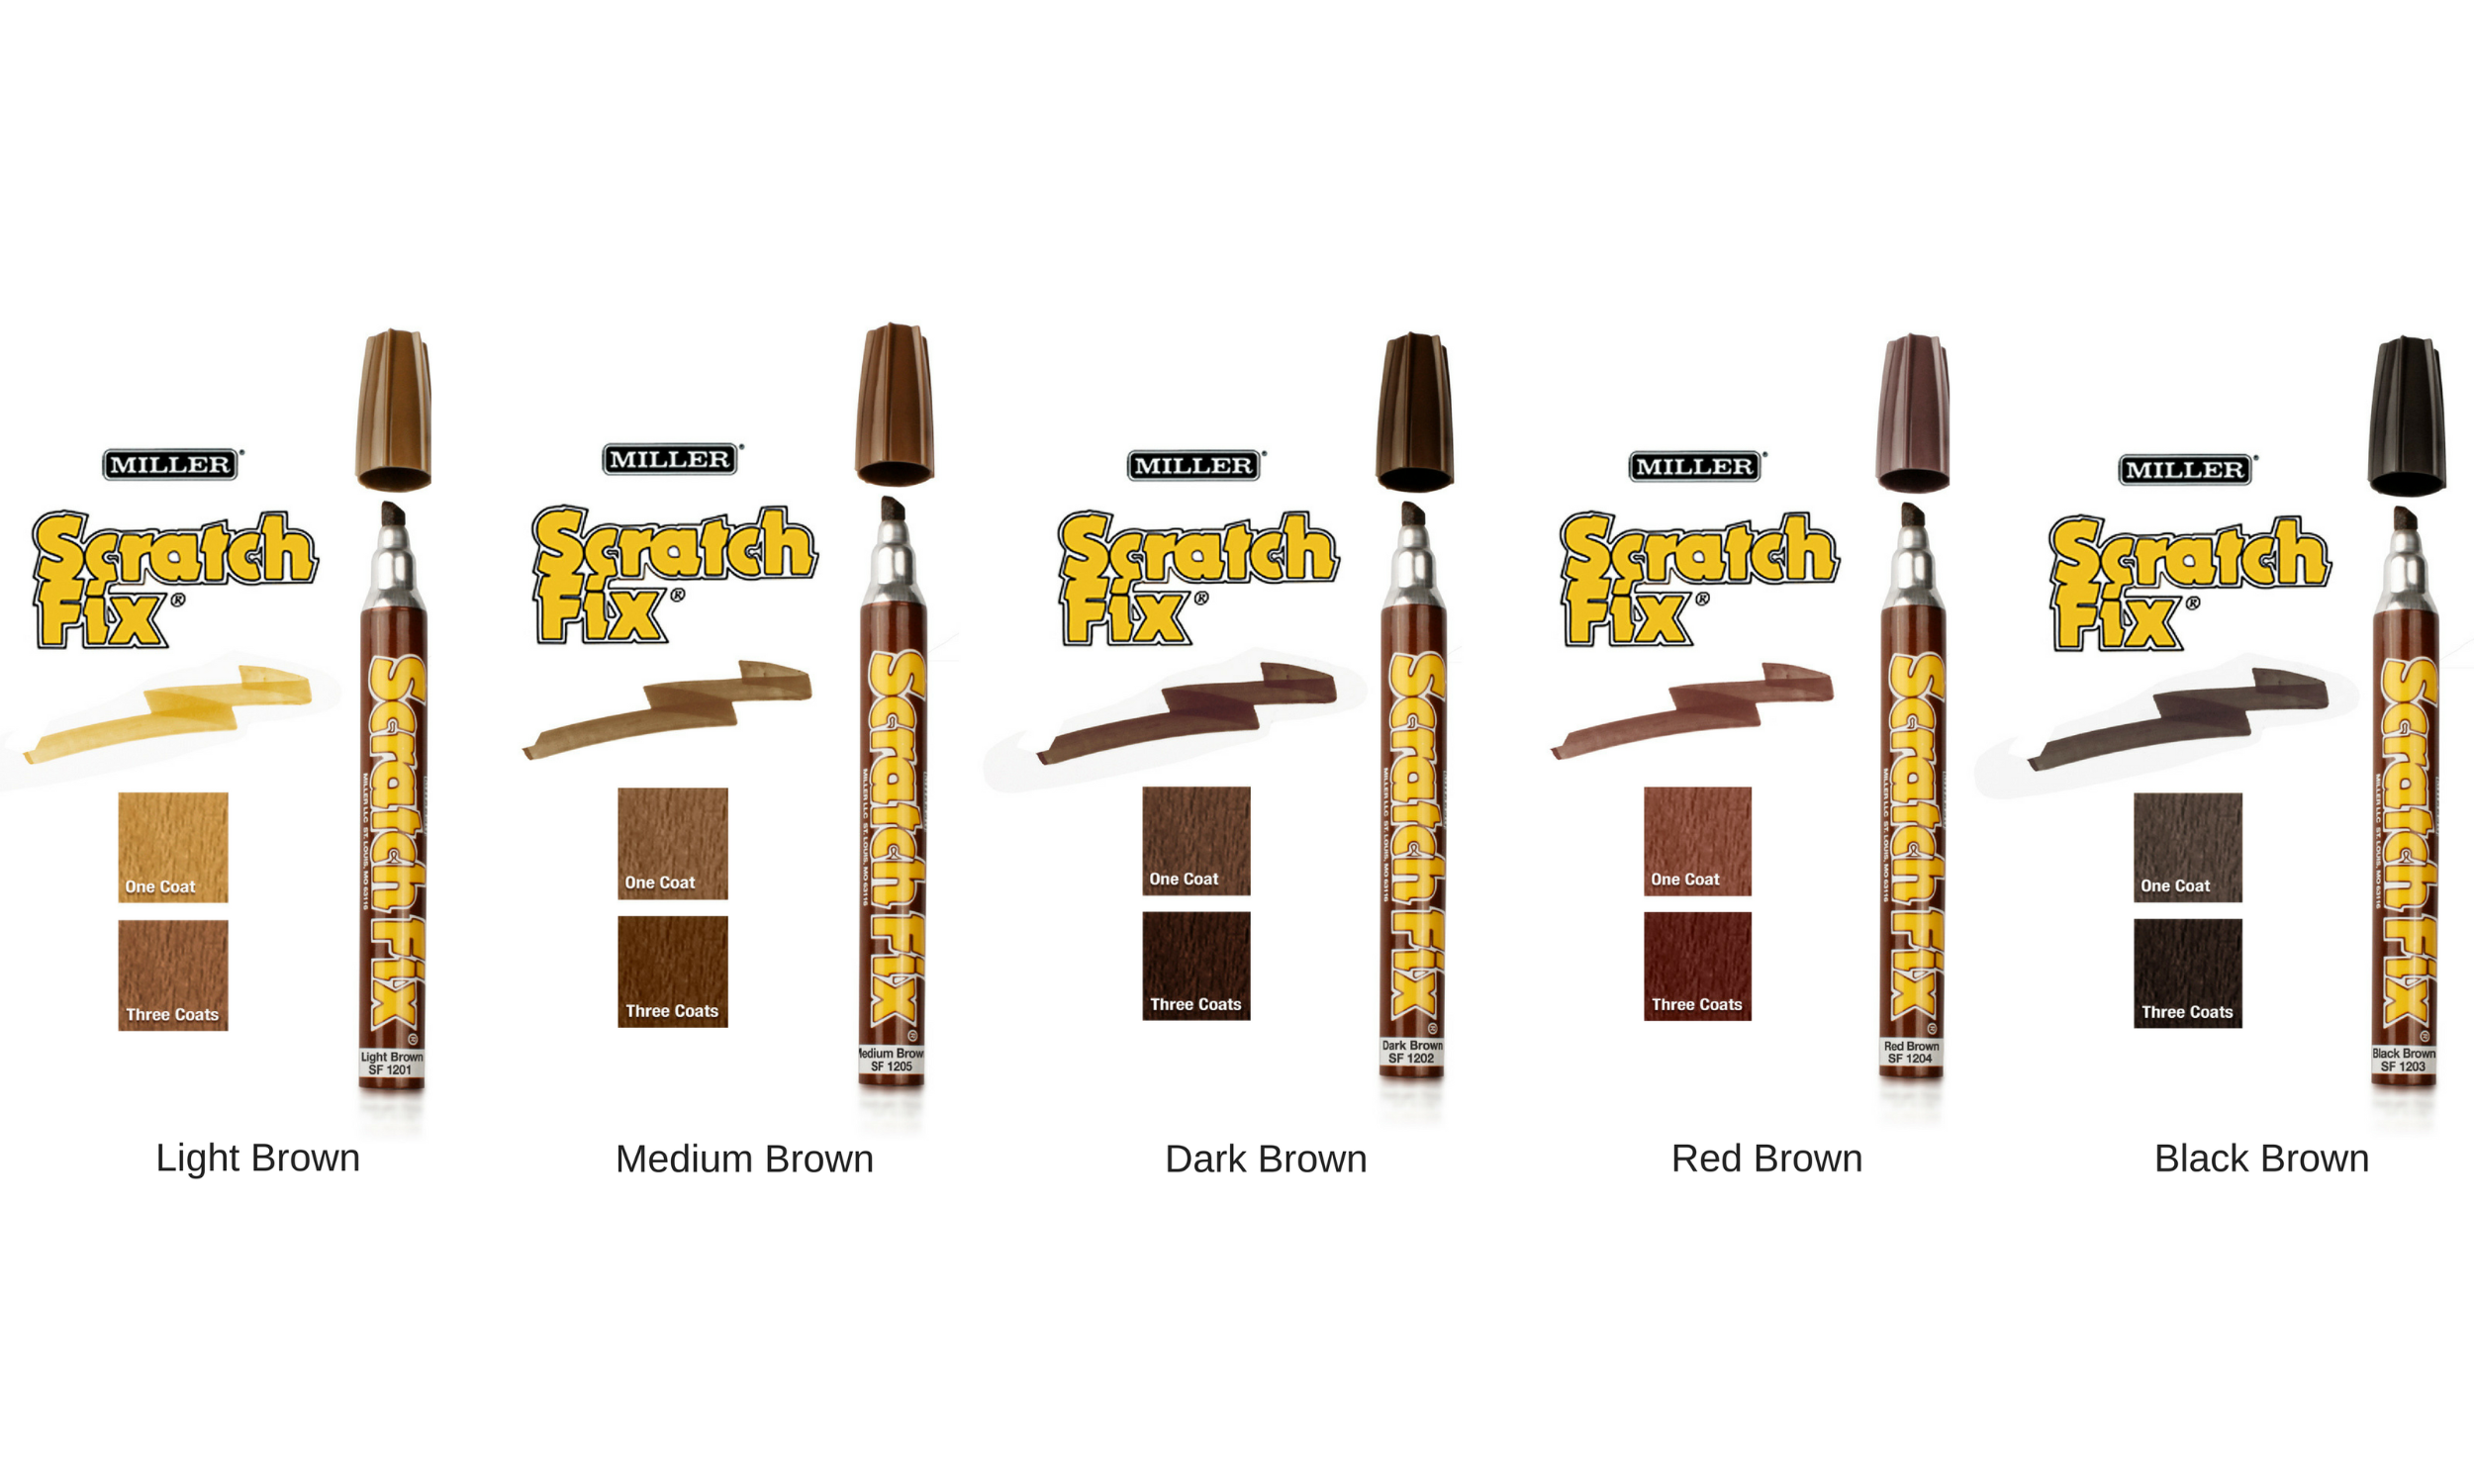
For a shallow mark where little material is missing, a softer Timber Repair Crayon (click here) may be easier to apply and level. If the damage has only removed colour and has little or no depth, a Miller Scratch Fix Pen (click here) may be the better choice.
Browse our complete Timber Repair & Care range (click here) or contact Sofa Rehab for help choosing the right product for your repair.
Repair Minor Timber Damage Yourself
Small chips, cracks and deeper scratches do not always require furniture replacement or an expensive professional repair. With the appropriate colour, careful preparation and a simple application method, you can carry out a practical cosmetic repair yourself.
Follow our step-by-step instructions, test the product before beginning and take your time when levelling the wax. Repair the furniture you already own, save on repair costs and enjoy the satisfaction of a job well done.
Technical Specifications
Technical Specifications
Technical Specifications
| Product Type | Hard beeswax timber repair filler stick |
|---|---|
| Primary Use | Filling and disguising minor cosmetic cracks, splits, holes, gouges, crevices, small chips and deeper scratches |
| Suitable Surfaces | Suitable bare, stained and finished timber furniture, wooden surfaces and timber flooring |
| Stick Weight | Approximately 35g per stick |
| Stick Dimensions | Approximately 117mm long × 18.5mm diameter |
| Shape | Round, pencil-shaped wax stick |
| Application Methods | Mould and press into the repair without heat, or carefully melt into deeper damage using a soldering iron |
| Levelling Method | Remove excess wax with a hard plastic scraper or similar non-damaging edge, then wipe with a clean cloth |
| Individual Colours | Antique White, Baltic Pine, Birch, Black, California Pine, Cherry, Dark Jarrah, Dark Walnut, Red Cherry, Select Beech, Teak and White |
| Pack Options | One individual stick or a preset pack of three sticks |
| Preset 3 Packs | Light Timber Tones: White, Birch and Baltic Pine Natural Timber Tones: Select Beech, Cherry and California Pine Red/Brown Timber Tones: Red Cherry, Dark Jarrah and Dark Walnut Classic Brown Timber Tones: Dark Walnut, Red Cherry and Teak Dark Timber Tones: Dark Jarrah, Dark Walnut and Black |
| Pack Customisation | Preset 3 packs contain fixed colour combinations and cannot be customised. Purchase individual sticks to create a different selection. |
| Repair Classification | Minor cosmetic timber repair product. Not suitable as a structural filler or two-part repair compound. |
| Use Area | Indoor use only |
| Storage | Store in a cool, dry place and keep out of reach of children |
| Colour Testing | Colour names are matching guides only. Always test the selected colour and application method in an inconspicuous area before repairing a visible section. |
How To Tutorial
How To Tutorial
How to Use Sofa Rehab Beeswax Filler Sticks
Beeswax Filler Sticks can be applied without heat for quick cosmetic repairs or carefully melted into deeper damage. Before starting, select the closest colour and test the wax in an inconspicuous area to check the colour and surface suitability.
What You Will Need
- Sofa Rehab Beeswax Filler Stick
- A sharp cutting tool
- A hard plastic scraper, old plastic card or similar non-damaging edge
- A clean cloth
- Protective gloves and eye protection
- A soldering iron when using the heat method
Before You Begin
Clean the damaged area and remove loose dirt, dust or debris. Make sure the surface is dry. Test the selected colour and application method in a hidden area before repairing a visible section.
Quick Method Without Heat
- Cut off the required amount.
Using a sharp tool, carefully cut off a small section of wax approximately matching the size of the repair. - Mould the wax until pliable.
Work the wax between your fingers until it becomes soft enough to shape and press into the damaged area. - Fill the damaged area.
Press the wax firmly into the crack, split, hole, gouge, chip or scratch. Continue adding and pressing the wax until the damaged area is completely filled. - Remove the excess wax.
Carefully level the repair with a hard plastic scraper, old plastic card or similar non-damaging edge. Avoid scratching the surrounding finish. - Wipe the surface.
Wipe over the repaired area with a clean cloth, leaving the wax within the defect while removing residue from the surrounding surface.
Heat Method for Deeper Repairs
- Prepare the damaged area.
Make sure the repair is clean, dry and free from loose material. Test the method in an inconspicuous area first. - Gently melt the beeswax.
Carefully use a soldering iron to melt a small amount of wax. Do not use an open flame. - Fill the repair.
Allow the melted wax to flow into the damaged area until the crack, hole, gouge or chip is completely filled. - Allow the wax to cool.
Leave the repair undisturbed until the wax has cooled and become firm. - Level the repair.
Remove the excess wax with a hard plastic scraper or similar non-damaging edge, taking care not to mark the surrounding surface. - Wipe the surface clean.
Finish by wiping over the repaired area with a clean cloth.
Colour Matching Tips
- Colour names are matching guides only and do not guarantee a match to a particular timber species.
- The existing stain, coating, age, grain, sheen and lighting can affect how the repaired colour appears.
- Begin with a small amount of wax. More can be added if required.
- For larger repairs, using more than one compatible colour may help imitate natural timber variation.
- Always test the colour in an inconspicuous area before proceeding with a visible repair.
Important Repair Limitations
Beeswax Filler Sticks are intended for minor cosmetic repairs. They are not a structural timber filler or two-part repair compound and should not be used for loose joints, rot, major cracks, large missing sections, serious water damage or structural repairs.
Safety and Storage
- Avoid contact with eyes and skin.
- Wear protective gloves and eye protection.
- Wash affected skin thoroughly with soap and water.
- If the product enters the eyes, rinse immediately with water and seek medical advice if irritation persists.
- Do not ingest.
- For indoor use only.
- Store in a cool, dry place.
- Keep out of reach of children.
- Use only as directed.
Disclaimer
Disclaimer
Colour Match and Suitability Disclaimer
Timber colour names and shade suggestions are provided as a guide only. Furniture described as walnut, mahogany, oak, pine, jarrah, dark brown or light brown etc.. can vary significantly between manufacturers, timber species, stain brands, age, wear, clear coats and lighting conditions.
Do not assume a Beeswax Filler Stick colour will match your furniture based only on the colour name or timber name. Always test the crayon in a hidden or inconspicuous area first, wipe away excess as directed, and allow the test area to dry before deciding whether the colour is suitable.
Once the product is applied to a visible area, the selected colour, colour match and suitability for the repair are the responsibility of the user. Furniture Spares Direct trading as Sofa Rehab will not be liable.
Reviews (0)
Thank you for making an effort to leave a reivew but to protect against spam we only accept reviews from verified owners. Please proceed to login using the same email address you used when ordering the product.
Customer Login
- There are no reviews yet.
FAQs
FAQs
What can Beeswax Filler Sticks repair?
Sofa Rehab Beeswax Filler Sticks are designed for minor cosmetic repairs to timber furniture, wooden surfaces and suitable timber floors. They can help fill cracks, splits, small holes, gouges, crevices, chips and deeper scratches where some material is missing.
They are not intended for loose joints, rot, major structural cracks or large missing sections of timber.
What is the difference between a Beeswax Filler Stick and a Timber Repair Crayon?
A Beeswax Filler Stick is harder and better suited to deeper scratches, small chips, cracks and shaped repairs that need a firmer fill. A Timber Repair Crayon is softer and generally easier to use on shallow gouges, fine splits, small holes and minor surface depressions.
For a scratch where only the colour is missing and there is little or no depth, a timber scratch repair pen may be more suitable.
How do I choose the right colour wood filler stick?
Choose the colour that appears closest to the existing timber finish rather than relying only on the named timber species. Stain, coating, timber age, grain, sheen and lighting can all affect the final appearance.
Always test the Beeswax Filler Stick in an inconspicuous area before completing a visible repair. The colour names are matching guides and do not guarantee an exact match.
Do Beeswax Filler Sticks need to be melted before use?
No. For a quick repair, cut off a small amount of wax, mould it between your fingers and press it firmly into the damaged area. For deeper repairs, the wax can be carefully melted into the defect using a soldering iron.
Always follow the application and safety instructions, wear protective gloves and eye protection, and allow melted wax to cool before levelling the repair.
Can I choose the colours included in a Beeswax Filler Stick 3 Pack?
No. The Light, Natural, Red/Brown, Classic Brown and Dark Timber Tone 3 Packs contain preset colour combinations and cannot be customised.
To choose your own colours, purchase the required Beeswax Filler Sticks individually from the 12 available timber tones.