

- Description
- Technical Specifications
- How To Tutorial
- Reviews (0)
- FAQs
- Add a review
Description
Leather & Vinyl Repair Sandpaper for Surface Preparation and Finishing
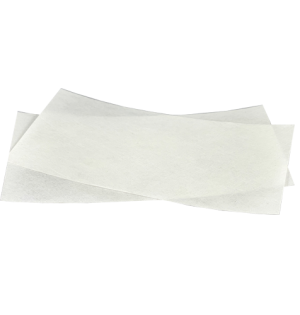
Sofa Rehab Leather Repair Sandpaper is a versatile wet and dry abrasive designed to help prepare, smooth and finish leather and vinyl surfaces throughout the repair process. Whether you’re smoothing scratches, removing raised edges, levelling filler or preparing worn and damaged leather for cosmetic repairs, the right sandpaper helps create a smoother, more even surface for your repair products.
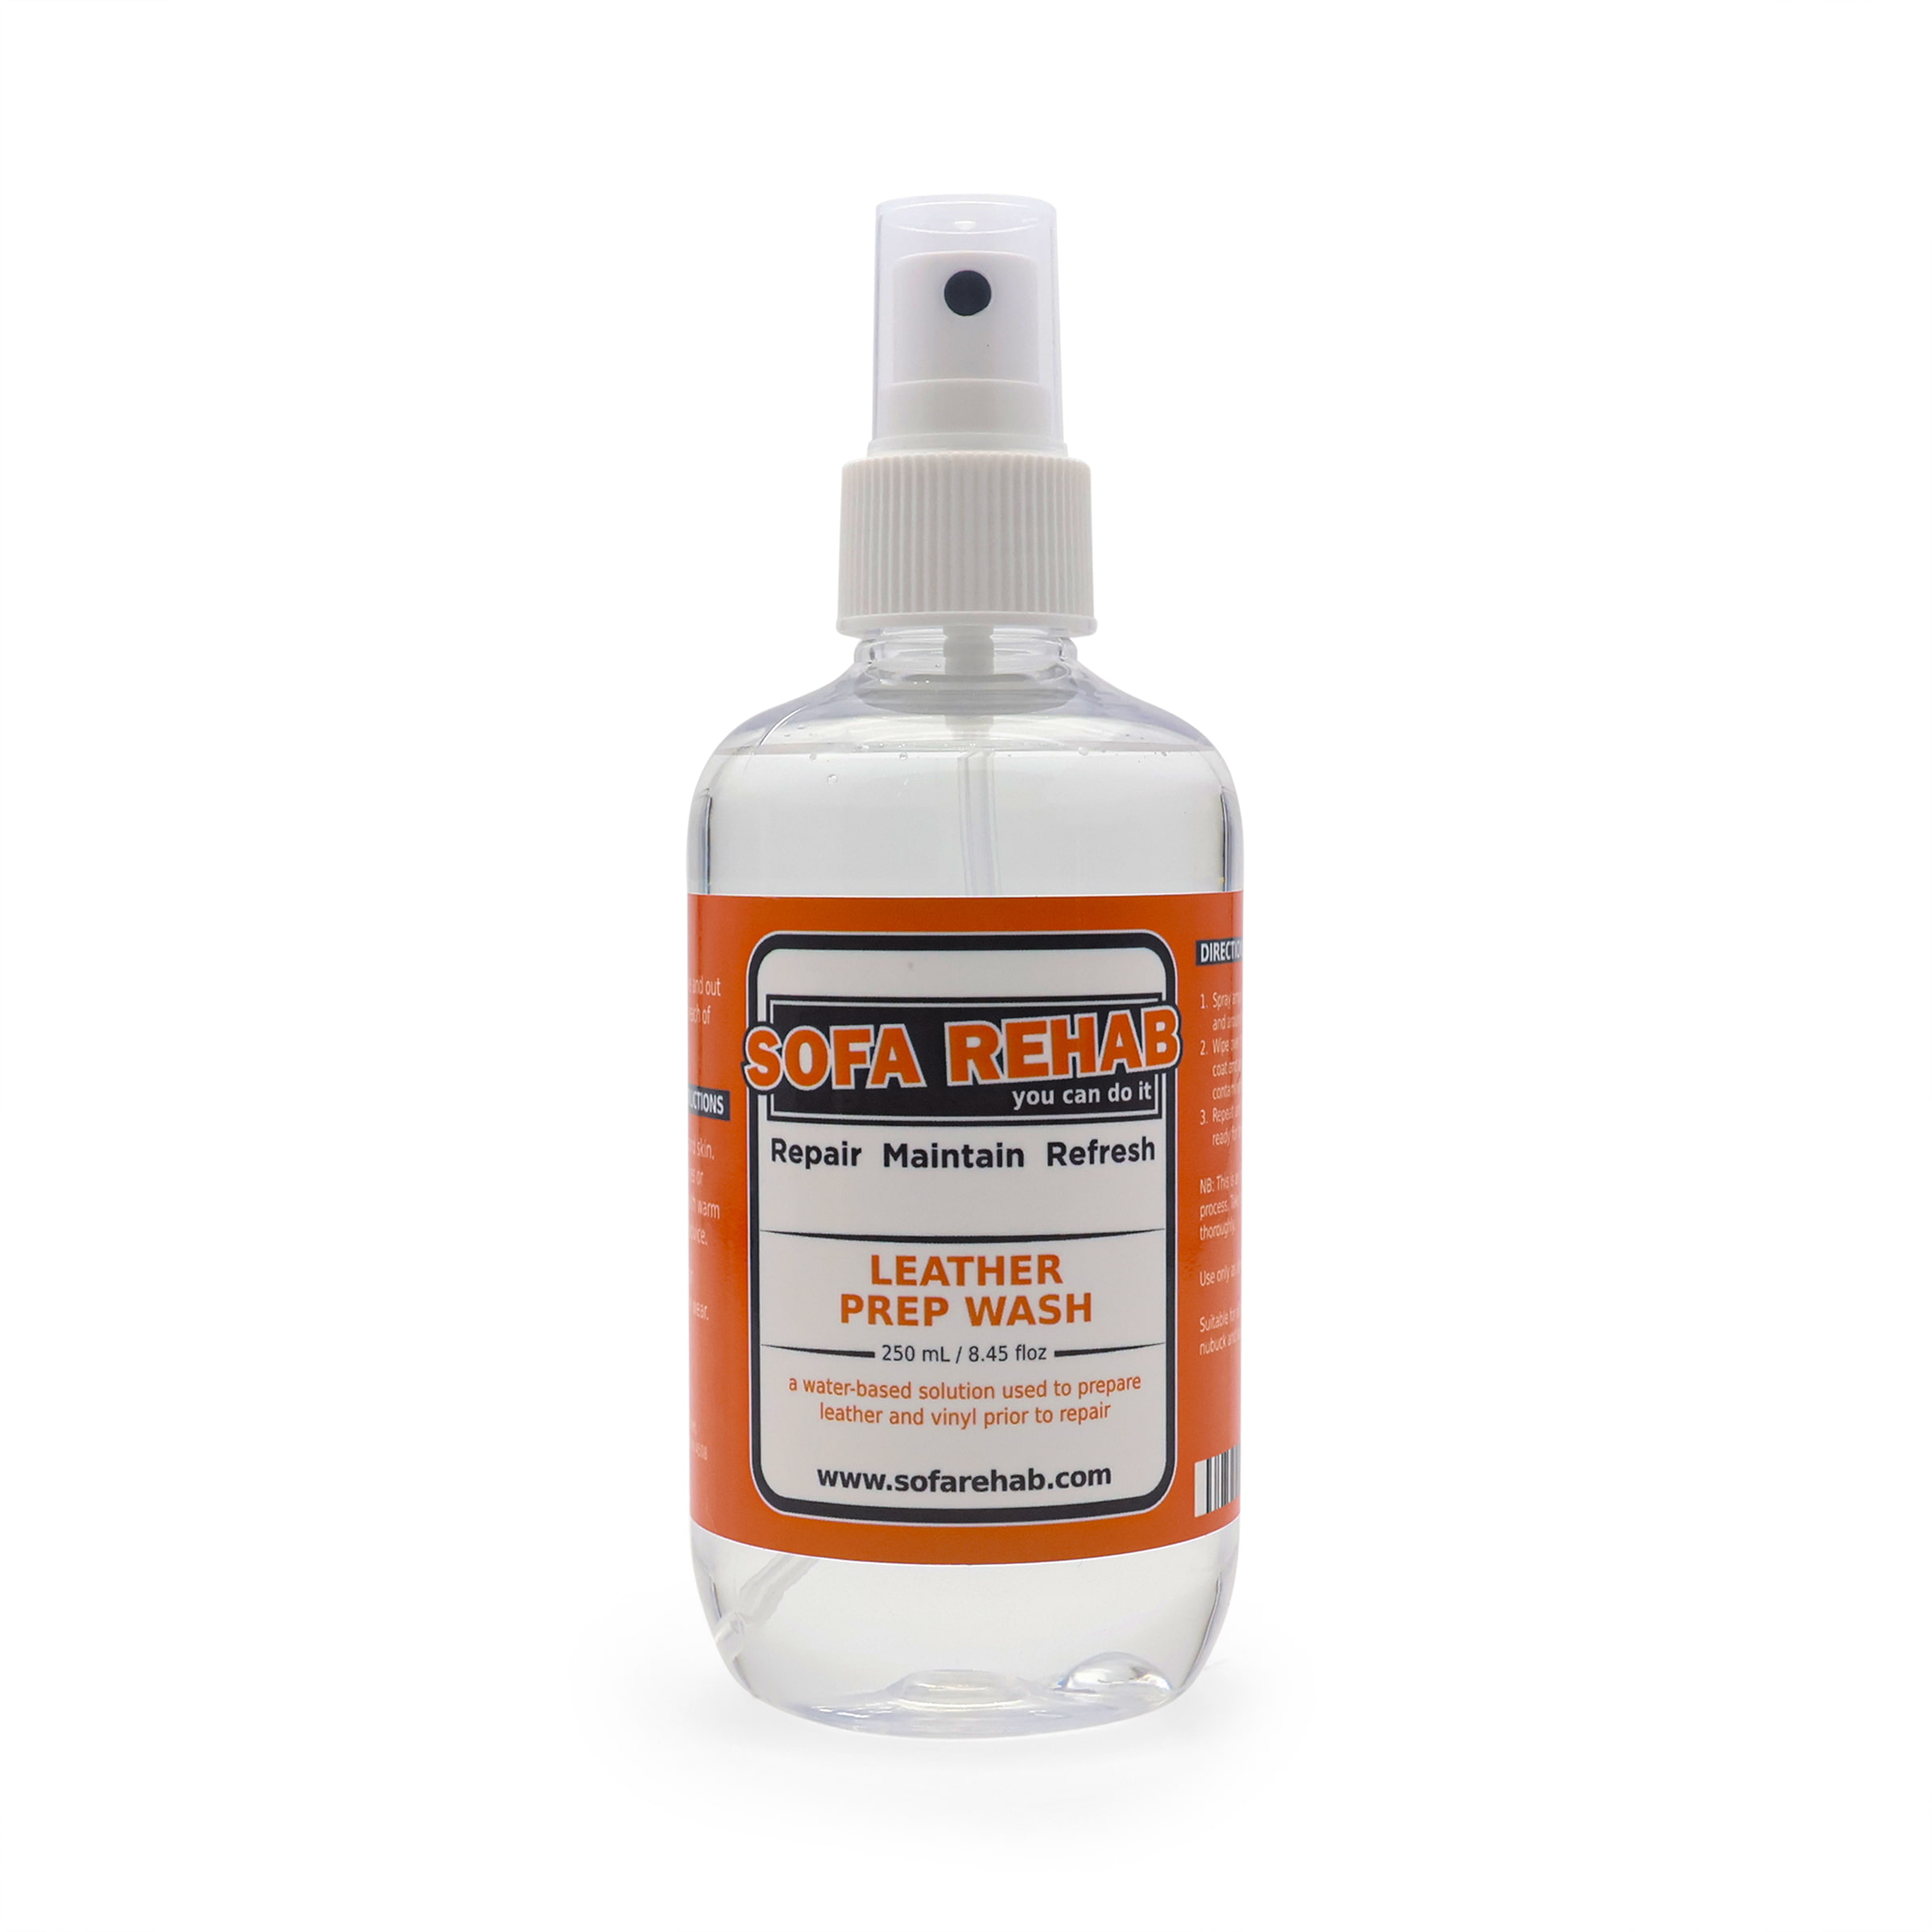
Sanding also helps remove worn unwanted colour coatings, clear coats and protective finishes that can prevent the adhesion of leather and vinyl repair products, including glues, fillers, binders, primers, colourants and top coats. Our sandpaper can be used wet or dry, including alongside Sofa Rehab Leather Prep Wash to assist with removing original coatings and preparing leather and vinyl for restoration.
Choosing the Right Leather Repair Sandpaper Grit for Your Repair
Sofa Rehab offers three sandpaper grades to suit different stages of leather and vinyl repair:
- 400 Grit – Heavy Preparation and Coating Removal: Ideal for more aggressive surface preparation, removing old colour and protective coatings, and smoothing peeling or deteriorating finishes.
- 600 Grit – Leather Filler Levelling: Ideal for removing excess leather filler, smoothing repaired scratches and levelling uneven areas before applying subsequent repair products.
- 1200 Grit – Fine Sanding and Finishing: Ideal for light surface preparation, refining repaired areas and gently smoothing imperfections between coats of leather colourant or top coat.
Each pack contains 5 grey coloured wet and dry sanding sheets measuring 100 x 100mm, all in your selected grit. Choose the grade best suited to your repair, or purchase multiple grit packs for different stages of the preparation and finishing process.
Why Choose Sofa Rehab for Leather & Vinyl Repair Products?
At Sofa Rehab, we believe that repairing and restoring your furniture should be achievable without the expense of professional repairs or replacing the entire piece. We specialise in DIY leather and furniture repair products, helping customers far and wide find the right material, tolls and replacement parts to tackle repairs with confidence.
From leather glues, fillers and preparation product to leather colourants, and complete repair kits, our range is designed to help DIYers achieve quality results at home. We also provide telephone, email and video tutorial support, product guidance and friendly customer service to help take the guess work out of furniture repairs.
Repair Your Leather Furniture Yourself and Save
Why replace an entire leather lounge because or scratches, peeling colour or worn surface coatings? With the right preparation. repair products and a little patience, many common leather and vinyl furniture problems can be repaired at home, saving you hundreds of dollar compared with professional restoration or replacement/
Give your leather furniture a new lease of life with Sofa Rehab and discover how rewarding DIY furniture repair can be!
Technical Specifications
Technical Specifications
| Specification | Details |
|---|---|
| Product Type | Leather Repair Sandpaper |
| Available Grits | 400, 600 and 1200 grit |
| Abrasive Type | Wet and dry sandpaper |
| Sheet Dimensions | 100 x 100 mm (each sheet) |
| Pack Quantity | 5 sheets per pack |
| Pack Configuration | 5 sheets of the same selected grit (not a mixed-grit pack) |
| Colour | Grey |
| 400 Grit Application | Heavier sanding, old colour and protective coating removal, and surface preparation |
| 600 Grit Application | Smoothing and levelling leather filler and removing filler residue |
| 1200 Grit Application | Light surface preparation, fine finishing and sanding between colour and top coats |
| Application Method | Wet or dry hand sanding, depending on the repair process |
| Complementary Product | Sofa Rehab Leather Prep Wash |
Important: Select your required grit before purchasing. Each pack contains 5 sheets of one grit only. Sandpaper is a surface preparation and finishing accessory, not a standalone leather repair solution.
How To Tutorial
How To Tutorial
How to Use Leather Repair Sandpaper
Sofa Rehab Leather Repair Sandpaper is used to prepare, smooth and finish leather surfaces during the repair and recolouring process. Whether you’re removing old protective coatings, smoothing scratches or levelling leather filler, choosing the correct grit and sanding gently will help you achieve a smoother surface for your repair products.
Step 1: Choose the Correct Sandpaper Grit
Select the grit that best suits the work you’re undertaking:
- 400 Grit – Heavier Preparation: Used for removing old colour coats, clear coats, peeling finishes and protective coatings. Ideal when more substantial surface preparation is required.
- 600 Grit – Leather Filler Levelling: Used to smooth dried leather filler, remove excess filler residue and level uneven repaired areas.
- 1200 Grit – Fine Preparation and Finishing: Used for light sanding, refining repaired surfaces and smoothing minor imperfections between coats of leather colourant or protective top coat.
Note: Each pack contains 5 sheets of the same selected grit. Different stages of a repair may require more than one grit.
Step 2: Prepare the Repair Area
Inspect the damaged area and identify whether you need to smooth raised edges, remove old coatings or level a previously filled repair. Remove loose dirt and debris before starting.
For minor scratches and touch-ups, you may sand the affected area first and then clean it using Sofa Rehab Leather Prep Wash, following the instructions for your repair products.
For peeling colour, deteriorating coatings or more extensive recolouring preparation, Leather Prep Wash can be used in combination with wet sanding to help remove old colour coats, clear coats and unwanted surface residues.
Step 3: Sand the Leather Surface
- Take one sheet of your selected sandpaper grit.
- Using light, controlled pressure, gently sand the area requiring preparation or smoothing.
- Work progressively across the repair area, checking the surface regularly to avoid excessive sanding.
- For scratches, concentrate on smoothing raised edges and high points rather than removing unnecessary surrounding material.
- For dried leather filler, gently sand excess material until the repair is level with the surrounding surface.
- For coating removal, sand only as much as required for the particular repair process.
Important: Avoid aggressive sanding or unnecessary removal of the leather’s surface. The purpose is to prepare or level the repair area, not to sand deeply into the leather.
Step 4: Wet Sanding with Leather Prep Wash
Sofa Rehab Leather Repair Sandpaper is wet and dry, allowing it to be used with Leather Prep Wash where the repair process calls for wet preparation.
- Apply Sofa Rehab Leather Prep Wash as directed in the relevant repair instructions.
- Gently work the appropriate grit sandpaper over the area while the preparation product is present.
- Use controlled pressure to help loosen and remove unwanted colour coatings, peeling finishes and protective layers.
- Remove the loosened coating residue and prepare the surface for the next repair stage, following the repair product instructions.
Note: Wet sanding is not required for every repair. The appropriate method depends on the leather finish, condition and products being applied.
Step 5: Clean and Check the Prepared Surface
Once sanding is complete, remove sanding dust, loosened coatings and any remaining residue using the appropriate cleaning or preparation method for your repair.
Check that the repair area is smooth and suitably prepared before proceeding. If additional levelling or finer finishing is required, use the appropriate sandpaper grit.
Allow the surface to reach the condition specified in the instructions for your next repair product before continuing.
Step 6: Continue with Your Leather Repair
Once the surface is prepared, continue with the appropriate Sofa Rehab leather repair products, which may include leather glue, filler, binder, primer, colourant or protective top coat.
For repairs involving multiple colour or top coats, 1200 grit sandpaper can be used to gently smooth minor surface imperfections between suitable dried coats, where recommended by the product instructions.
Always follow the instructions supplied with your Sofa Rehab leather repair kit or individual repair products for the correct application process.
Helpful Tips for Better Results
- Choose the right grit: Use 400 grit for heavier preparation, 600 grit for filler levelling and 1200 grit for finer finishing.
- Start gently: Light pressure gives you better control and helps prevent unnecessary surface damage.
- Check your progress: Stop regularly to inspect the repair rather than sanding continuously.
- Use wet or dry as required: Select the method recommended for your specific repair process.
- Keep the surface clean: Remove sanding dust and coating residue before applying subsequent repair products.
- Consider the leather type: Abrasive preparation is intended for suitable finished leather repair processes and may damage delicate or absorbent finishes such as suede, nubuck and some aniline leathers. Test in an inconspicuous area if suitability is uncertain.
Need help with your leather repair? Sofa Rehab supplies leather preparation products, fillers, colourants, protective finishes and DIY leather repair kits to help you restore your furniture at home. Our team is available to help you select suitable repair products for your project.
Reviews (0)
Thank you for making an effort to leave a reivew but to protect against spam we only accept reviews from verified owners. Please proceed to login using the same email address you used when ordering the product.
Customer Login
- There are no reviews yet.
FAQs
FAQs
What grit sandpaper should I use for leather repair?
The best sandpaper grit depends on the type of leather repair you're undertaking. 400 grit is ideal for heavier sanding, removing old colour and protective coatings, and preparing peeling surfaces. 600 grit is recommended for smoothing and levelling leather filler, while 1200 grit is suitable for light surface preparation, fine finishing and sanding between coats of leather colourant or top coat. Sofa Rehab offers all three grades in convenient packs of five sheets.
Can you use sandpaper on a leather sofa or lounge?
Yes, sandpaper can be used on suitable finished leather sofas and lounges to smooth scratches, remove raised or peeling coatings, level leather filler and prepare surfaces for repair or recolouring. Using the correct grit and gentle sanding technique is important to avoid removing too much material. Sanding is not suitable for every leather type, particularly delicate finishes such as suede, nubuck and some aniline leathers.
Should I use wet or dry sandpaper for leather repairs?
Both methods can be used depending on the repair. Dry sanding is useful for minor touch-ups, smoothing scratches and levelling dried leather filler. Wet sanding with a suitable preparation product, such as Sofa Rehab Leather Prep Wash, can help remove old colour coatings, clear coats and peeling finishes during more extensive surface preparation. Always follow the instructions for your specific leather repair products.
Can sandpaper remove scratches and peeling colour from leather furniture?
Leather repair sandpaper can help smooth raised edges around scratches and remove loose, peeling or deteriorating surface coatings. However, sandpaper alone does not restore damaged leather or replace lost colour. Depending on the damage, you may also need leather filler, binder, primer, colourant or a protective top coat. Sanding is an important preparation step that helps create a smoother surface for these repair products.
Why do I need to sand leather before applying leather paint or colourant?
Sanding helps remove loose or deteriorating coatings, smooth surface imperfections and prepare suitable finished leather for better adhesion of repair products. For heavier coating removal, 400 grit is generally recommended, while 1200 grit is ideal for finer preparation and smoothing between colour coats. Combining appropriate sanding with Sofa Rehab Leather Prep Wash can help prepare the surface before recolouring, improving the chances of achieving an even, lasting finish.